Owl pellets are pretty fascinating. They are not poop.
Owl pellets are the hard, undigested bits from an owl’s meal that are regurgitated in the form of a pellet. Things like bones and fur that cannot be digested are formed into a pellet in the gizzard. The owl has to cough out this pellet before it can eat again.
They are also not that easy to find at the farm. We have managed to stumble across a total of TWO owl pellets at the sanctuary. Franco found the first one in July 2015 on the ledge of the round pen. We were excited to see an owl pellet! We didn’t really know what to do with it, so we picked it up, broke it apart, and scattered the bits on the ground.
In the US and other countries, they let school children dissect owl pellets as a science activity. I never did anything like that as a child! Too bad I threw away the pellet, at the very least, I could have saved it. I didn’t know that later that year, one my biologist friends would ask me for owl pellets for her college students who were writing a paper on owls!

I also didn’t know that it would be three years until I stumbled across an owl pellet again!
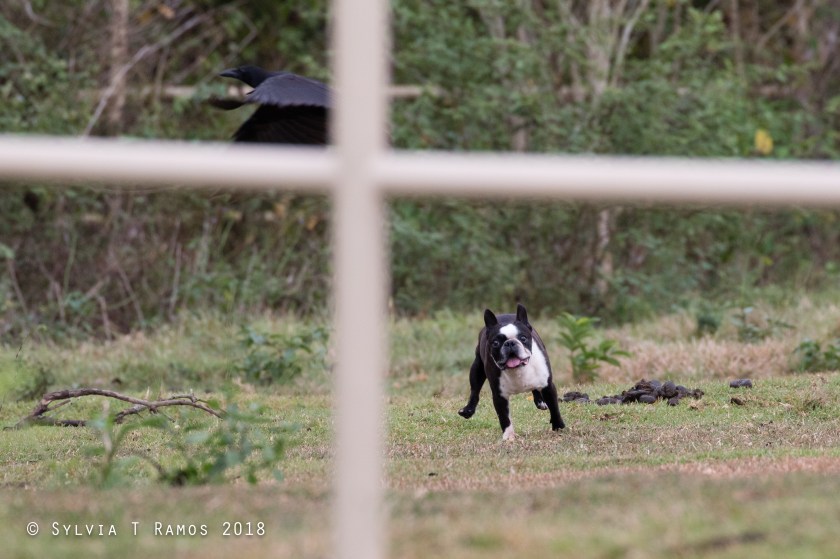
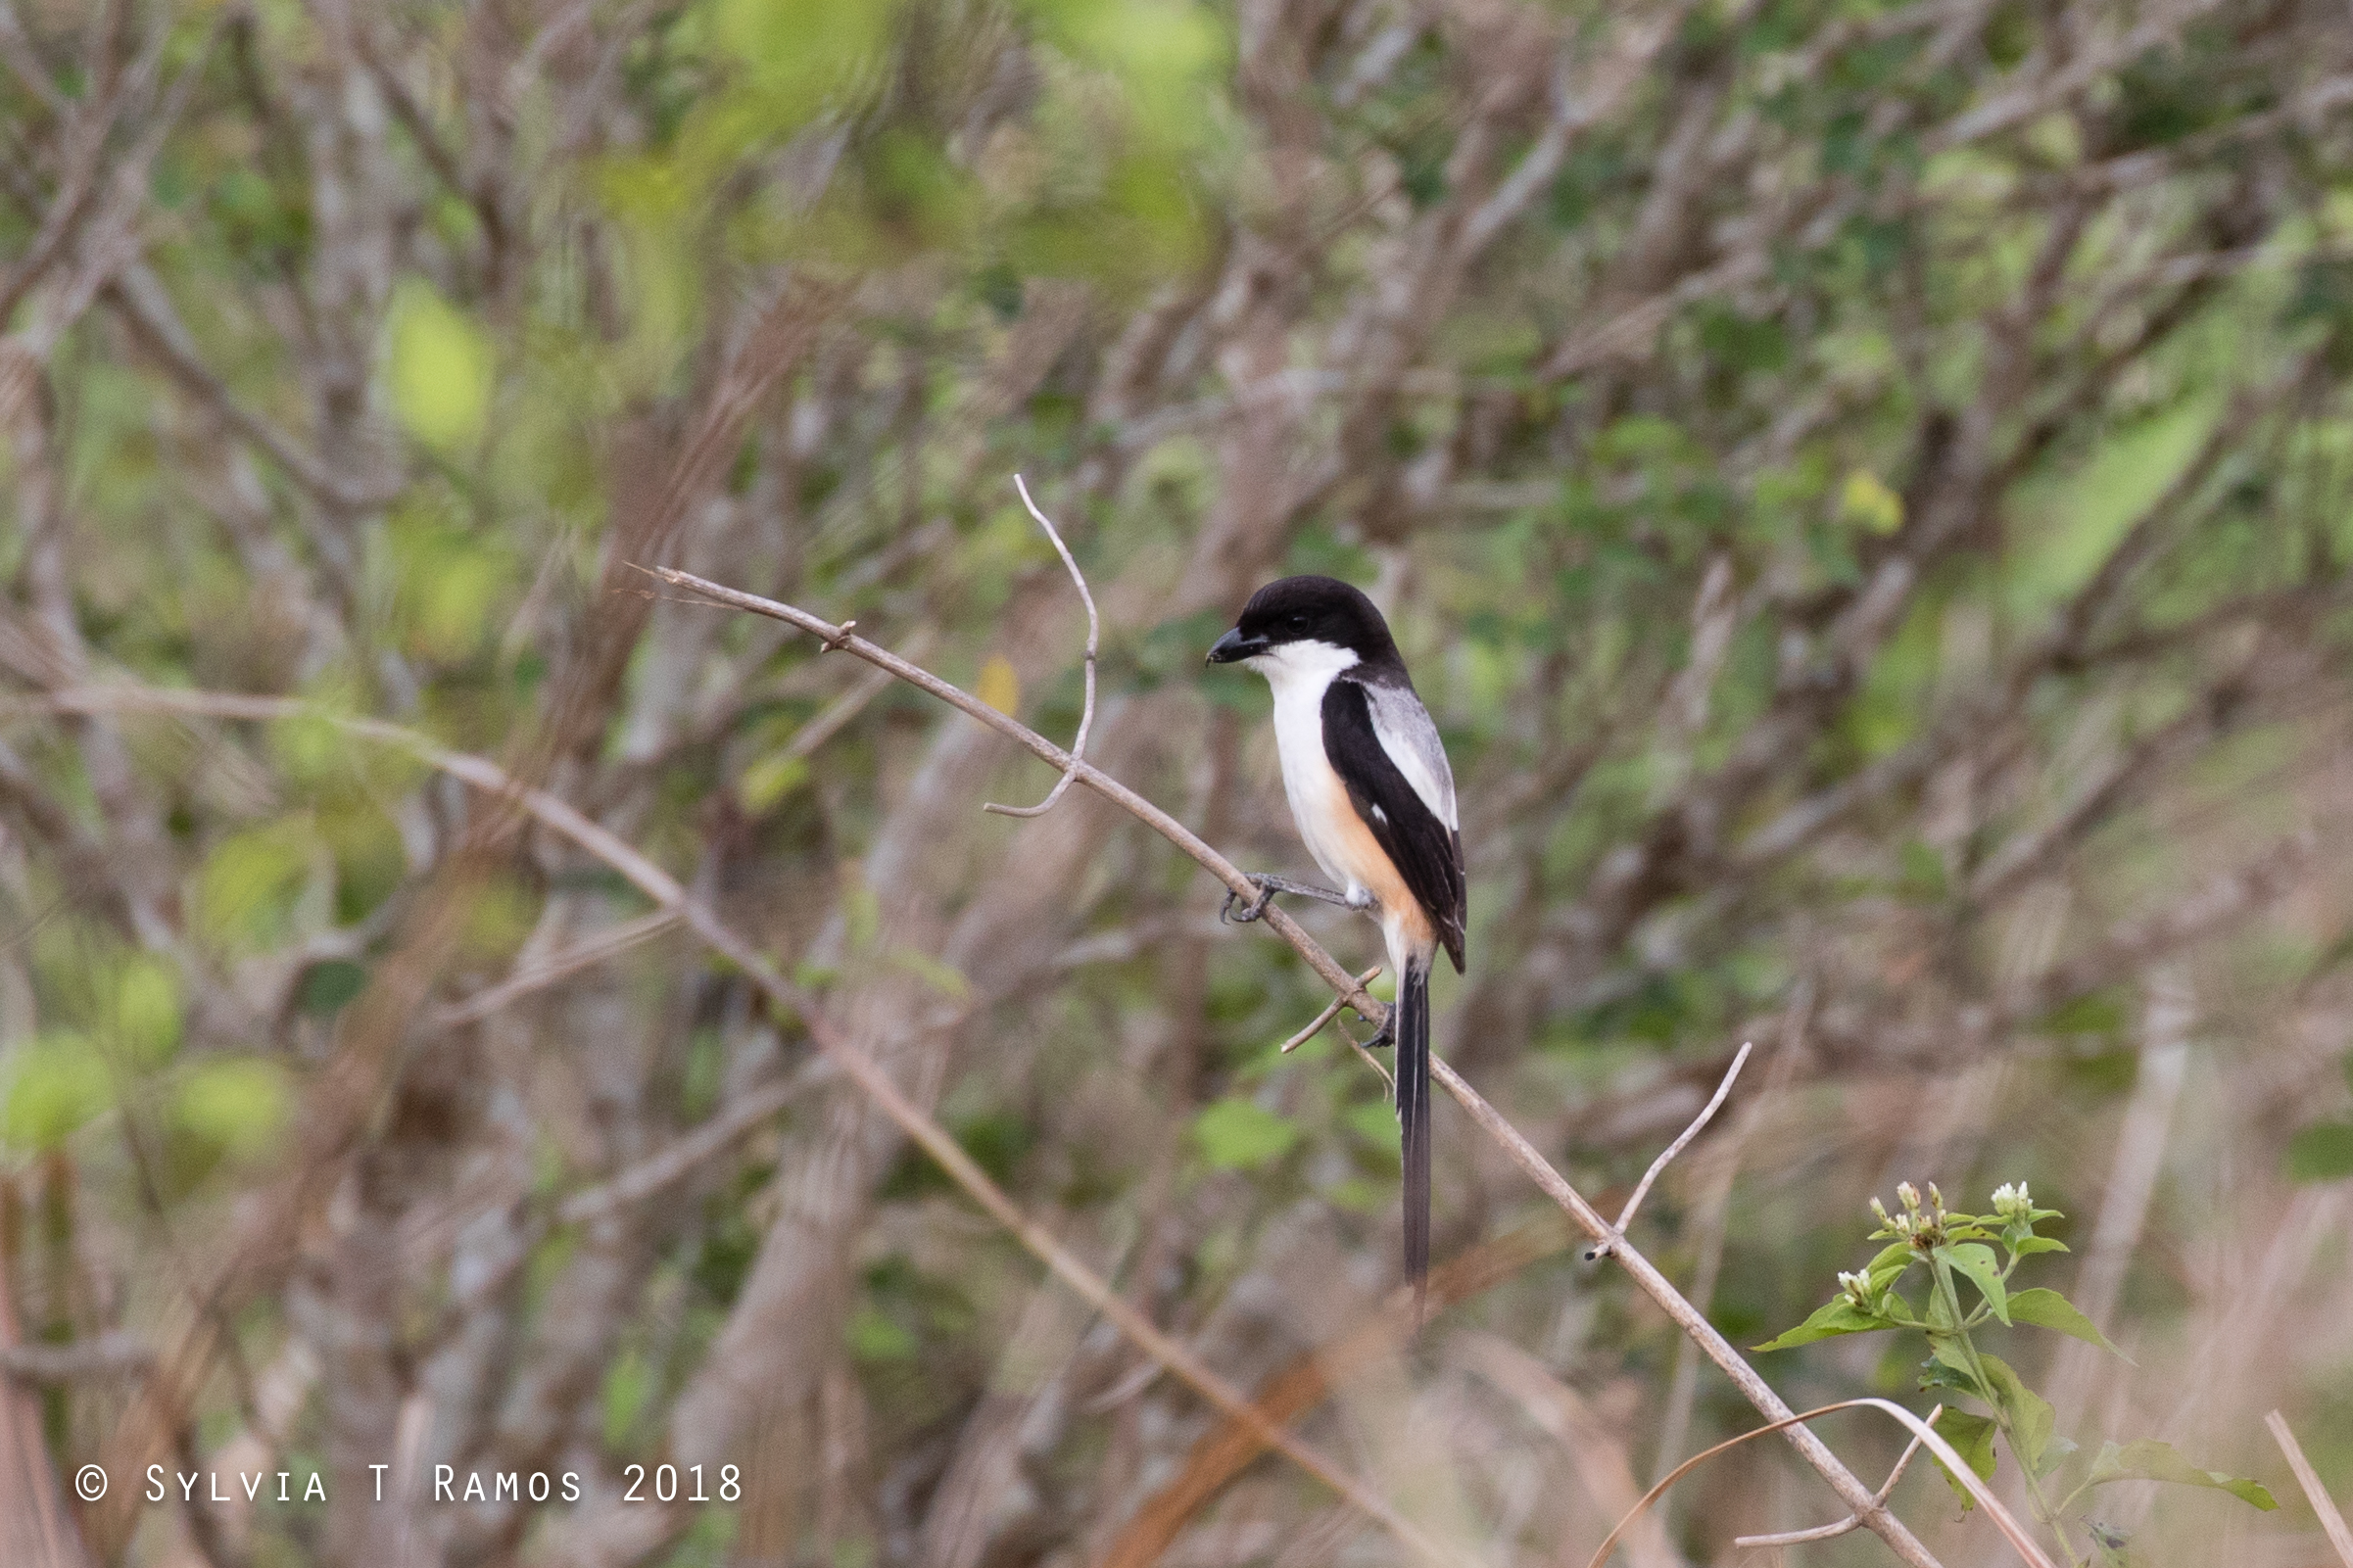
The second owl pellet was found by Momo and Barkley in the middle of the path, near the bamboo fence where we sometimes see Grass Owls perched. There were feathers scattered on the ground.

This time, I bagged the pellet and took it home for further study. I wasn’t going to miss my opportunity to do my very own owl pellet project!
Step 1 – Observe and take notes
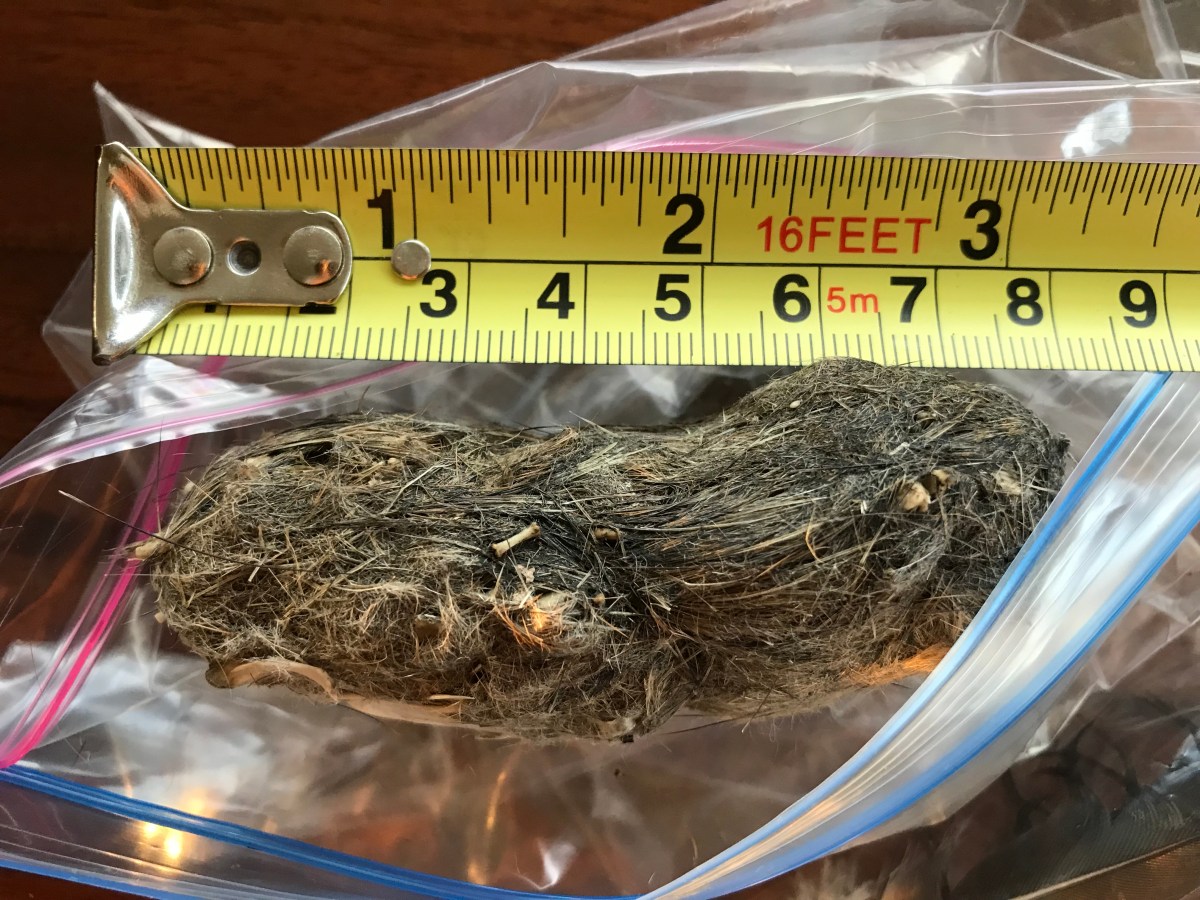
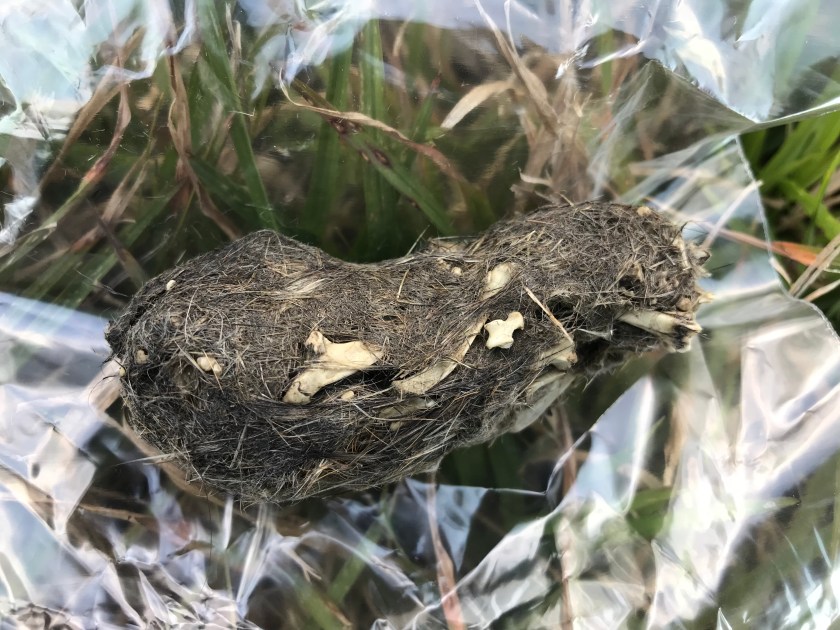
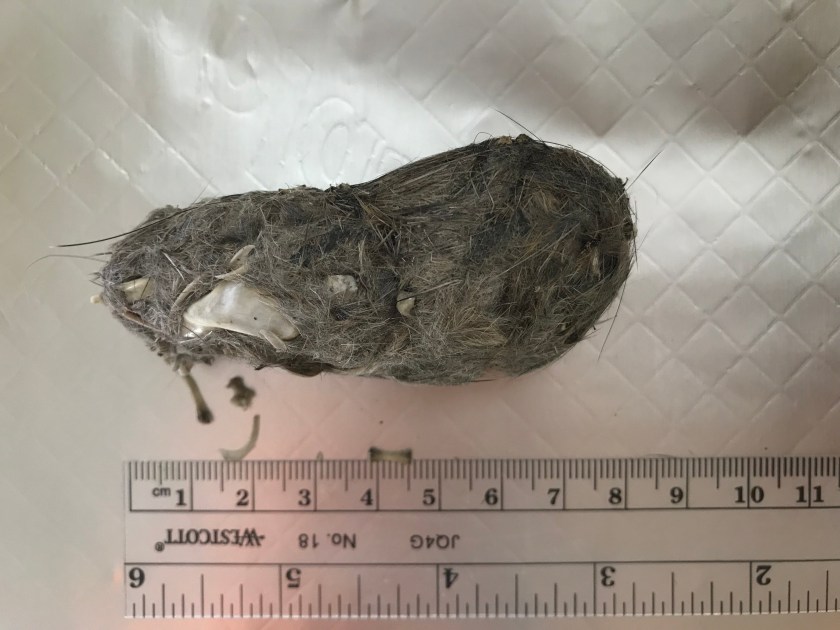
This pellet was large, oblong-shaped, and covered in fur. There were also long hairs that looked like whiskers. It clearly contained the remains of a rat or mouse.
Step 2 – Prepare
Owl pellets can contain bacteria and parasites. They can be sterilized by soaking in disinfectant or baking in an oven. I decided to bake the pellet. I wrapped it in two layers of foil and baked at 325F for 30 minutes.
I wanted to make sure the bones inside the pellet didn’t break. I soaked it in water to soften so I could easily remove the bones.
Step 3 Separating the bits
The sterilized, wet pellet smelled very strongly of urine. The fur was especially smelly. I wanted to save bit of the fur, but the smell was too strong and overpowering. It might have been better to soak the pellet in disinfectant after baking it


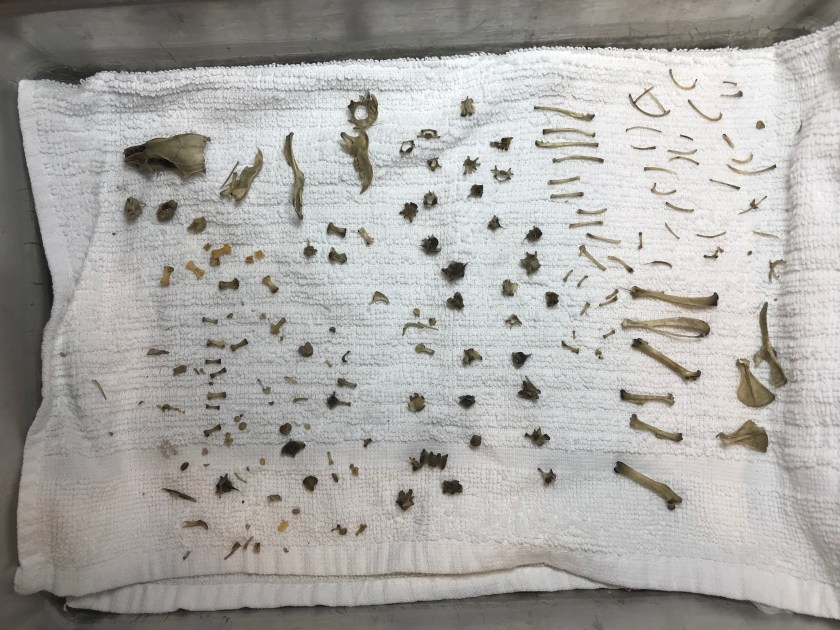
Step 4 Reassemble
Next I grouped the bones by shape and glued them on a sheet of paper that I placed inside a box. I put the tiny bits and bone fragments in a small plastic bag.

And here’s the finished owl pellet project!