
There’s nothing like seeing before and after photos before the year ends to reassure you that yes, progress is being made! Sometimes I tend to just focus on the things that still need to be fixed or improved. Sometimes I worry that I’m not really seeing things. You how it is when you’re so used to seeing something that you don’t really see it well anymore? You overlook the flaws and you stop noticing the changes? Like not noticing the wear and tear in a room you use all the time? Well, this is the opposite. I am taking stock of the stuff that got better!
TREE PLANTING
We started planting native trees in November 2012. Our first tree planting site is beside our old bridge. For the first batch of trees, we dug huge 1 meter by 1 meter planting holes and filled it with a mix of coconut coir, rice husks and soil. And every tree was tagged with the name and planting date. It was a lot of work, but those trees have come along beautifully!
The next batches of trees didn’t get quite as much tender loving care. The planting holes were smaller, no rice husks, and NO LABELS!! We added vermicast though. My tree labeling that started off so well has gone bad. The newer batches of trees are unlabelled and some of the old labels were removed by the caretaker because the trees outgrew them! So I’m happy that the trees outgrew them, but a bit miffed that my labeling system has gone to pieces!
TIBIG
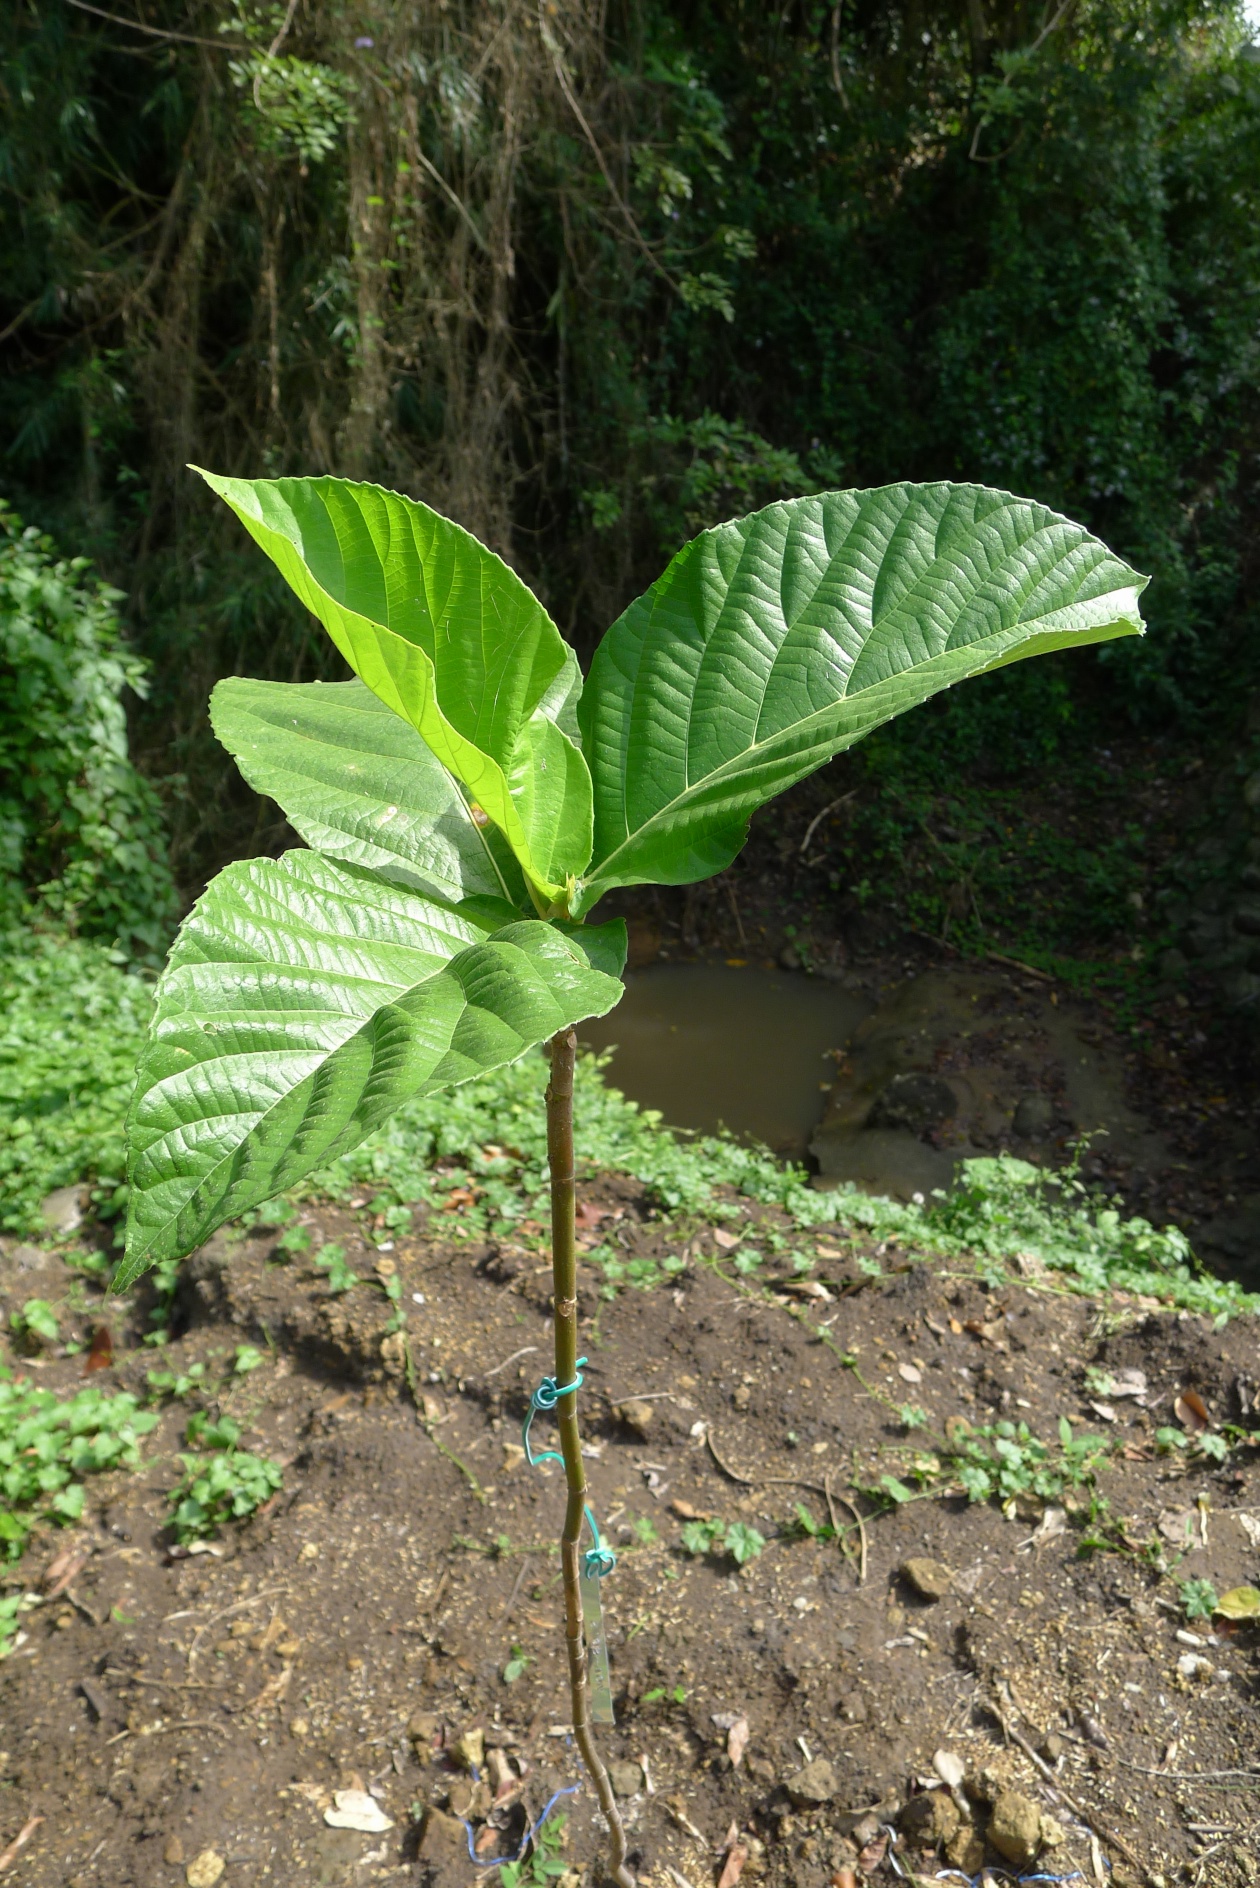
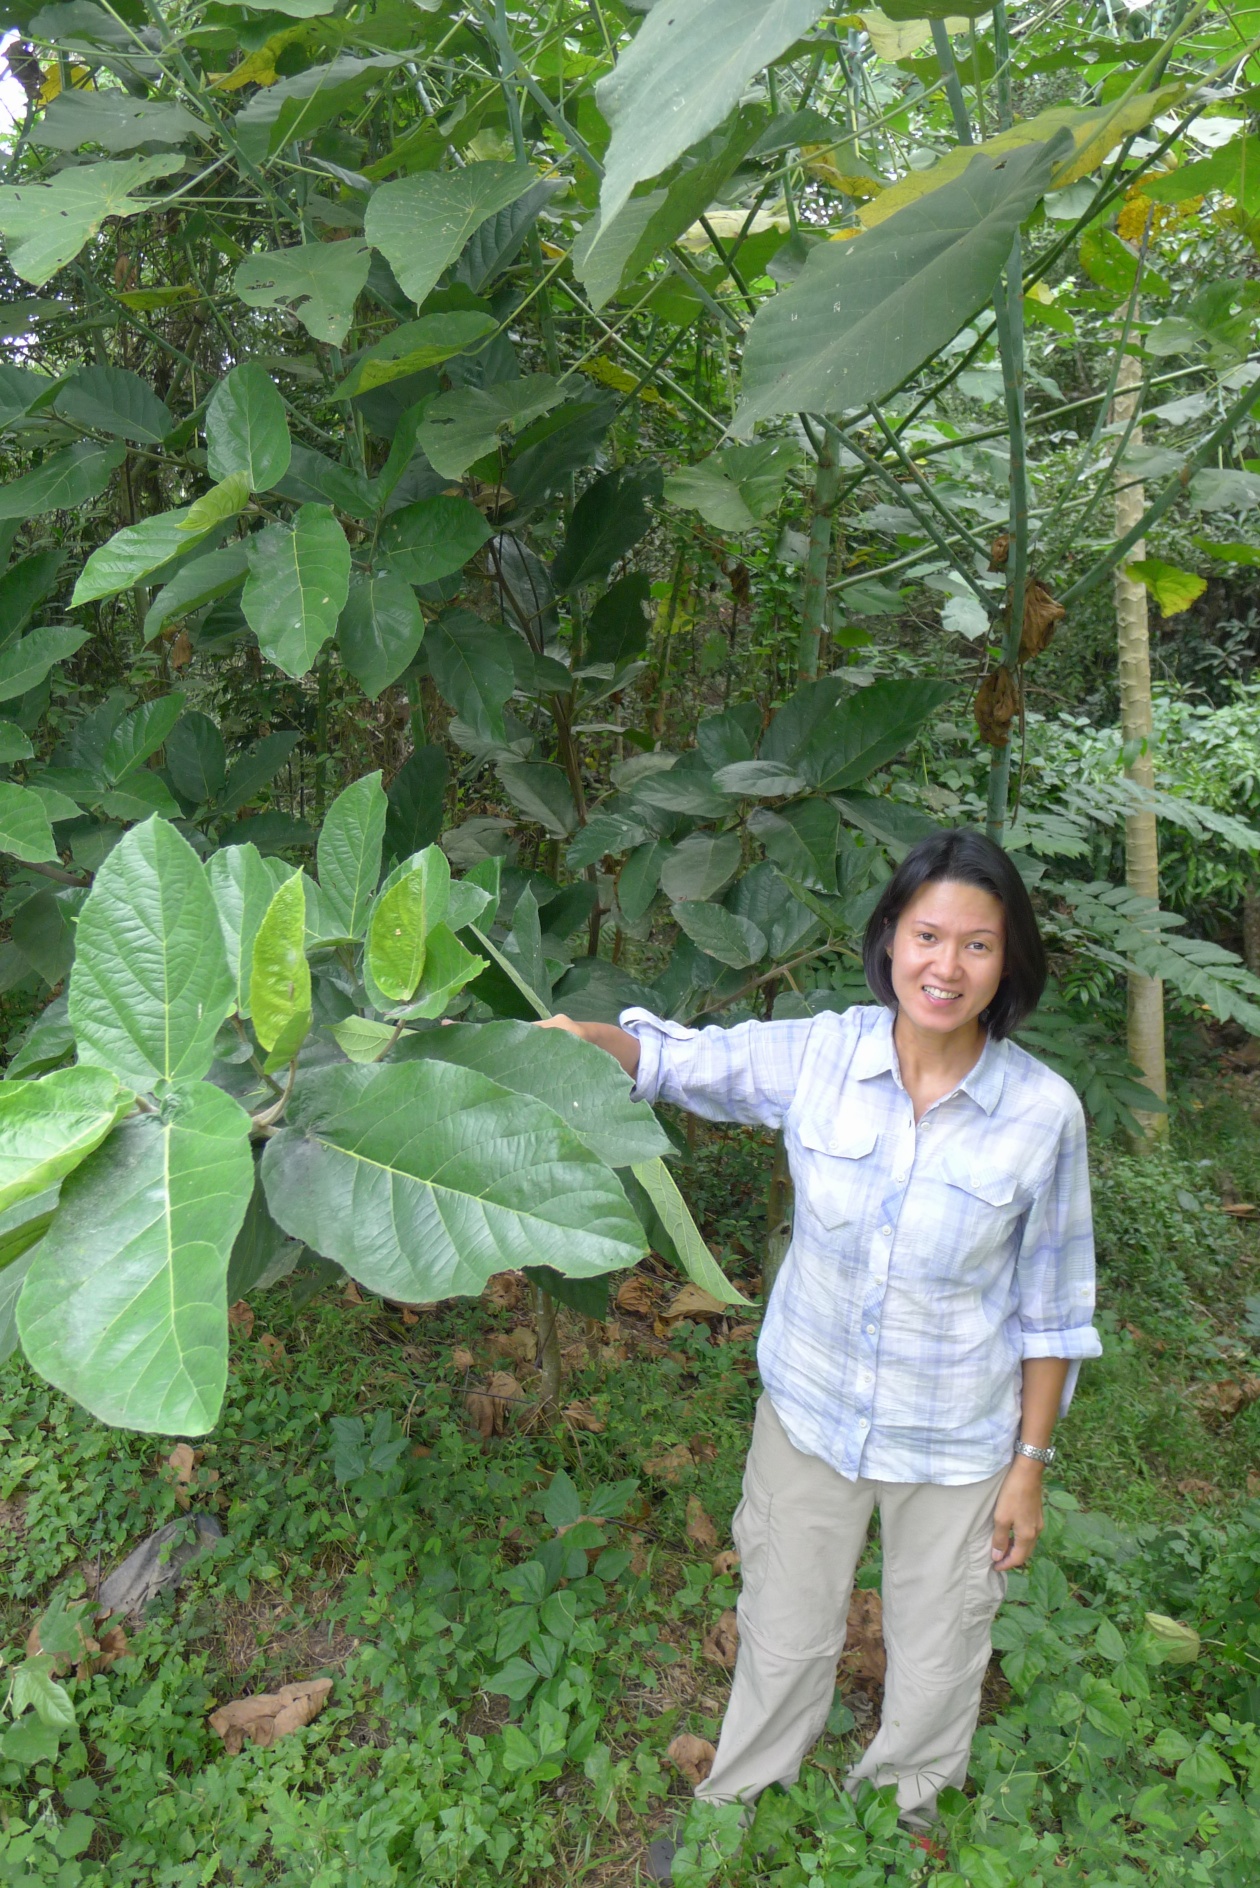
It’s hard to tell from the picture and it’s not the same exact tree BUT it grew a lot! It’s now taller than me! That one we planted was tiny!
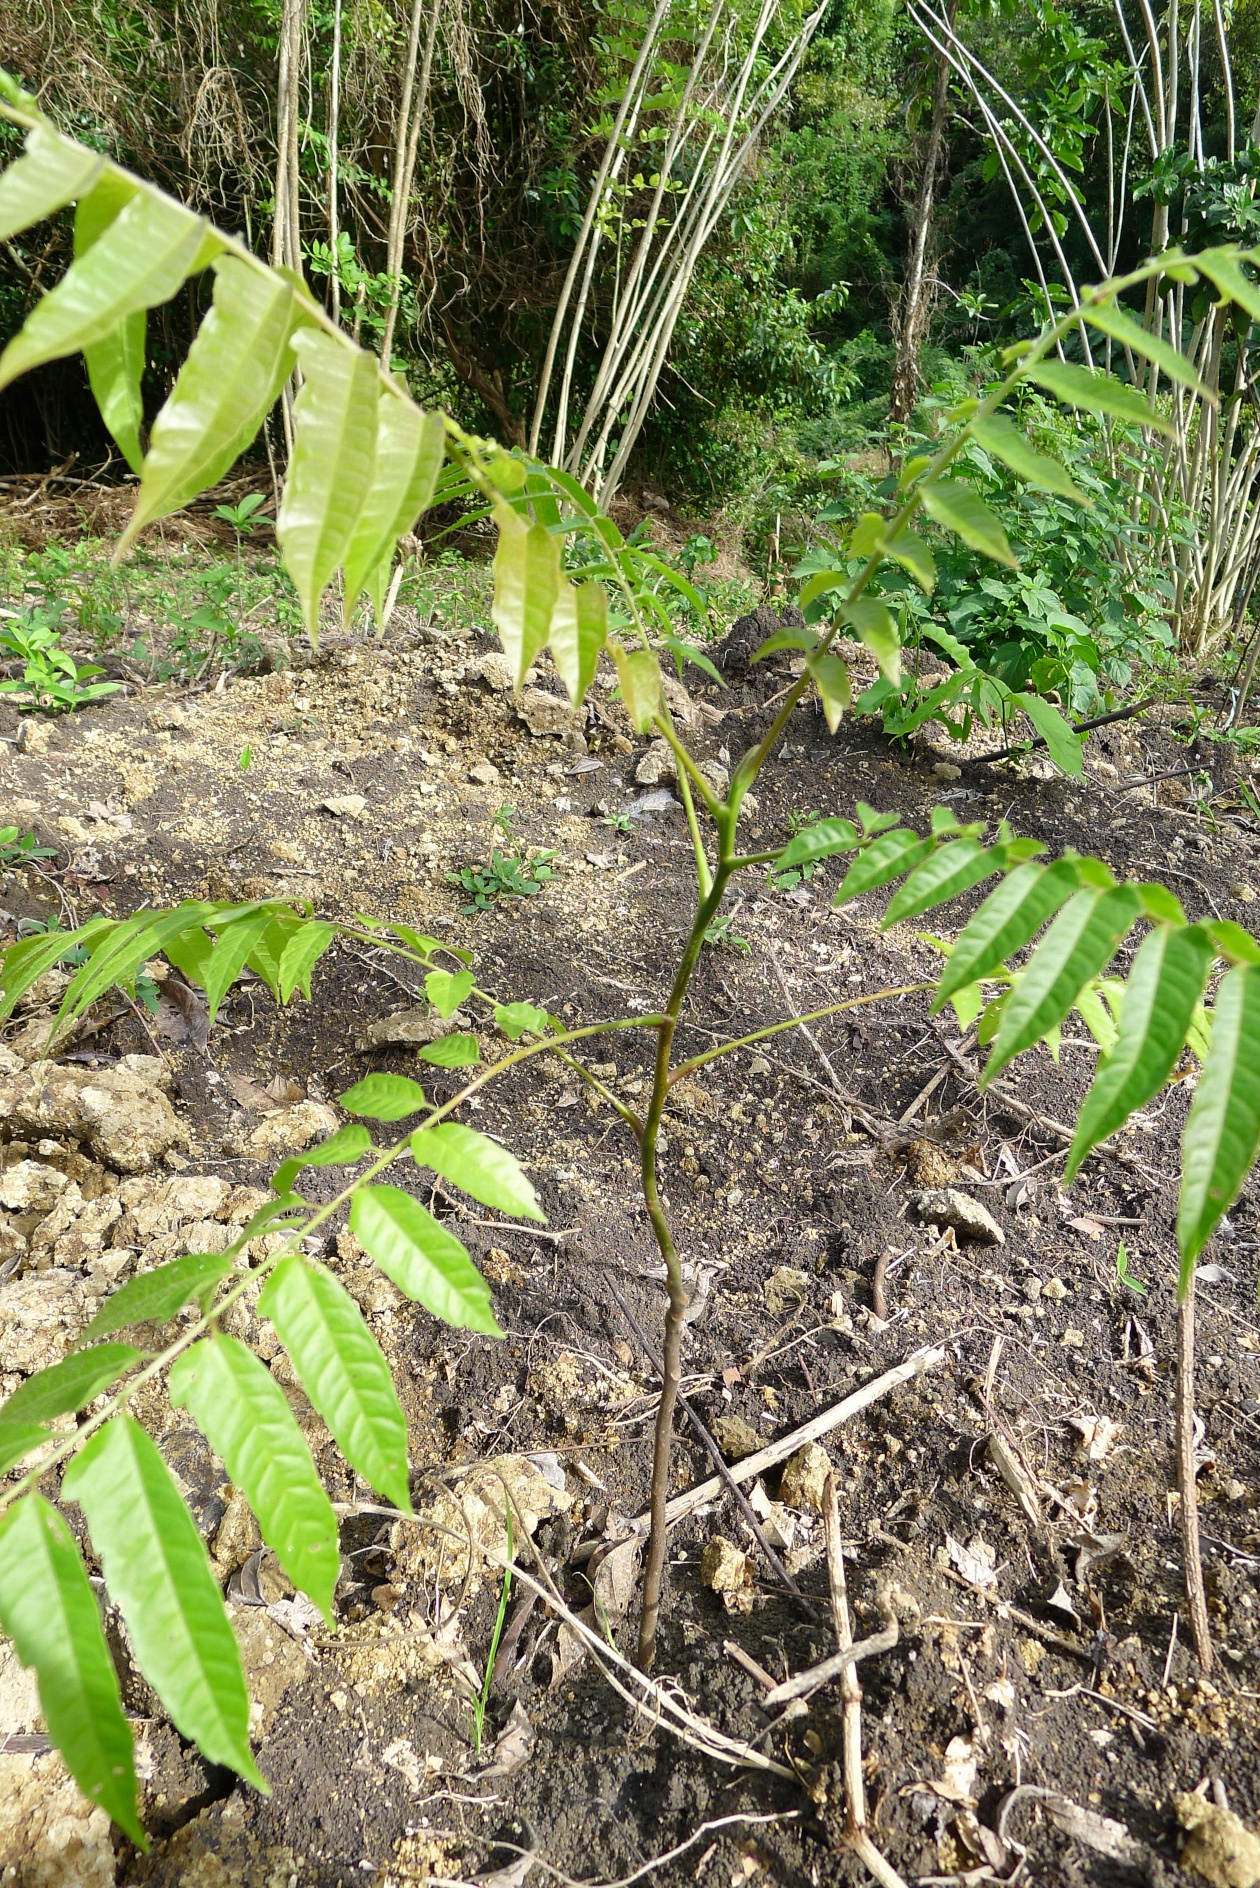
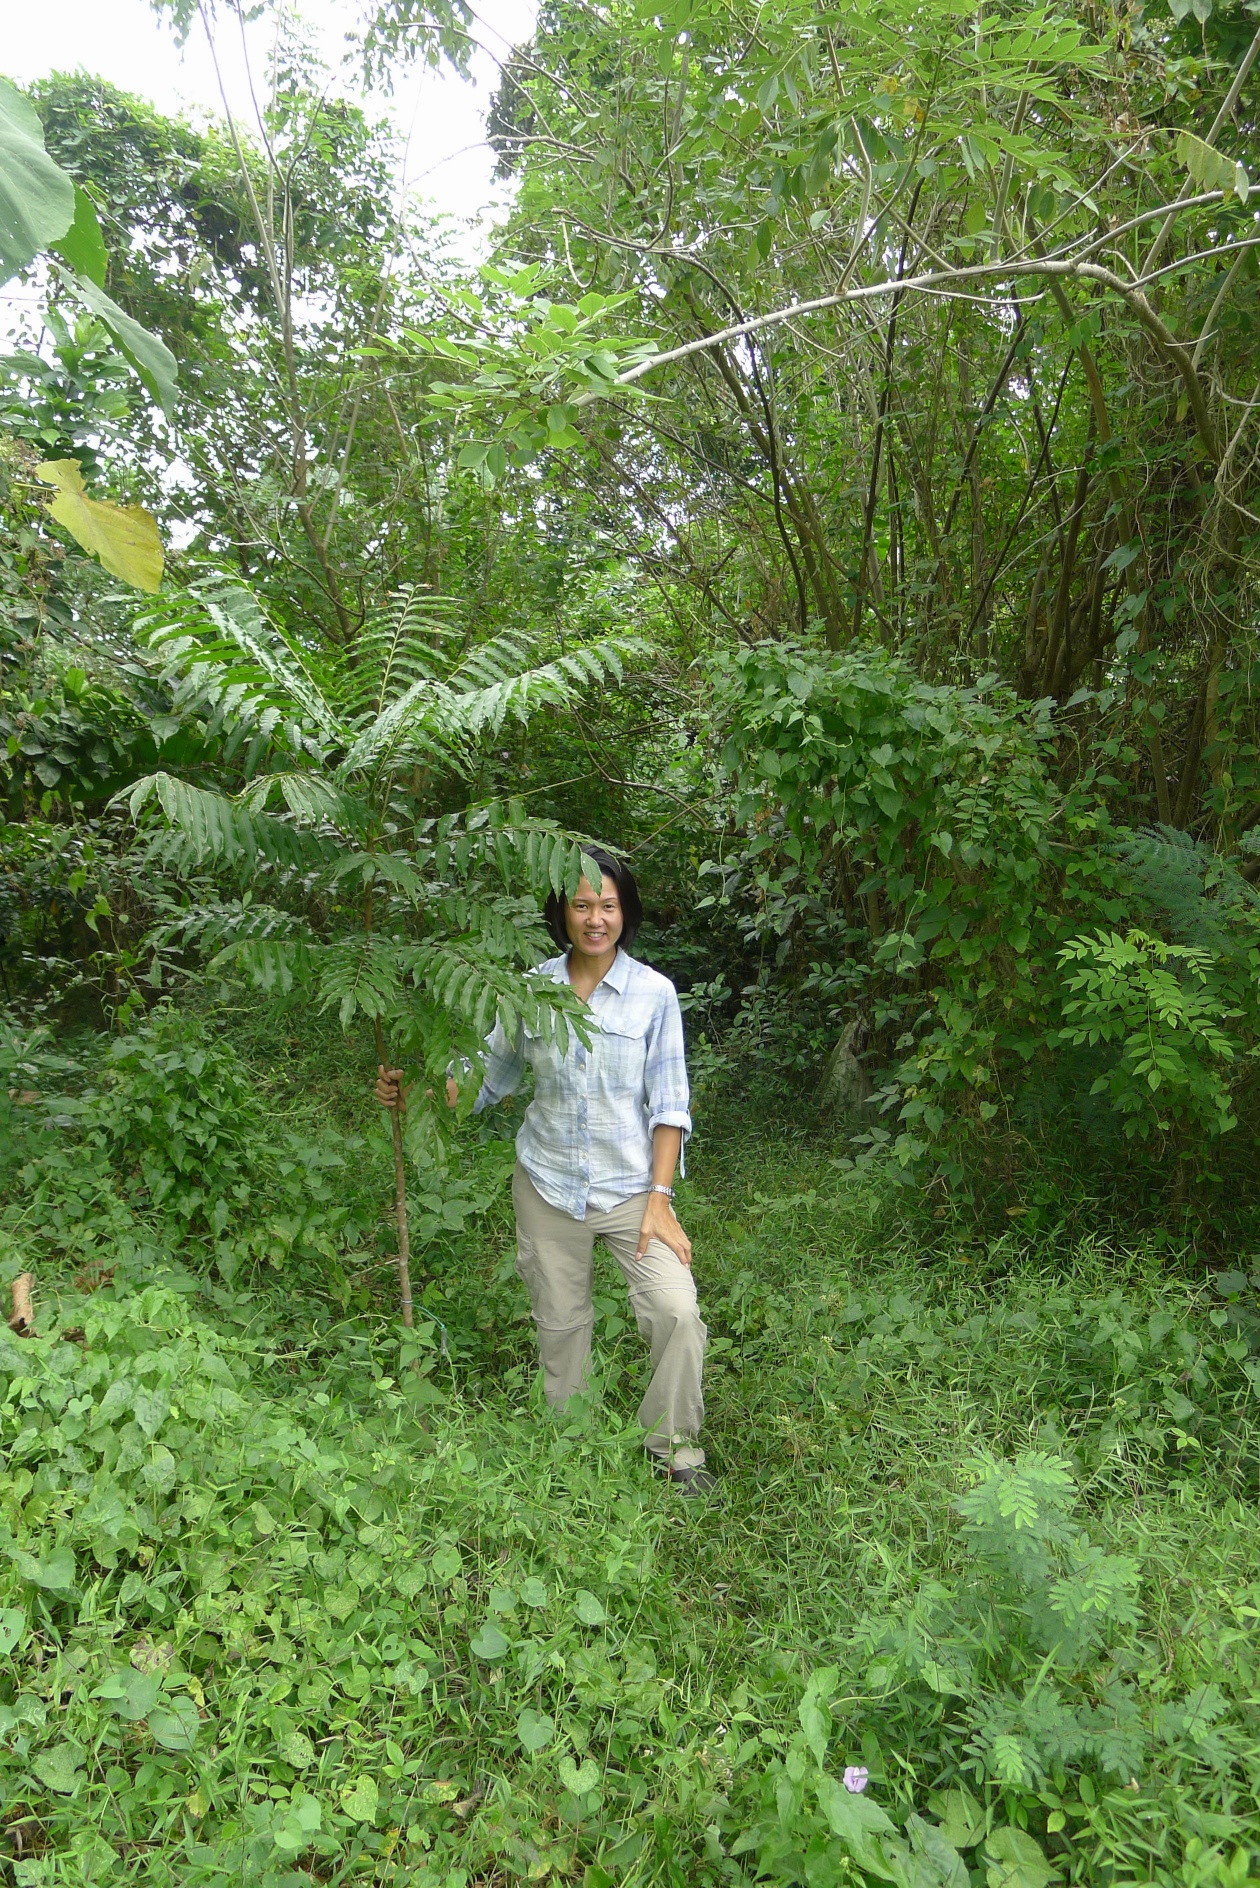
DAO
ROSEMARY
This was the husband’s pet project — to have rosemary bushes growing around the house so that when you brush up against it, you are greeted with a waft of fragrant rosemary. I didn’t think the rosemary would survive, but the did! The are planted under the eaves of the house to protect them from too much rain. The rosemary also releases its fragrance when it rains and the leaves get wet. Now no matter where I am, whenever I smell rosemary I think of the veranda of our stone cottage.


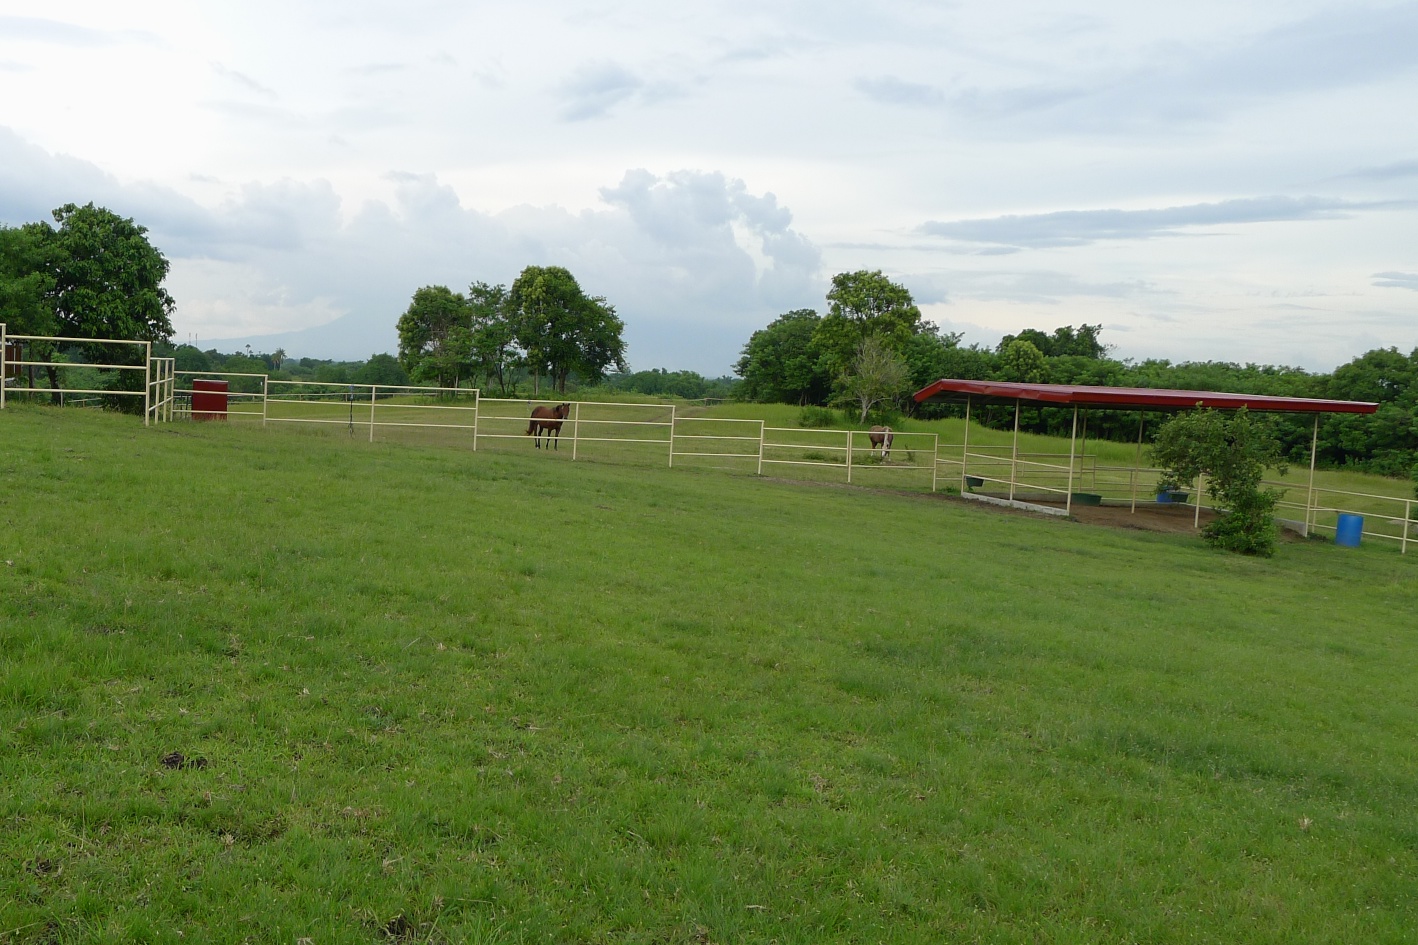
HORSE SHED
We’re not the only ones who got new and improved accommodations. The horses did too! One of the first things we built was the horse shed and fence around the horse paddock. We followed the general specs of the horse sheds at the horse farm where got our horses. We assumed that would be enough for sturdy Quarter Horses that are used to living out in the open. We assumed wrong! The new and improved horse shed has drains, cement walls and a roof extension. And it also has its own cement veranda where the horses are bathed and where they also like to hang out.

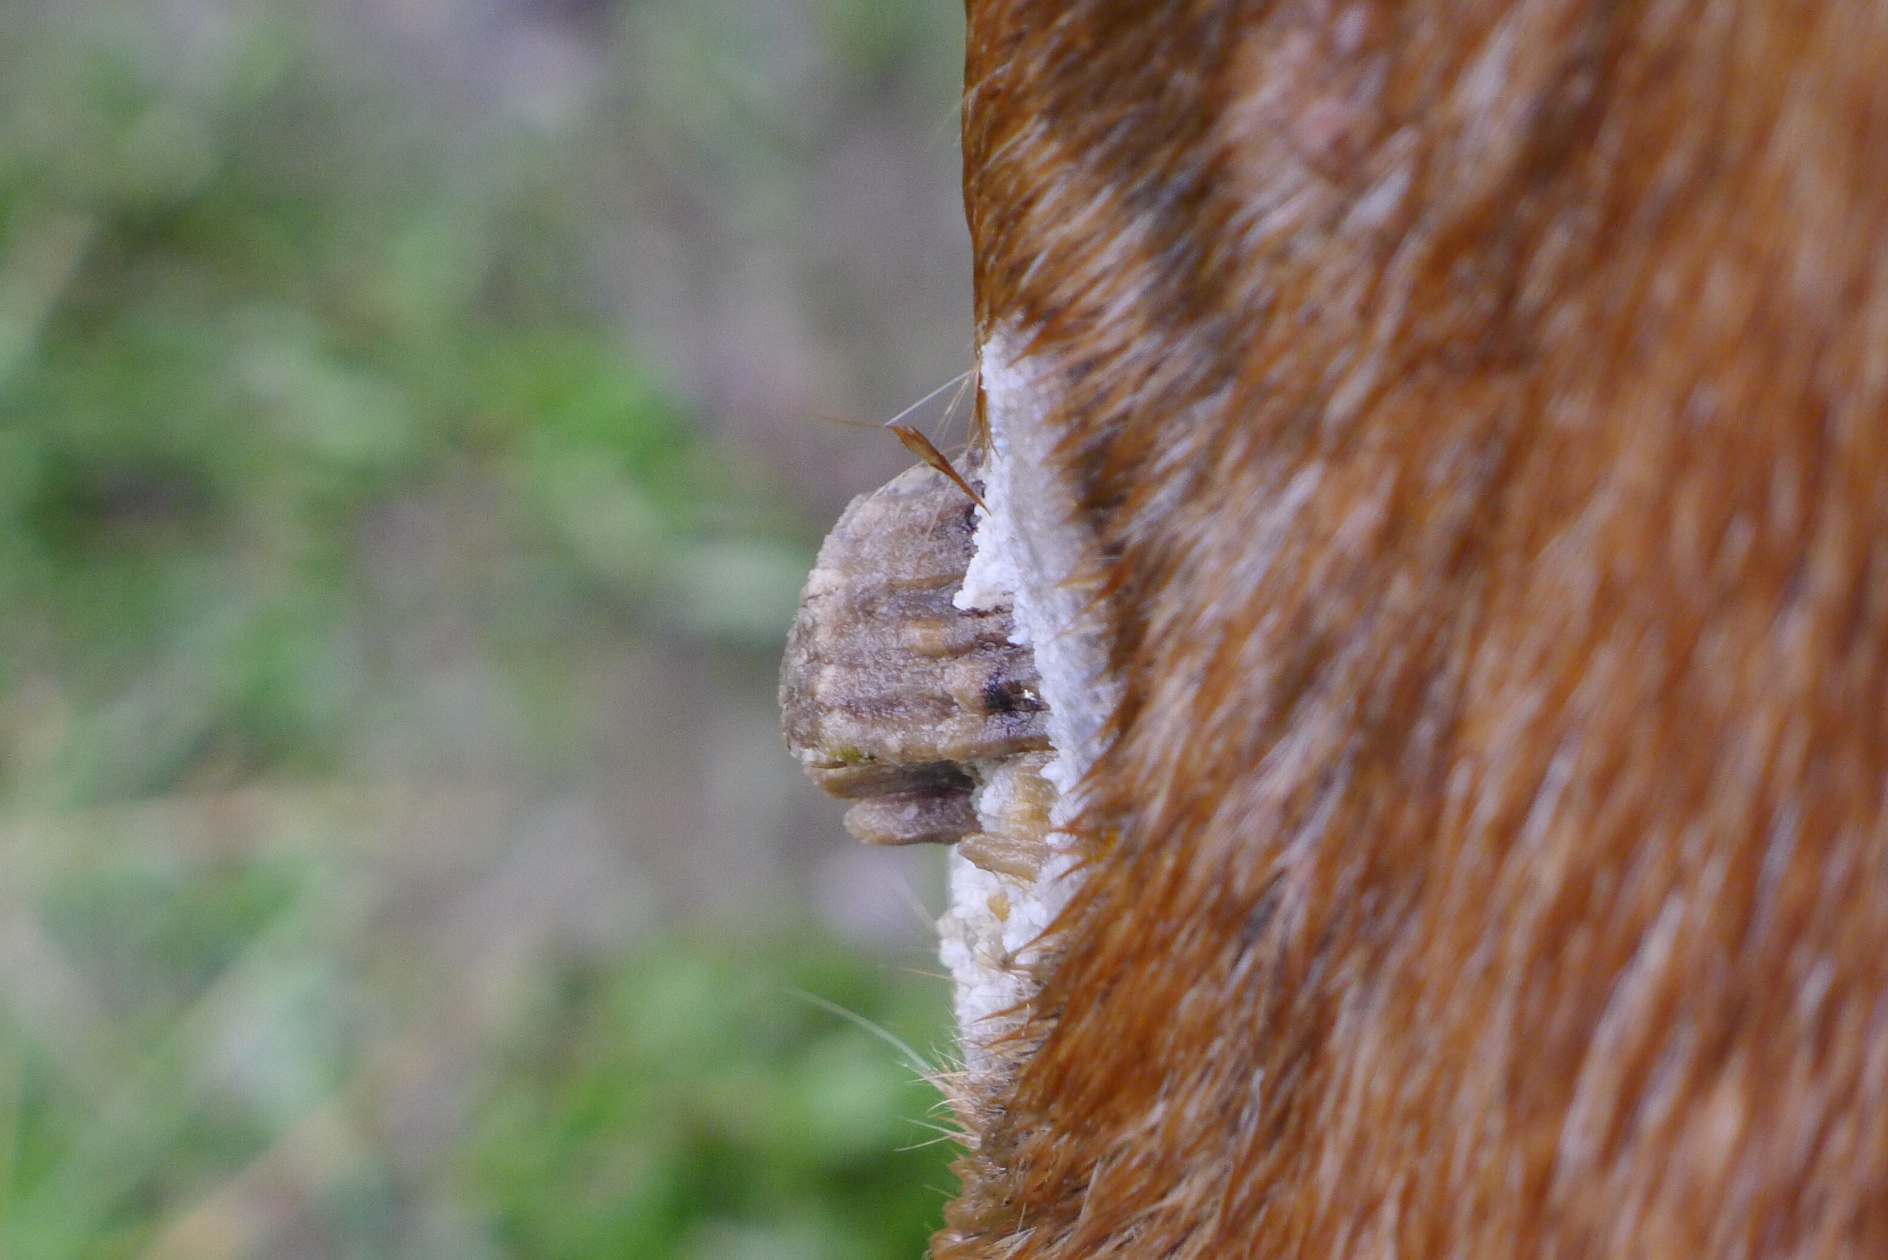
BATMAN‘S PROUD FLESH (WARNING! GRAPHIC PHOTO!!)
Before we improved the horse shed, the horses were getting all sorts of ailments. Both horses got a lot of cuts, bites, and small wounds. The culprits were their horsing around, sharp weeds, and horse flies. Takoy got lame twice. Then he had this scary looking growth on his leg that turned out to be a harmless thing called a horse chestnut. It’s the vestigial toe of the ancestor of modern horses! Batman got rain rot on his face. But this is the worst one: Batman got a boil near his cheek. We were treating the boil and it had subsided, when suddenly a new growth appeared above the old boil site! The vet said it was proud flesh. It looked like a fried egg! Thankfully, it responded well to Vetericyn, a non-toxic, non-steroid, non-antibiotic wound and skin care product endorsed by my horse training DVD guru Clinton Anderson!


And for added ewwwww .. the horse chestnut
Aside from improving the horse shed and paddock, we made other changes to improve the horses’ condition. We changed their feed, let them graze outside their paddock so the grass inside the paddock would have time to recover, let them wear fly masks, and hired an additional caretaker so we could be more rigorous with the hoof cleaning and horse bathing.
Because of all the health issues compounded with bad weather, the horse training and riding had to take a back seat. In November though, I did several rides all around the property on Takoy, with Batman following us like a puppy!
THE FLY PROBLEM – Work In Progress (or as they say in the knitting and crochet world “WIP”)
The FLIES! Oh my. This was a problem. At the height of it, I killed at least one dozen flies in one swat of the flyswatter! They were busy feasting on a drop of blood that spilled on the veranda floor from the dog’s food dish. I became very skilled at fly swatting. Either that or the flies in our place are very lazy and dumb. I could go on long fly swatting stretches without missing! Then just when you thought you had made a dent in the fly population, a whole new batch would appear.
My first attempt to fix the problem was to feed the horses diatomaceous earth, which is supposed to work as a mechanical (not chemical) insect killer. The diatomaceous earth or DE is made up of microscopically sharp particles that will cut up any parasites in the horse’s stomach. It doesn’t affect the horse. The horse expels it, then when a fly lays its eggs on the horse manure, the larvae are killed by the DE in the manure. It didn’t really work! I think I may have gotten a bad (fake?) batch of DE. Or maybe it worked, but we were still getting a lot of adult flies from the surrounding areas.
I tried four kinds of fly traps and fly paper.
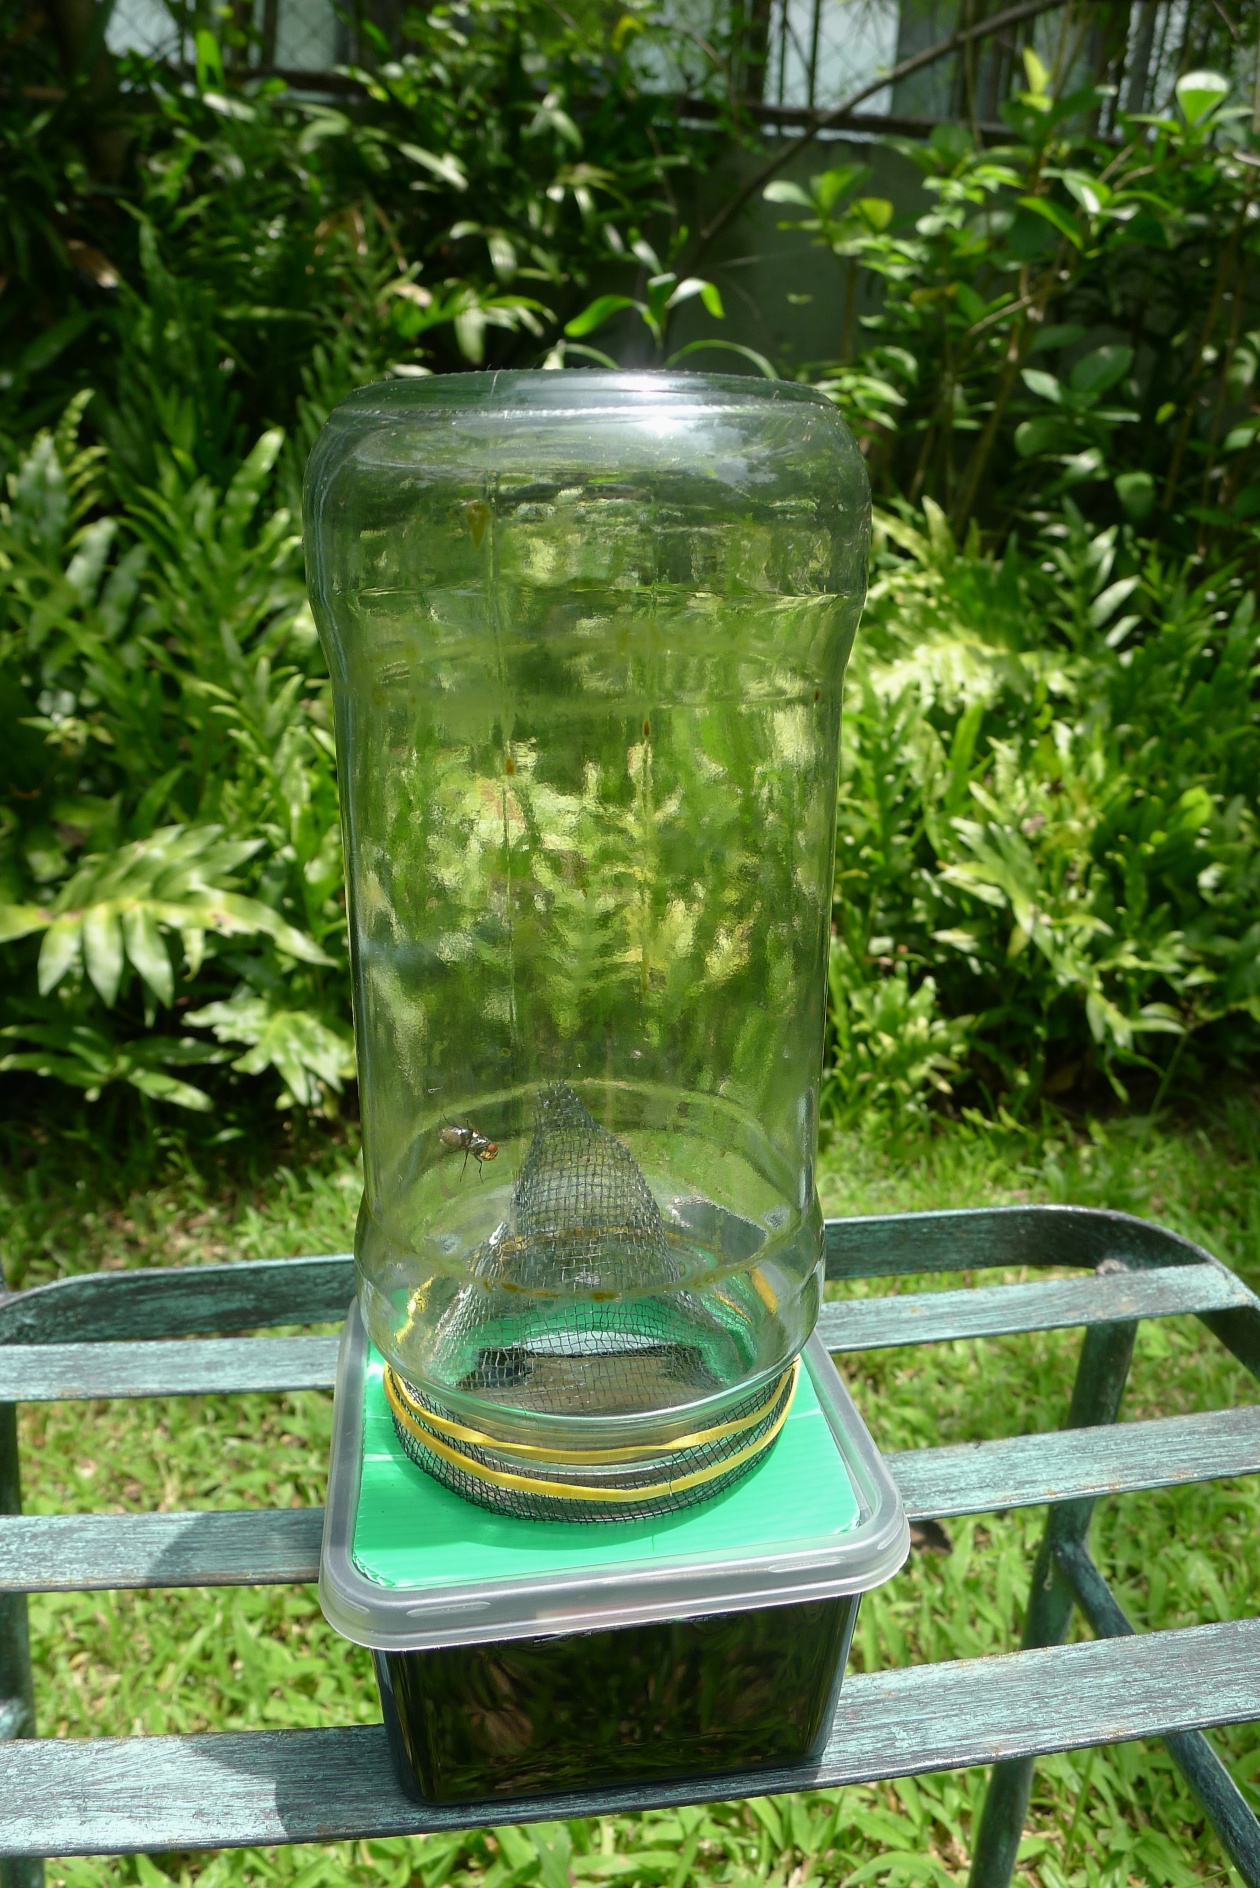
- Before – home made fly trap from June 2013

And the winning solution is: PREVENTION!
Pick up the horse manure every day!


Cook and eat inside the kitchen instead of on the veranda! Plus, I think it’s off-season for flies now. Not so sure.

BIRD PHOTOGRAPHY
It was one of my goals to take better pictures of the birds on the farm, especially the Grass Owl. Success! Now that most of the construction is done and we stay over for one or two nights, we have more time to take pictures!


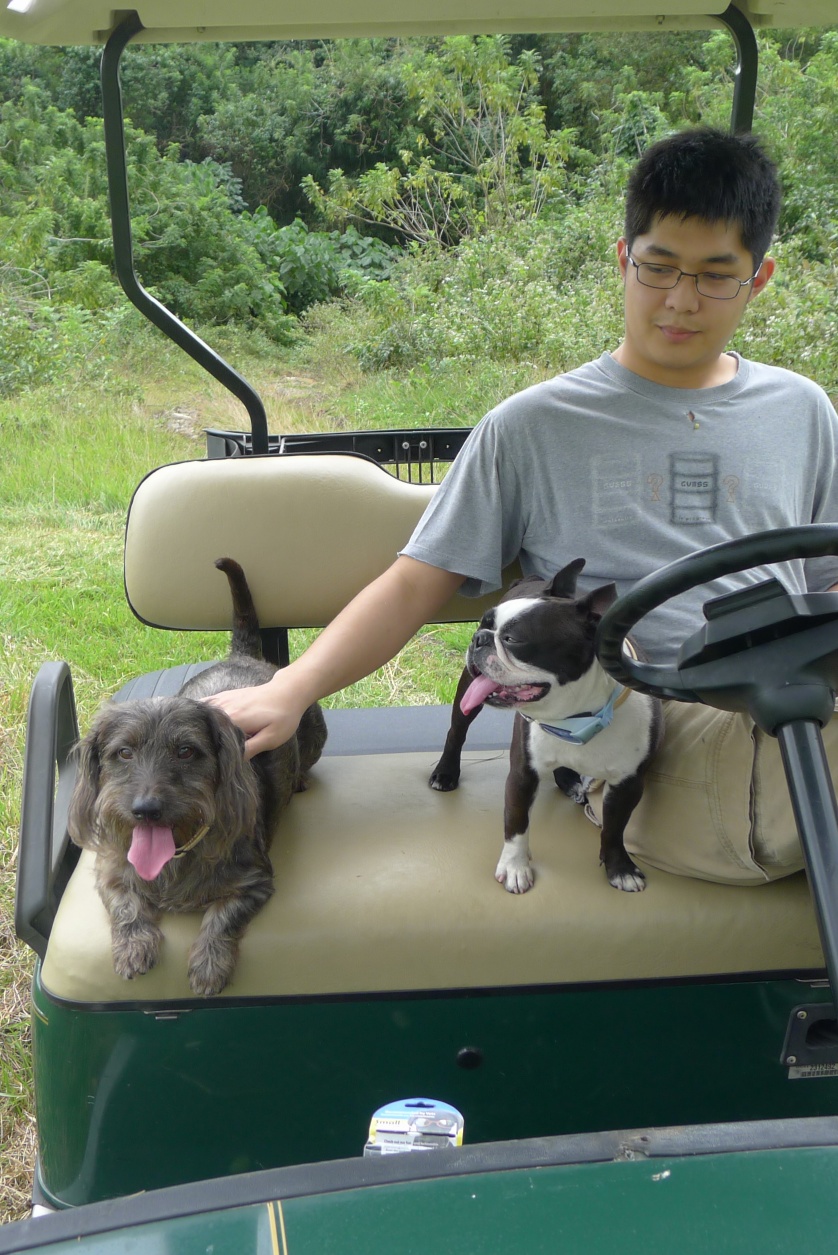
GETTING AROUND
Ok, this is a little embarrassing and may or may not be an improvement. We used to walk. Now we ride! I thought that we and the dogs would get stronger and fitter from all the walking around. Then the husband had an episode of heat stroke while lugging his photo gear around. The dogs seem to have a built in 30-minutes-at-a-stretch limit of comfortable exertion.
Our golf cart is very green though .. it is an electric golf cart that is charged via solar power! It is very quiet and has no emissions. Also, it doesn’t tear up the paths the way a regular car does. We don’t bring our other vehicles into the main farm anymore to keep the trails nice and mud-free.
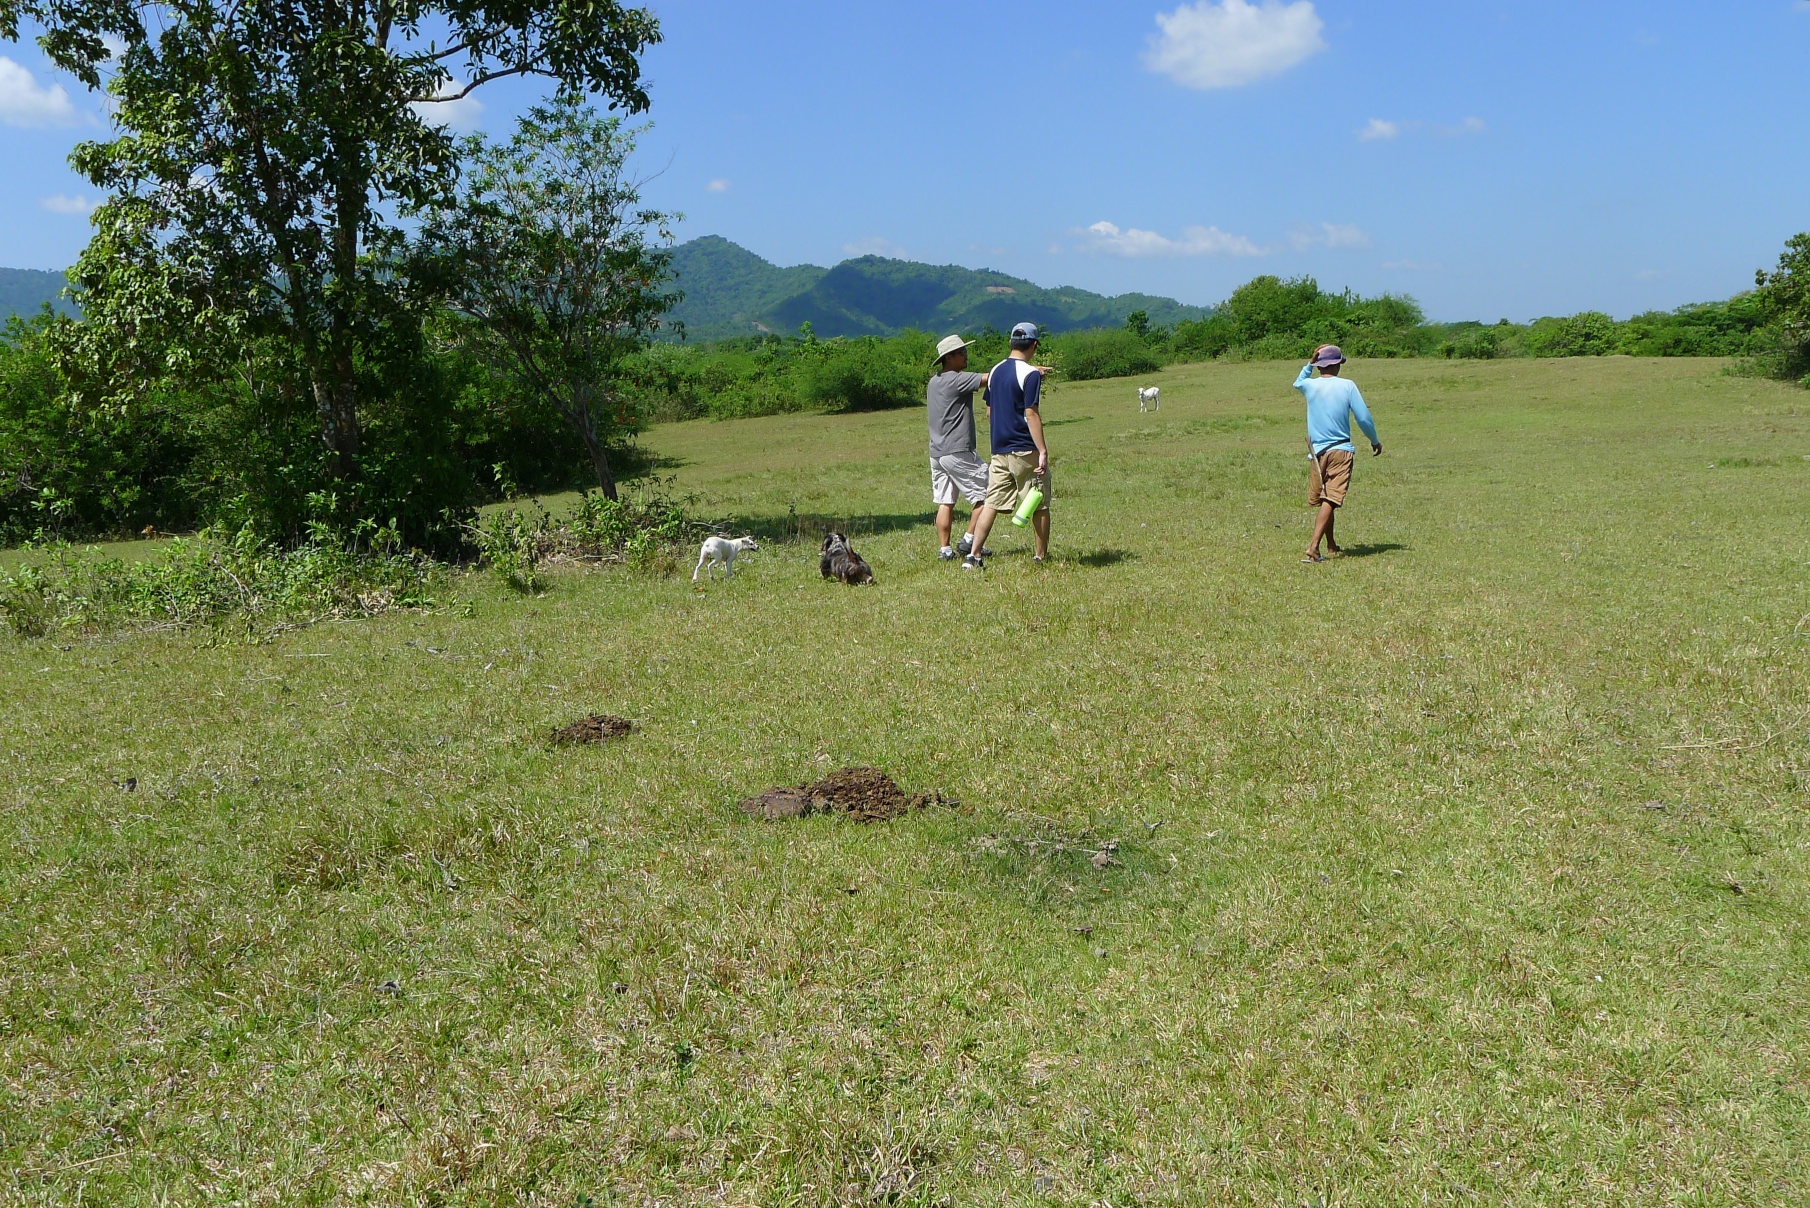
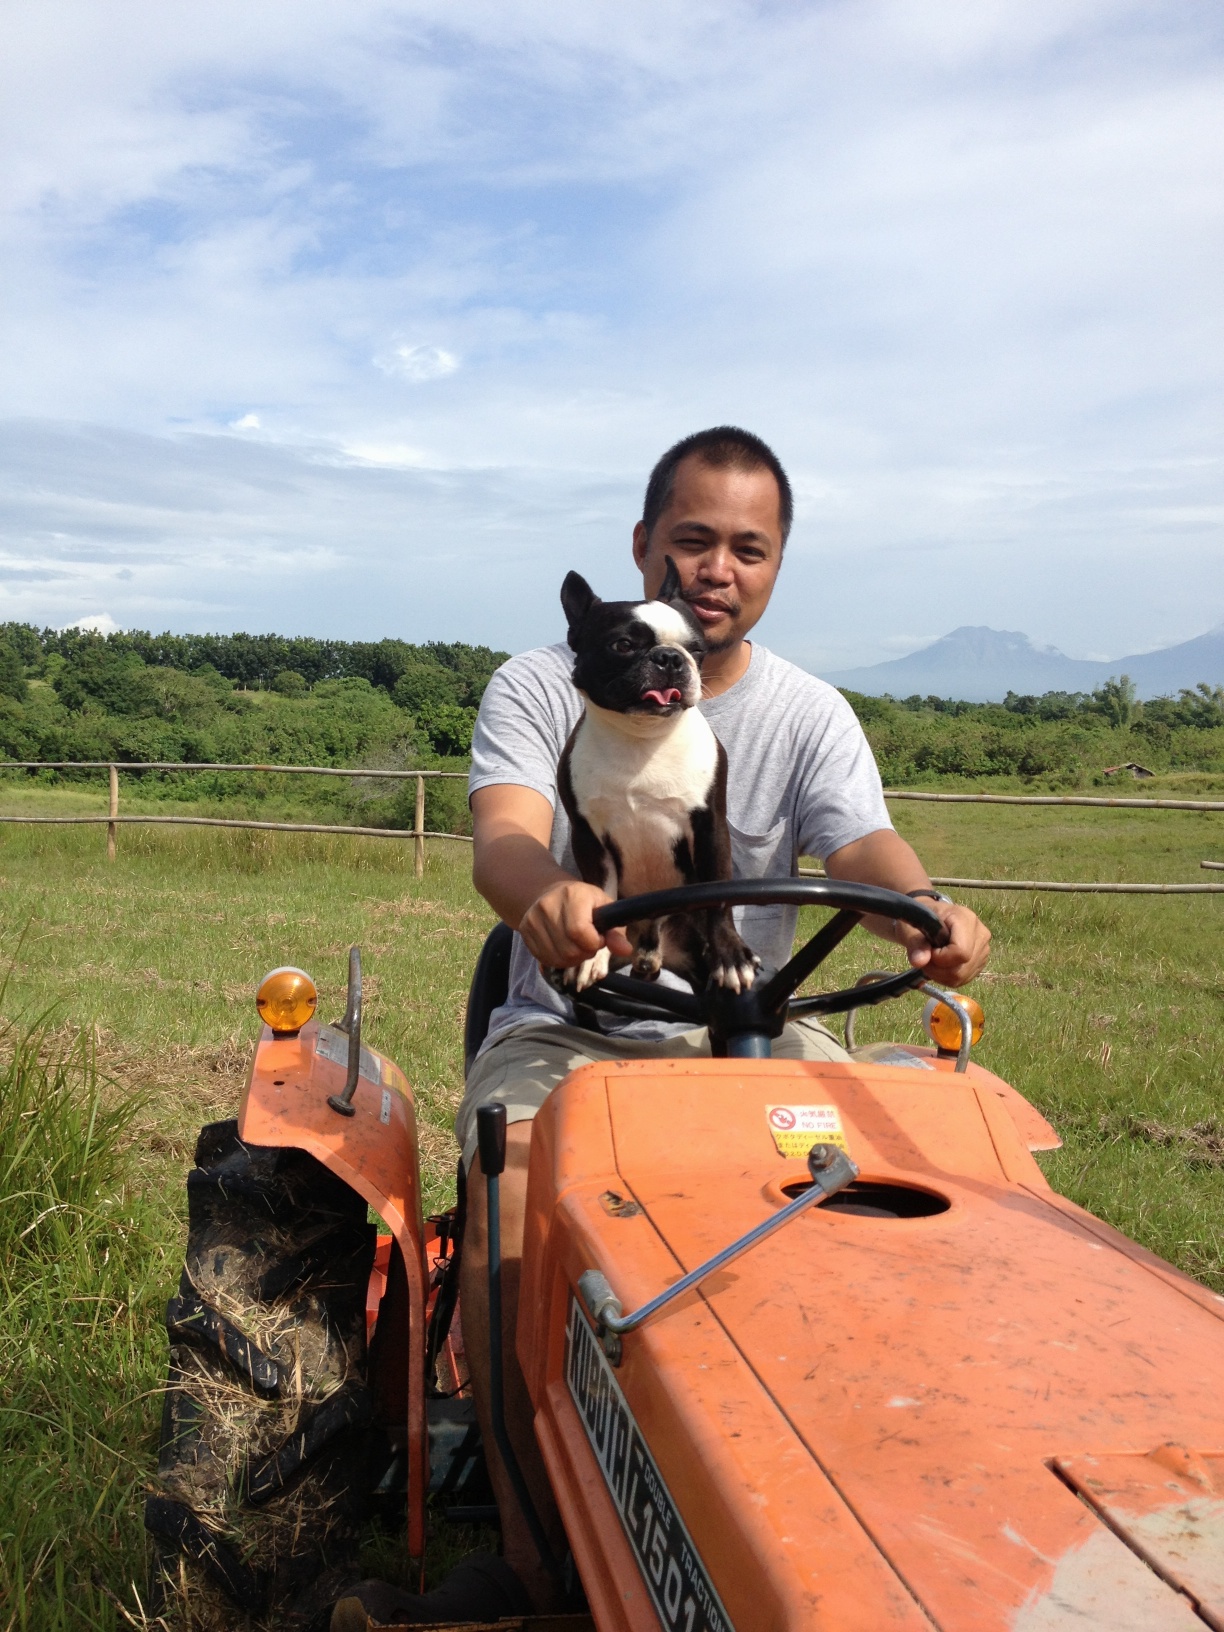
And this is just for the fun of it:
So that was 2013! I’m looking forward to 2014! Here’s a New Year’s wish from Neil Gaiman (in 2012):
“I hope that in this year to come, you make mistakes.
Because if you are making mistakes, then you are making new things, trying new things, learning, living, pushing yourself, changing yourself, changing your world. You’re doing things you’ve never done before, and more importantly, you’re Doing Something.
So that’s my wish for you, and all of us, and my wish for myself. Make New Mistakes. Make glorious, amazing mistakes. Make mistakes nobody’s ever made before. Don’t freeze, don’t stop, don’t worry that it isn’t good enough, or it isn’t perfect, whatever it is: art, or love, or work or family or life.
Whatever it is you’re scared of doing, Do it.
Make your mistakes, next year and forever.”

Oh, what fun! I think your first tree with the big leaf is Tangisang bayawak. It’s a huge tree, like the one behind the UP Main Lib. near the canteen. The second one is Malapapaya, I think. Check out your PNT 101. It will become very beautiful in time when the flowers and the seeds show and the flock of birds, of course! I enjoyed reading your Farm diary. Thanks for sharing, Syl. 😉 It is so encouraging!
Thanks Lydia! According to my label, the one with the big leaves is Tibig! We also have papaya growing wild, I think that’s one of them behind me in the pic, not Malapapaya. Cel T just gave me a Tagisang bayawak.