There is a weird hybrid duck hanging out with the Philippine Ducks. We first saw it in the Big Pond swimming . When the Philippine Ducks flew to the Water Lily Pond, it went with them. When they flew back to the Big Pond, it was still with them! It seems determined to hang out with the Philippine Ducks!
It’s much bigger than the Philippine Ducks
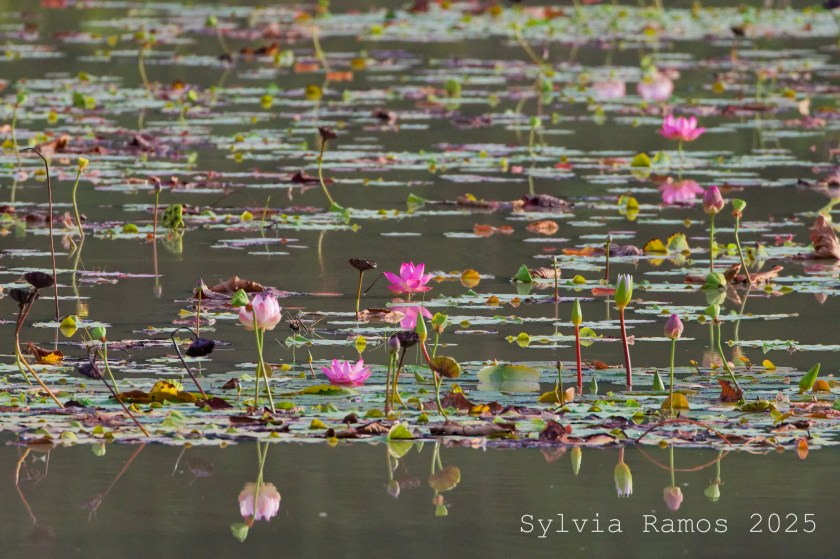
The lotus in the Big Pond are even bigger now.
I went around with my camera and binoculars to look for birds to photograph. It’s no surprise that the best spots are:
The front of the cottage – we spend the most time hanging out in the veranda, so it’s strategically planted with trees and bushes for the birds!
The Big Pond – the areas around the pond are also attractive to the birds. There are probably a lot bugs and I imagine that the plants and trees nearby are growing extra well.
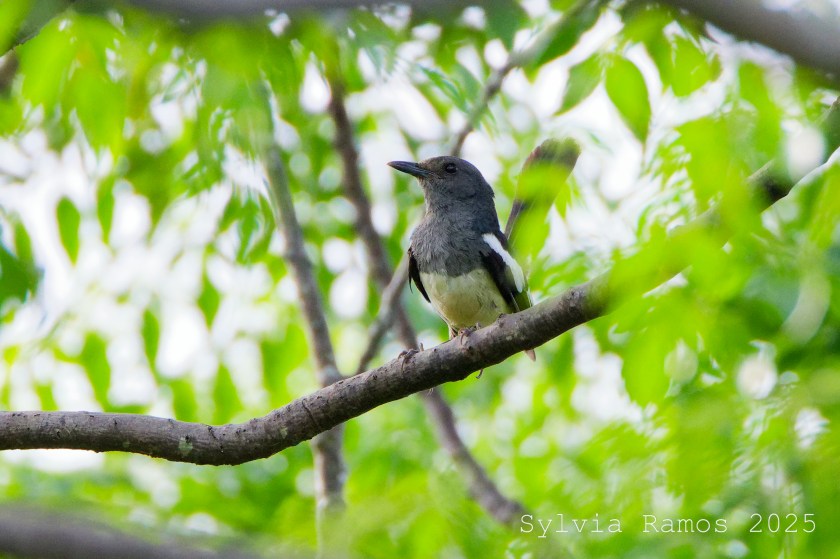
female Philippine Magpie Robin near the Big Pond
The Picnic Area – this area has a flat grassy area with a few trees in the middle, a path with trees on the side, and the Water Lily pond. The open grass part makes it easier to spot birds.
I used to dread going to the refuge in May, the hottest part of the year. It was stressful to see all that was green turn yellow and brown. This year however was not bad at all!
LOTS OF WATER
The Big Pond still has water! When we built the Big Pond last year, we made it as wide and as deep as we could. Our goal was to build a pond for wildlife that would capture rainwater and hold it year round unlike the ponds we had built previously which dry up during the summer months. The theory was that if we made the pond very big and very deep, it would retain water the whole year round. And the theory worked!
May 2025, the height of summer!May 2025, still so much water!
In the months leading up to summer, I wasn’t 100% confident that the water in the pond would last until rainy season. I was worried that the pond hadn’t collected as much water as possible. I expected the water to surround the island and maybe even reach the top of the spillway.
What an amazing sight to see a pond with water in the peak of summer! I think all the water plants also helped keep the water from drying up. It’s such a treat to visit the pond and see all the birds and plants. We counted 30 Philippine Ducks at the Big Pond. Seeing the pond in summer makes us want to build Big Pond No. 2!
LOTS OF BIRDS
Bird #112, Common Moorhen at the Big Pond
We added a new bird to the Refuge Bird List. Bird #112 is a Common Moorhen Galinula chloropus. It’s not a rare or unusual bird, and is usually found in ponds. Seeing one casually walking on the bank of the Big Pond was so satisfying. We have added a new type of habitat to our refuge that wasn’t there before and now the usual cast of pond characters are showing up at our place!
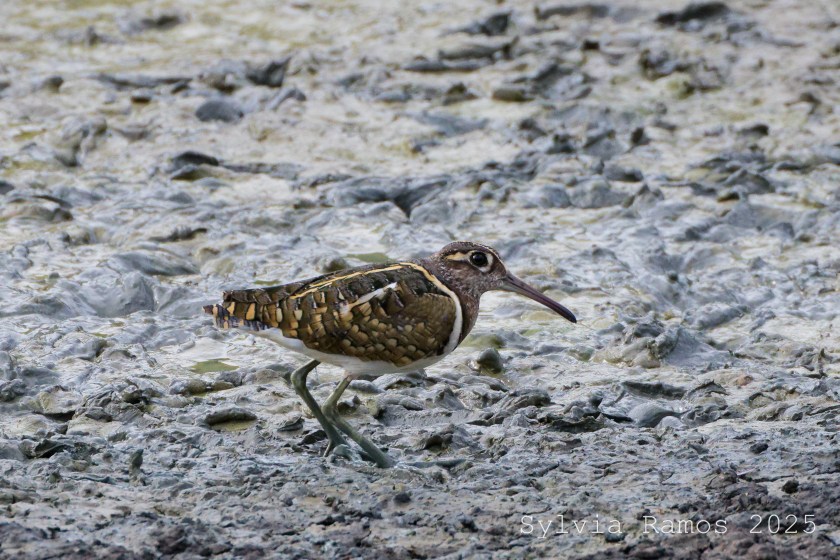
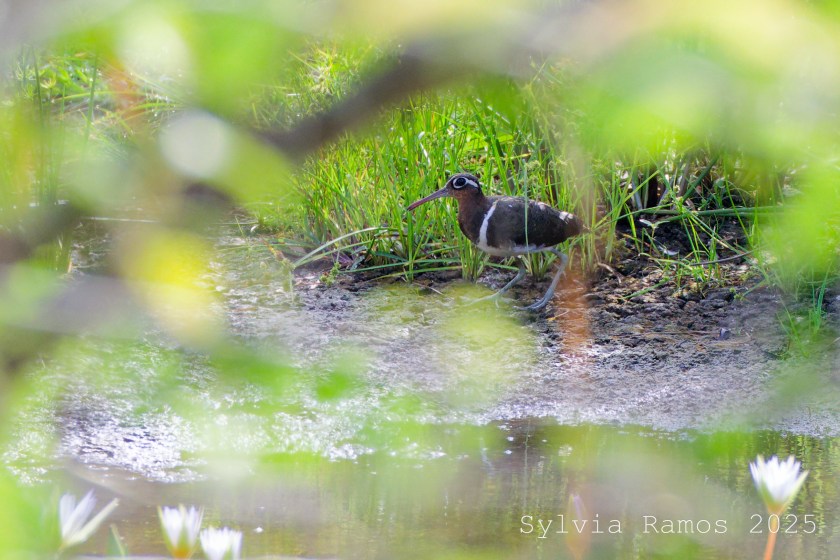
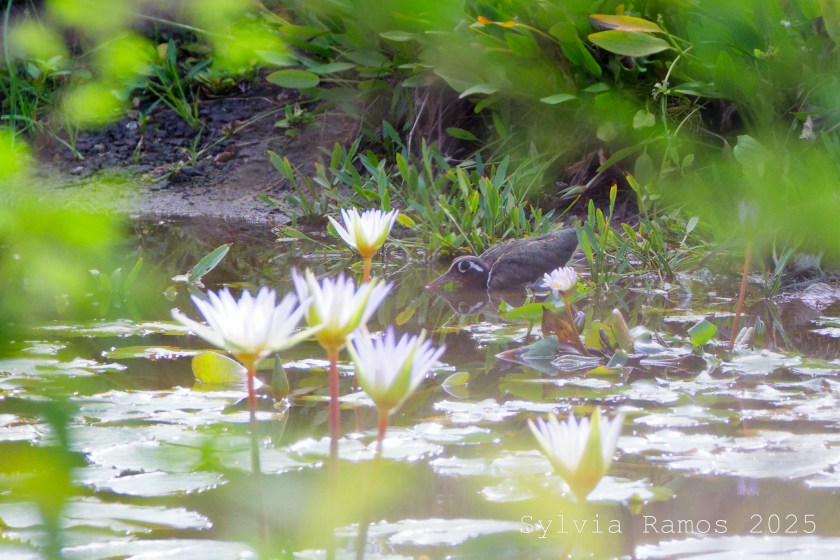
There’s a family of Greater Painted Snipes living in the Water Lily Pond area.
Dad
The male greater Greater Painted Snipes are the ones that take care of the babies. This male stayed behind when I accidentally flushed a group of them from the Water Lily Pond. I think the ones that flew off were the juveniles. This male stayed behind for a long time. Maybe he was trying to draw attention away from the juveniles?
I spotted the female in the distance, far away from the family.
Momtaking a dip
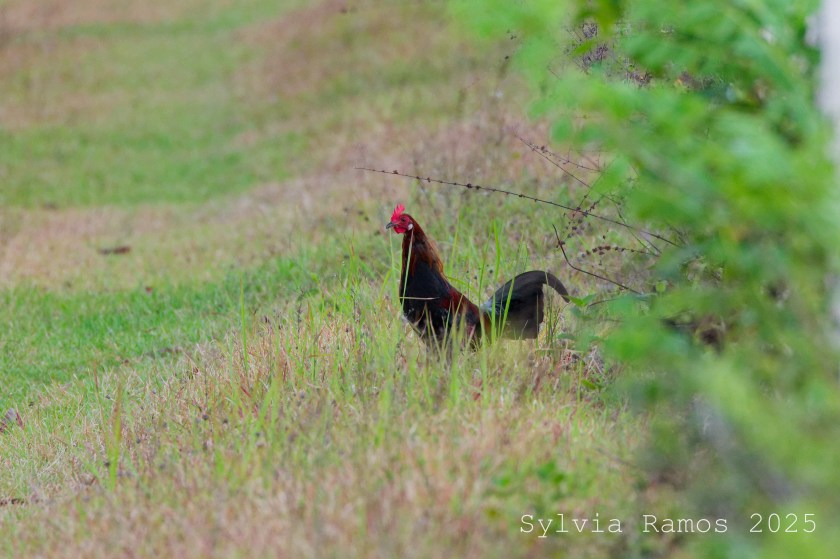
We saw a family of Red Junglefowl Gallus gallus at the horse paddock. There was a male, femaile, and 4 babies! The native domestic chickens are descended from this species.
malefemalethe horses are still around!
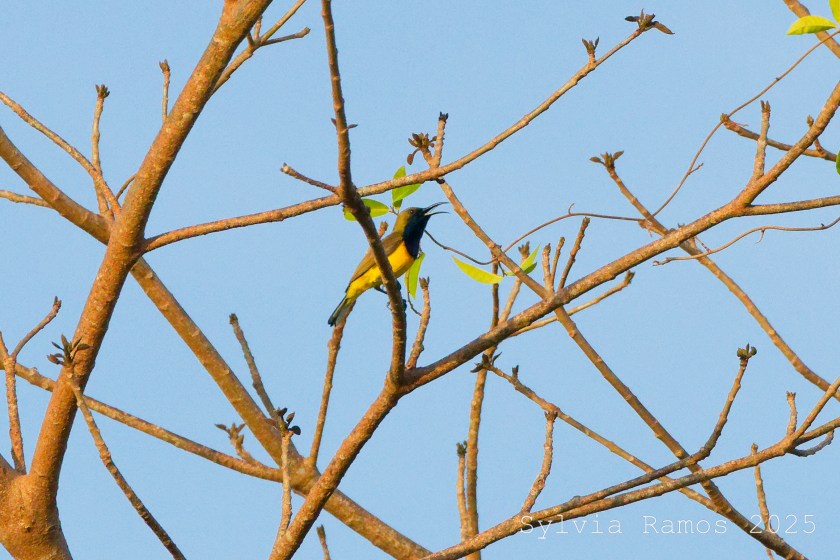
Other interesting birds we saw this month were this Garden Sunbird at the Big Pond showing off its irridescent throat feathers
Garden Sunbird
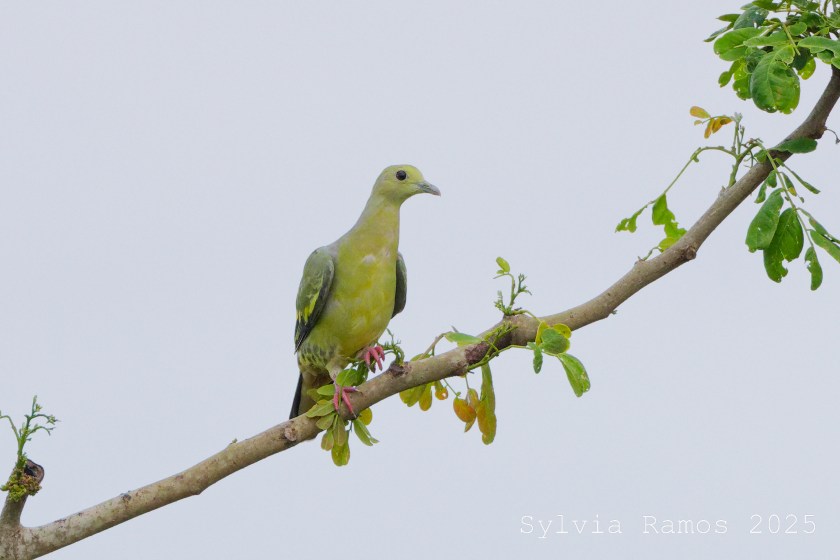
and this White Eared Brown Dove.
White Eared Brown Dove
LOTS OF PLANTS
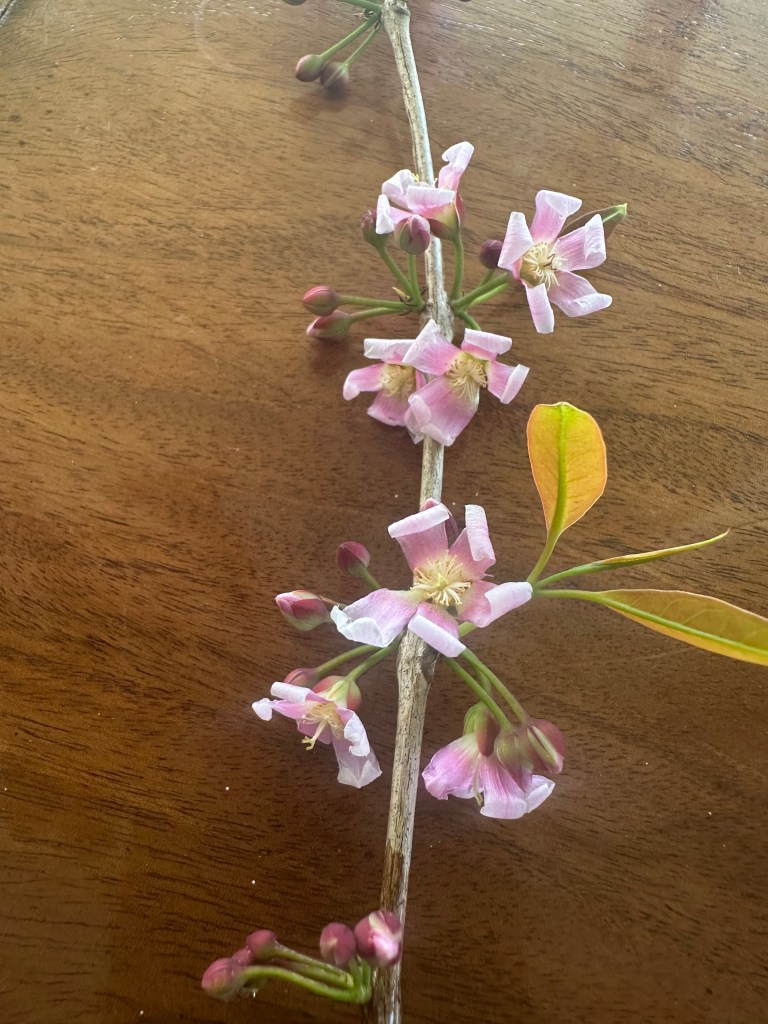
Our second Philippine Teak finally bloomed. We have a pair of Philippine Teak trees that came from the late Dr. Ed Gomez. One of them has produced flowers several times already since 2019. The other one just bloomed this year!
Philippine Teak
The lotus plants in the Big Pond have amazing flowers!
LOTS OF PLANS
We bought 150 pieces of Philippine Teak from Mark Carranza of La Luz. We will keep them in the nursery until rainy season comes around. Then, tree planting time again! He also gave us some native plants that are good as ornamentals — a type of jasmine and colorful shrub Memecylon edule.
La Luz Resortfirst time for Ollie and Lulu to visit a beach!
This was a very nice May and I think it’s mainly thanks to the Big Pond!
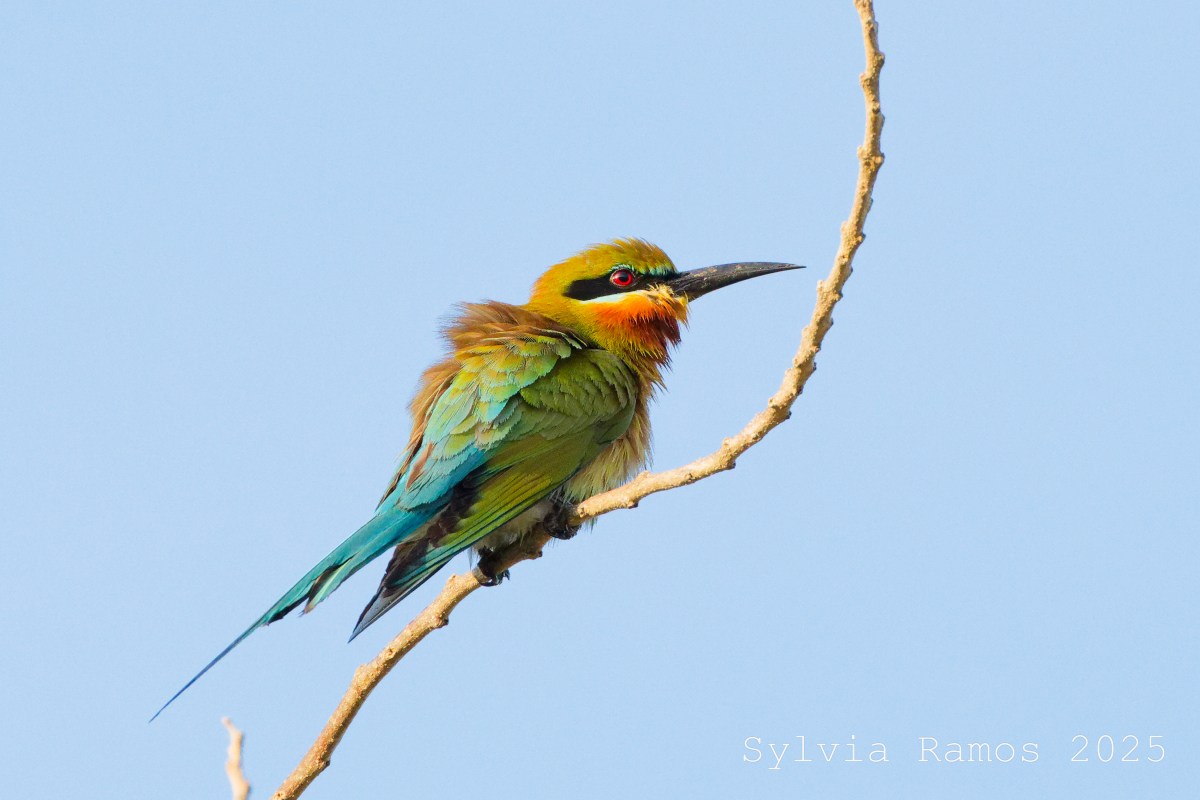
I write a lot about the Philippine Ducks in the Big Pond. What other birds that are not Philippine Ducks visit the Big Pond?
The Blue-Tailed Bee-Eater in the photo at the top. It was perched very close.
Coppersmith Barbet, very colorful and loud!
Olive-backed Sunbird. It has a beautiful song.
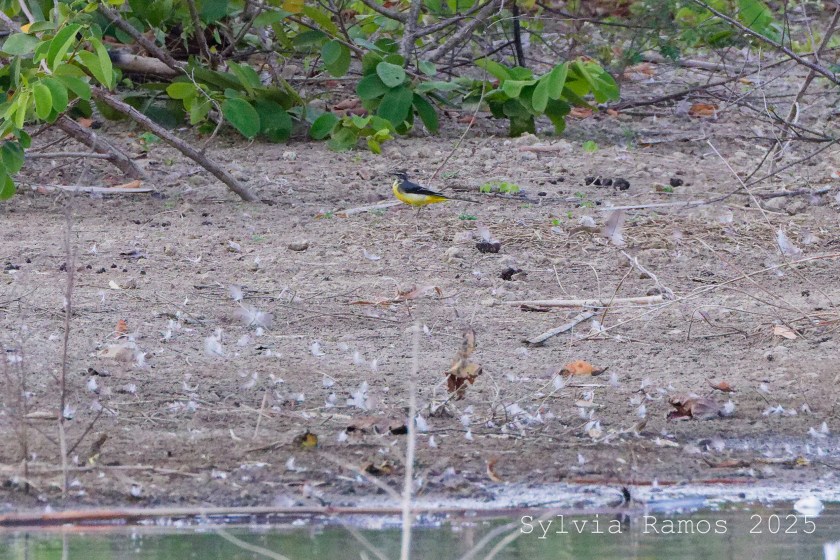
Grey Wagtail.
Barred Rail. We are seeing them more frequently.
Northern Shoveler.
We also had our first lotus flowers in the Big Pond. Our friends Ixi and Mikeli gave us 2 water lily plants and I thought they died. It turns out they had been growing and spreading. I didn’t recognize them as lotus plants because they were mixed in with some water lilies. I also don’t know why so many of the leaves are dried up and brown.
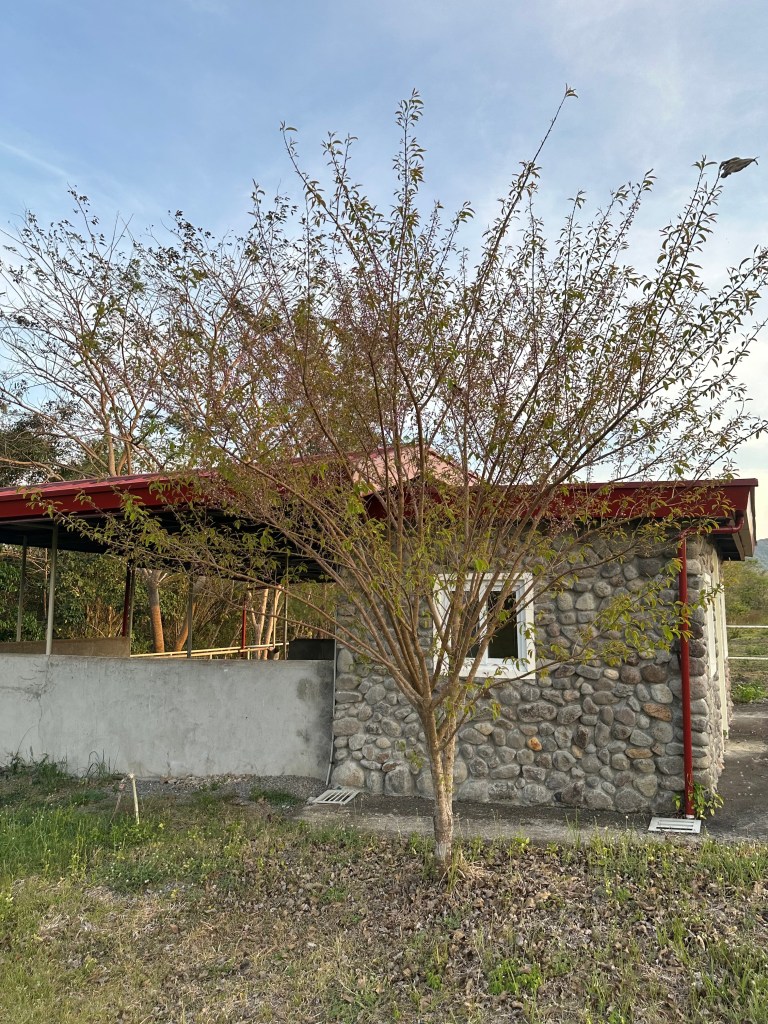
The Salingogon tree near the horses house flowered for the first time! We have two of these Salingogon trees. The flowers are very small and dainty.
The Balai Lamok near the cottage made a miraculous comeback! Last October 2024, there was a huge miscommunication with our caretakers and they removed our beautiful Balai Lamok! Not even a stump was left. We felt crushed and sad and immediately planted something else in its place in an effort to erase the bad memory. It seems the Balai Lamok was not compeletely uprooted. There are now multiple sprouts coming out of the ground!
Live! You can do it!!
Tonji said that he saw 2 Scale Feathered Malkohas while he was on the tractor cutting the grass. We went out twice to look for them, but did not see them.
This is what we did see.
Taluto aka Winged Boot. It seems like all of a sudden, we have several of these trees growing.
We had a rainy but nice last visit to the refuge for 2024. The veranda of the cottage is a great place to see all kinds of things.
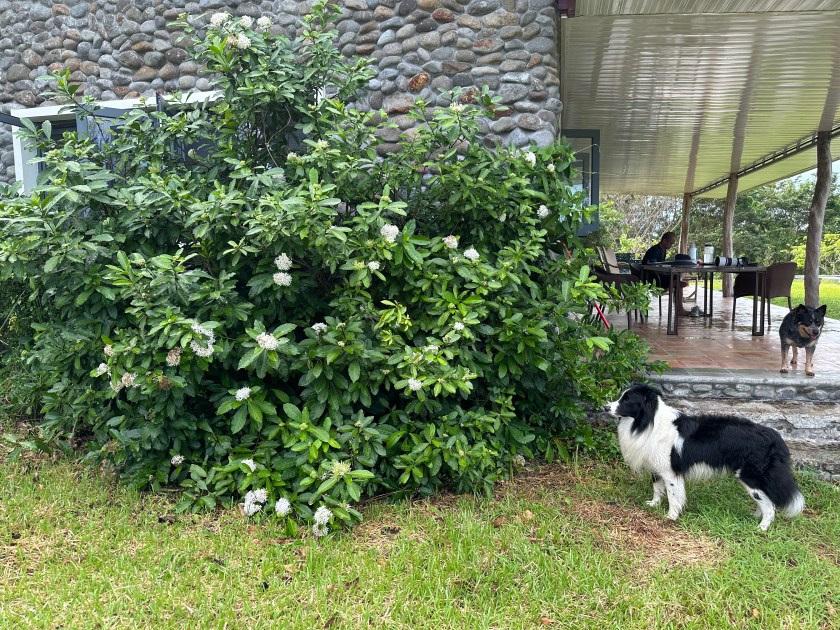
Native santan bush that’s starting to look like a small tree.
native santan
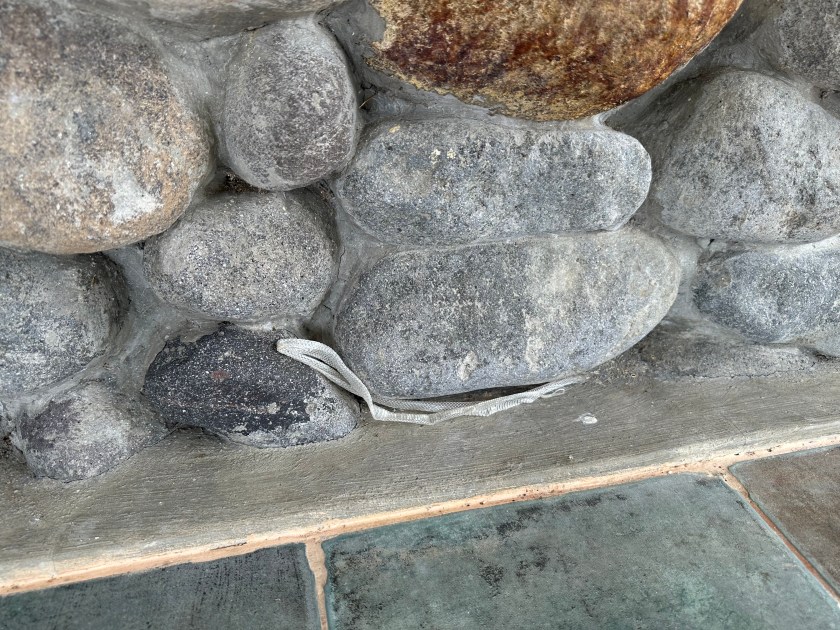
Small snake skin
snake skin
And of course, birds!
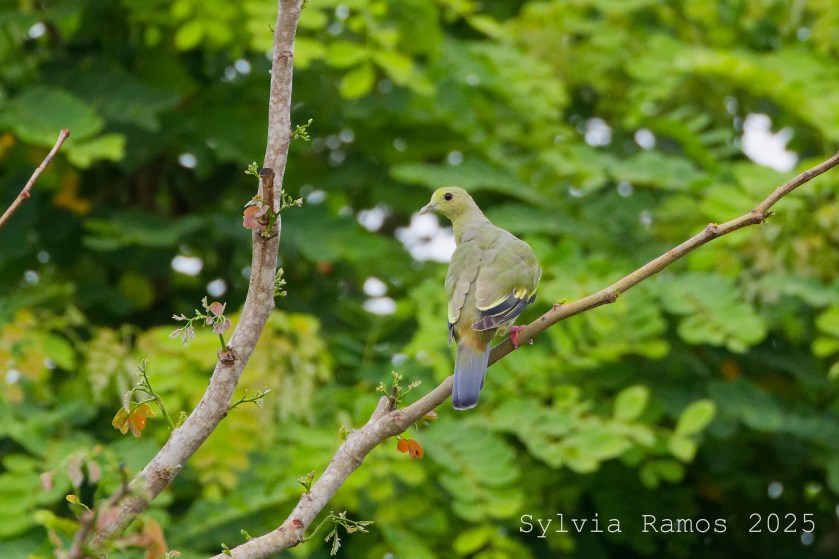
White-eared Brown Dove in the aratiles tree. We have a lot of these non-native aratiles trees because the birds love their fruits.
White-eared Brown Dove
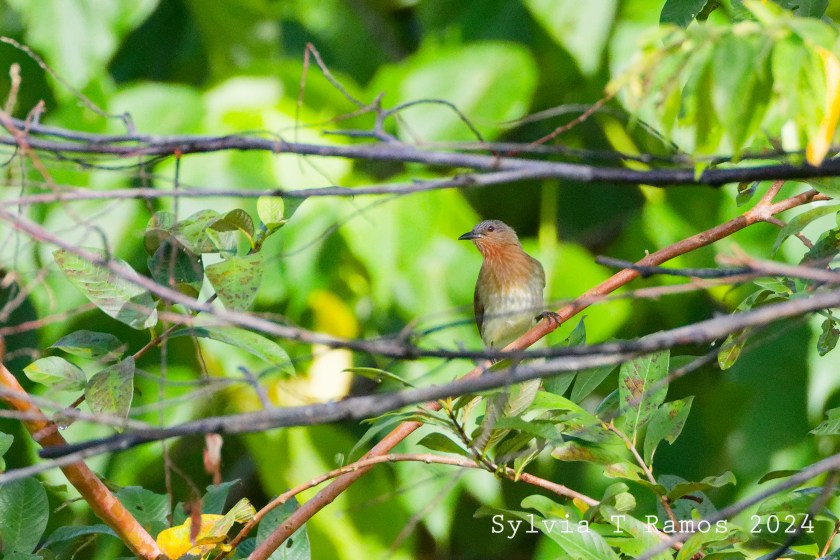
Philippine Bulbul
Philippine Bulbul
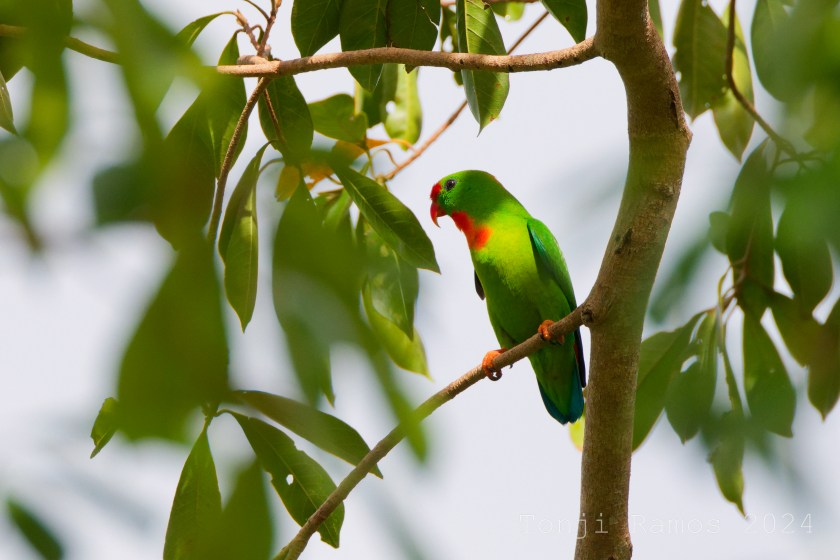
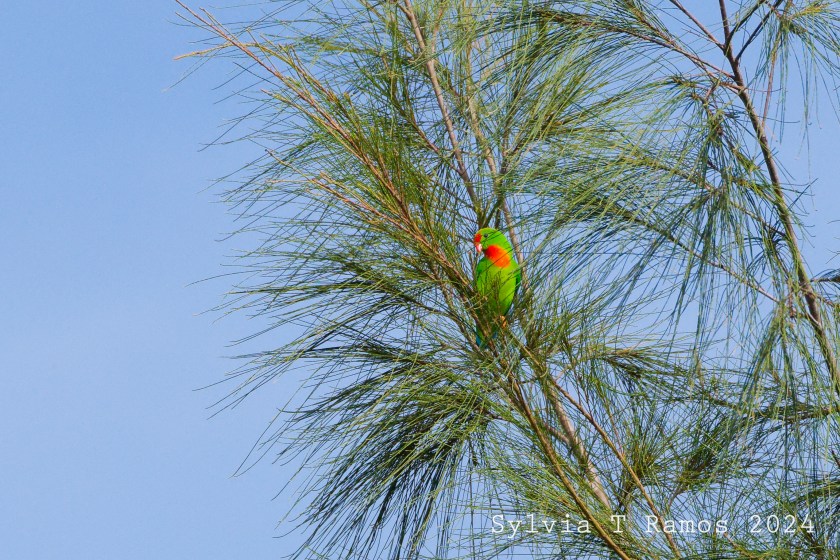
And one of our favorite birds, the Philippine Hanging Parrot or Colasisi. When we hear the call of this bird we already know that we it will be perfectly blended into the leaves and will take a bit of searching before we see it.
Colasisi
Unless it’s perched on the Agoho!
Colasisi on an Agoho tree
Tonji wanted to try something new at the Big Pond. Instead of using a ghillie cape like the last time, he set up a 2-seater hide by the pond.
Ollie with the bird hide
He left it by the pond overnight so that the birds could get used to it. Then he snuck inside early the next morning while it was still dark and waited to see what would show up. He thinks that the ducks were wary of it and kept their distance. But he got to see other birds in action!
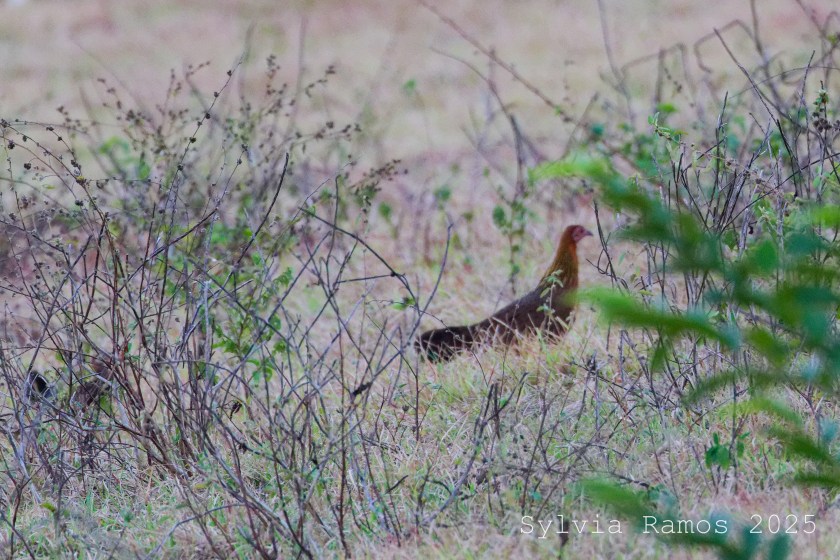
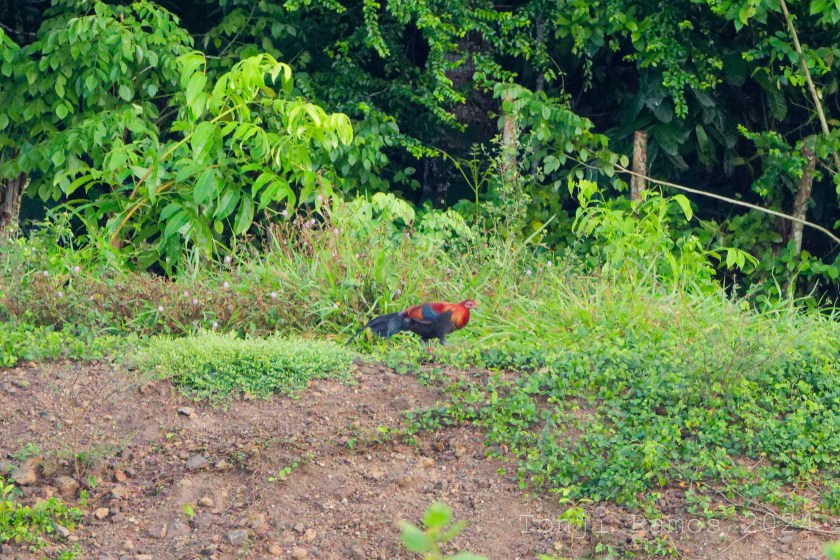
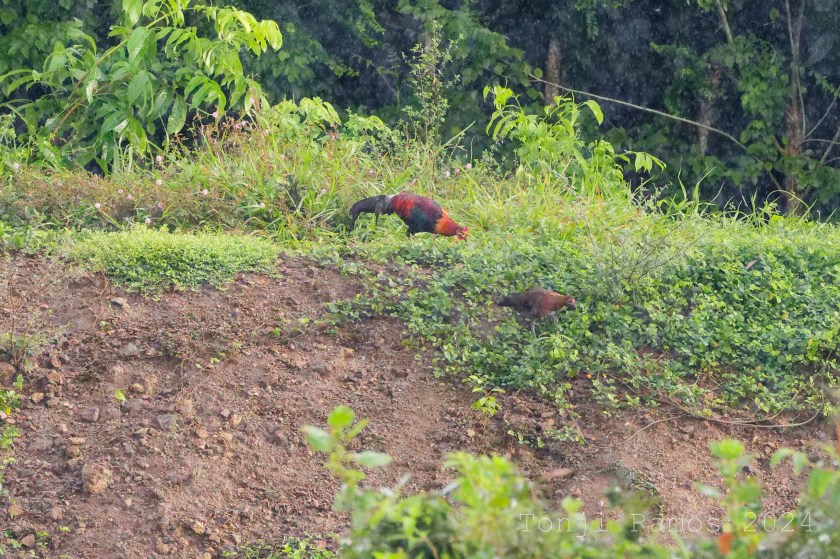
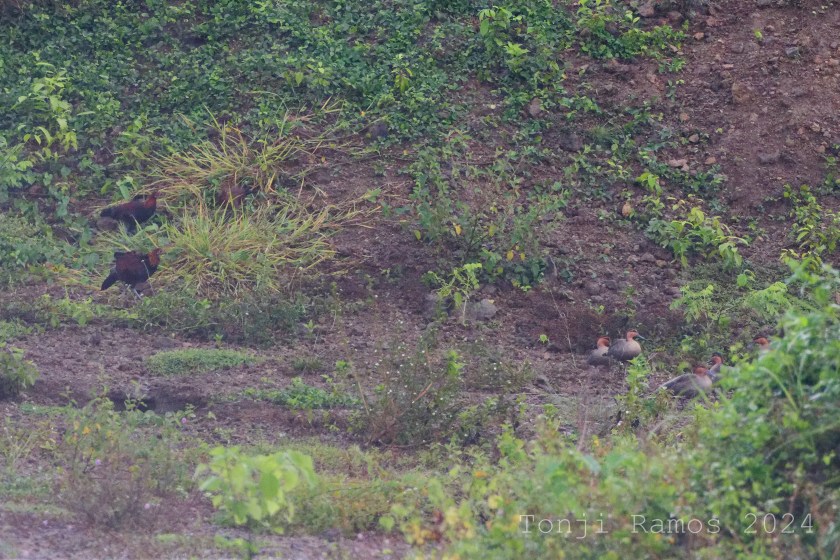
He was surprised to see a lot of Red Junglefowl Gallus gallus! The domestic native chickens are descended from Red Junglefowl. Tonji was surprised to see them fly across the pond. Unlike domestic chickens, the wild Junglefowl can fly well.
So exciting to be able to observe them!
There were several males and females. Tonji chose a good location for the bird hide. Different kinds of birds were converging at the same bank.
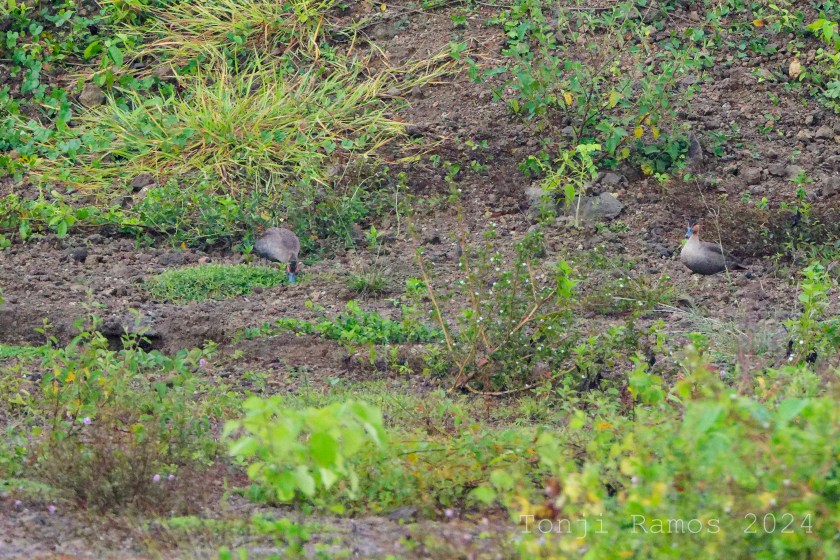
Barred Rail or Tikling.
The Philippine Ducks were also in the area. It was so strange to see Philippine Ducks and Red Junglefowl together! There were probably a lot of bugs in the mud.
The ducks looked like they were digging.
White-Breasted Waterhen
White-breasted Waterhen
He also saw two Wandering Whistling Ducks.
Wandering Whistling Duck
They were swimming in the Big Pond with the Philippine Ducks.
And that was how we ended 2024 at the refuge! We are looking forward to more visits and more birds in 2025.