I am using African Night Crawlers to turn this

into THIS!
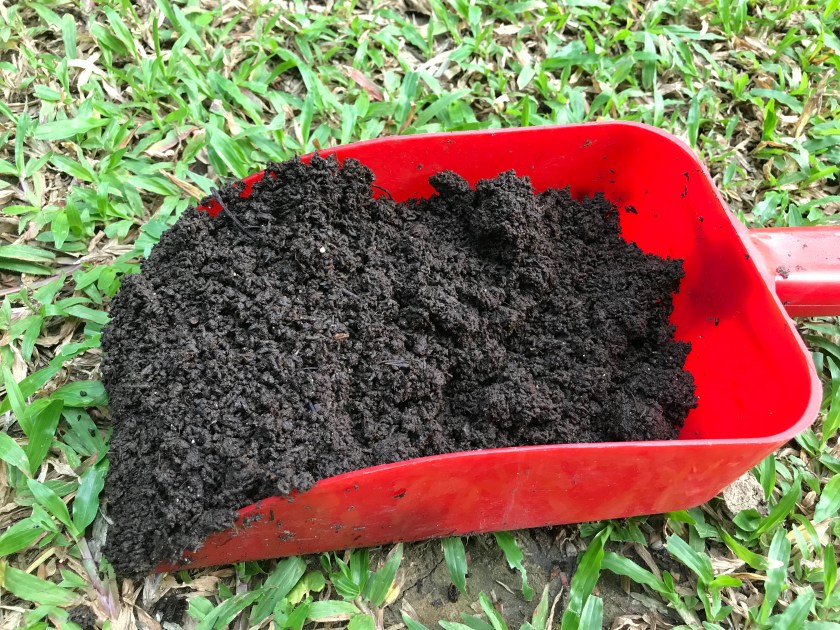
The worms are turning horse poop into worm poop!
Worm poop or vermicast is called black gold by gardeners and farmers. Simply by eating and pooping, worms are able to convert a wide variety of things into an excellent, all natural, complete fertilizer that improves the structure of the soil and makes it hold more water. Unlike chemical fertilizers, vermicast is safe both for plants and people. It is a living product that contains beneficial microorganisms that help the plants absorb the nutrients in the soil.
If you like to garden, then vermicast is an great product to have! We set up big vermicompost bins in the farm in 2013. They eventually failed. I like to think of my current set up as the easy way to do vermicomposting.
The Basics of Easy Vermicomposting:
- Choose the right worms
- Choose the right bin
- Use compost for food and bedding
- Keep it nearby for easy maintenance and harvesting
Worms
You need to start with the right type of worms. The local earthworms in the Philippines are not suitable for vermicomposting because they burrow deep in the soil. In the Philippines we use African Night Crawlers Eudrilus eugeniae.
They are ideal for worm farming because they
- don’t burrow deeply
- go to the surface to deposit their poop
- live in colonies
- feed voraciously
- like to live in aged manure
- reproduce quickly
- tolerate heat well
The main disadvantage of African Night Crawlers are that they can’t tolerate cold weather. Some say they also have a tendency to escape or roam, especially after harvesting.


Worm Bin
My first worm bin was very big and had no flooring. It just had cement block walls. This made it easy for the worms to move out and for ants and other insects to move in! It’s much easier to control the living environment of the worms if you choose your bin carefully. Things to look for in a worm bin:
- doesn’t let light in, not transparent
- has drainage holes
- can control temperature, not too hot or cold
- has a floor
- can control moisture, not too wet or dry
There are many things that can be made into a worm bin!
The Basic Bin
A big drum that was cut in half with drainage holes drilled into the bottom. You can buy these used, make sure it was used to store food not chemicals! There is a sack lining the bottom and another sack to cover the top. It is under a roof so it gets shade from the sun and rain.

The Higher Capacity, Stackable Bin
Same handy blue drum, this time cut lengthwise, with drainage holes drilled at the bottom. It also has the sack liner and sack cover. It’s not as stable as the Basic Bin. It needs a shelf to keep it from rolling around!

The Super Deluxe Barrel Bin
An old wood barrel that was converted into a worm bin! These barrels were used to store rum. They look so much better than the blue barrels and sacks! It’s also nice and dark inside. The main disadvantage of these barrels is that they are expensive! But they are so much cuter! They are also more insulated than the plastic drums.

I used the sacks to line the blue bins to prevent the worms from escaping and so I could lift out the contents easily. They are probably not necessary.
Compost for Food and Bedding
Worms need air, food, and moisture. Worms breathe through their skin. They can suffocate if their bedding gets to compacted, if you give them oily food, if you put in too much food in their bin and the food goes bad, and if their bedding is too wet. The ideal moisture level is 60-80%.
Here is the easy way to avoid these problems:
- Use fresh compost as both their bedding and food. Nothing will go bad!
- Don’t make your bedding more than 6 inches deep.
- Use a watering can when you water the bins to keep the soil from getting compacted.
- Use rainwater if your water is chlorinated. If rainwater is not available, you can put tap water in an open container and leave it out for 24 hours to remove the chlorine.
I use freshly composted horse manure. It works out well for me since we have a lot of horse poop and grass at the farm. Instead of waiting for several months for the horse manure compost to cure, I can give it to the worms and have ready to use vermicast in a short while. Manure from pigs and cows also works well for vermicomposting. I haven’t tried using other types of compost as bedding, so I’m not sure how that will work.
Maintenance and Harvesting
These compost bins are in the city house, not at the farm so I can check on them regularly. A healthy bin should feel moist and have no smell.
Then it’s the fun part — harvesting! There are many methods of harvesting.
Top harvesting – The easiest way to harvest is to wait for the worms to produce a thick and even layer of vermicast at the top of the bin. Then use your hand to sweep the castings into a pile and then scoop it out. It’s also gentle, you don’t have to handle the worms too much, or crush them by accident.
Dry and sift – let the bin dry out to 30-40% moisture and then sift the entire thing.
Migration method – put the bottom layer on top of a screen that’s on top of a new layer of horse poop compost. Put everything under the sun. Wait a few hours until the worms move down to the new layer of compost. Sift the now worm-free compost that’s on top of the screen. If most of the old layer looks like compost, you can just skip the sifting part and harvest everything.
Combination – you can do top harvesting until most (80-90%) of the horse poop compost has been consumed and harvested. Then you can sift the bottom layer or just put the bottom layer, worms and all at the top of a new pile of fresh horse poop compost.


But, is it vegan?
It is not vegan since vermicast is a by-product of an animal. It’s not at the level of bees and honey though. With bees, you harvest food that they produced for themselves. With worms you harvest their poop, which they do not need or use. Ideally, you would keep the worms in the ground in your garden instead of contained in a box. However, that would add another issue of introducing non-native worm species to the soil.
I am trying to take care of my worms as well as I possibly can. I do my best not to kill any worms when I harvest the castings. I also think their living conditions are quite good and their food is what they would naturally like to eat.
UPDATE: My African Night Crawlers now live in a raised bed on the ground! Read the updated post: Worm Composting Update. Now Even Easier.

