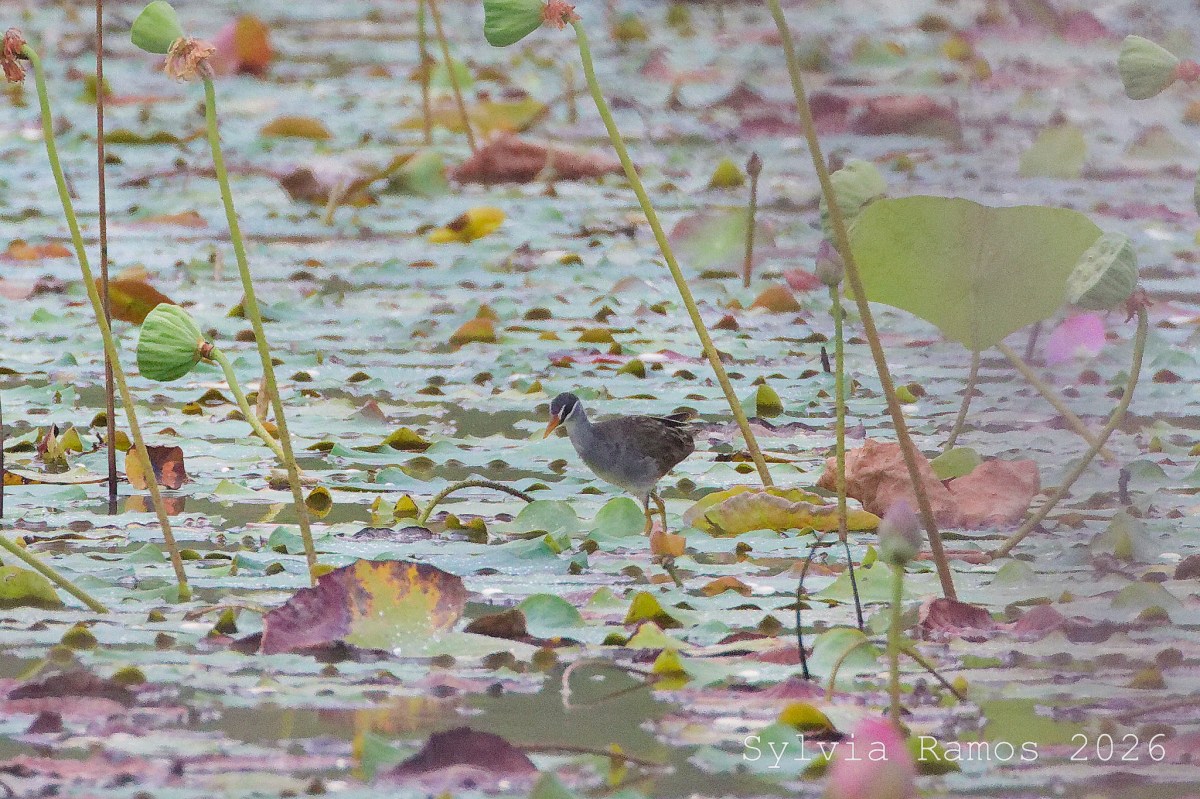
The Big Pond has yielded another new bird for the farm refuge!
Bird #122 is White-browed Crake Porzana cinerea. It was walking on top of the lotus leaves, just like the illustration in the Kennedy field guide!
During our visit we also saw:
One Little Grebe. It’s probably a resident now!

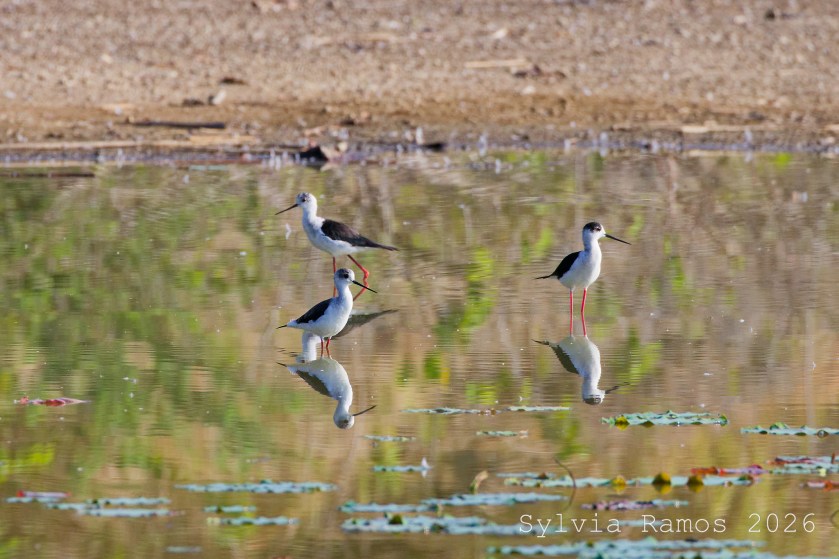
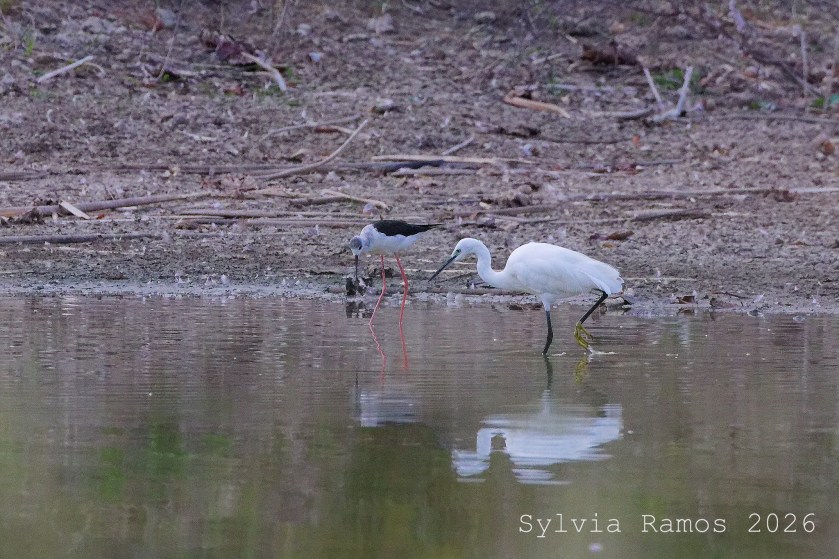
8 Black-winged Stilts.
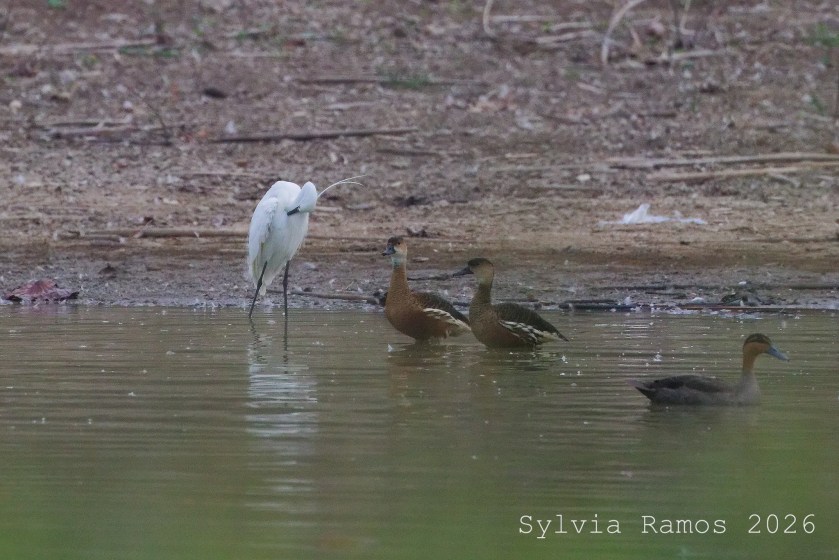
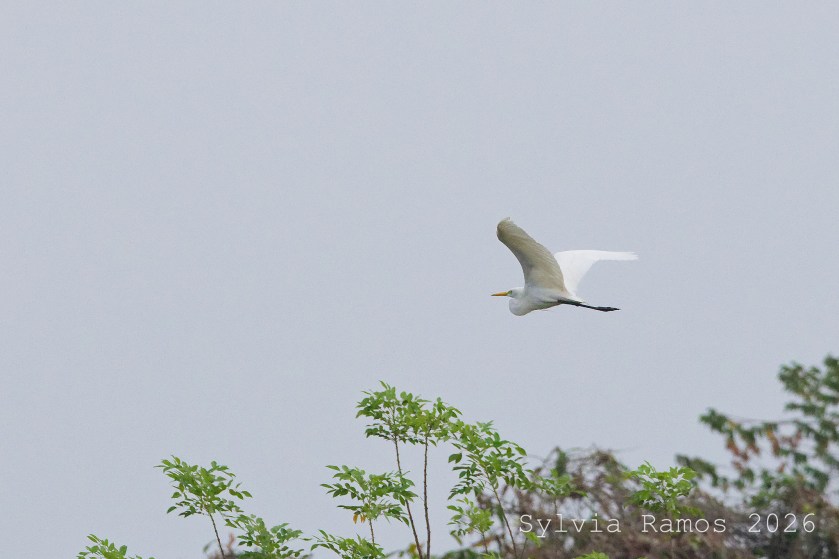
Egrets.
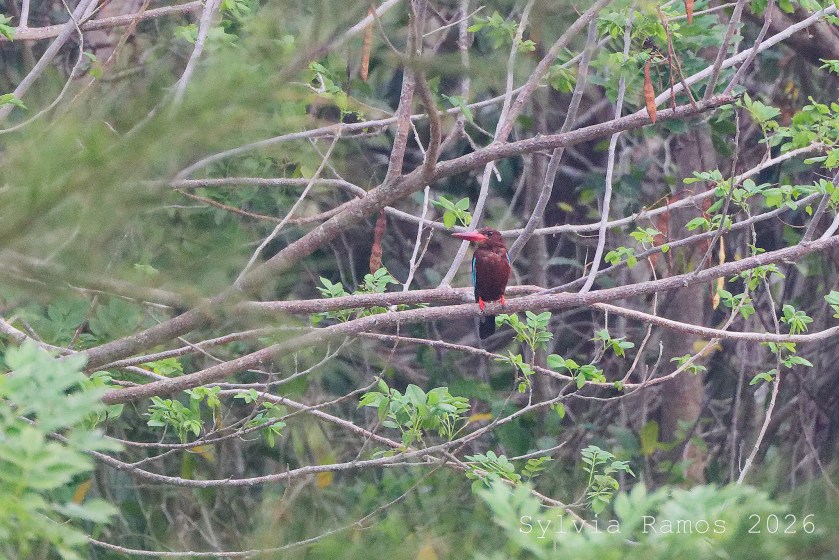
Buff-throated Kingfisher.
Barred Rails. There were two!
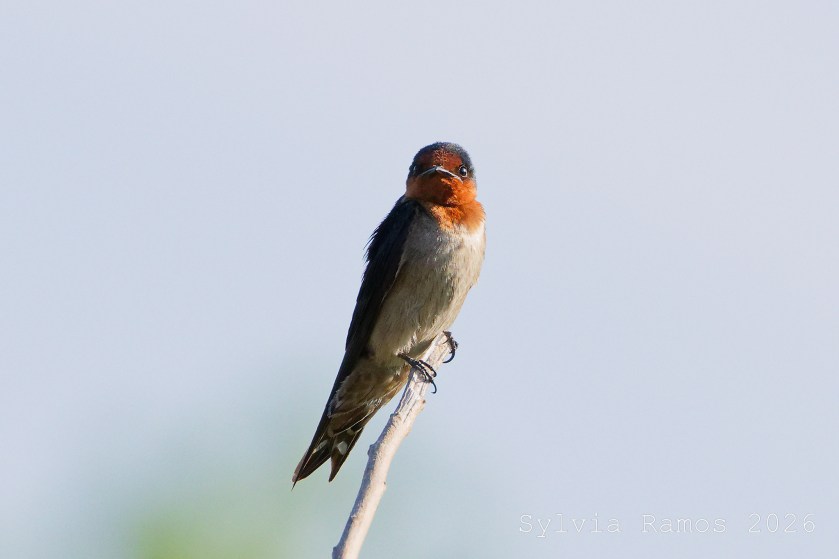
Swallows. I think this is a Pacific Swallow.
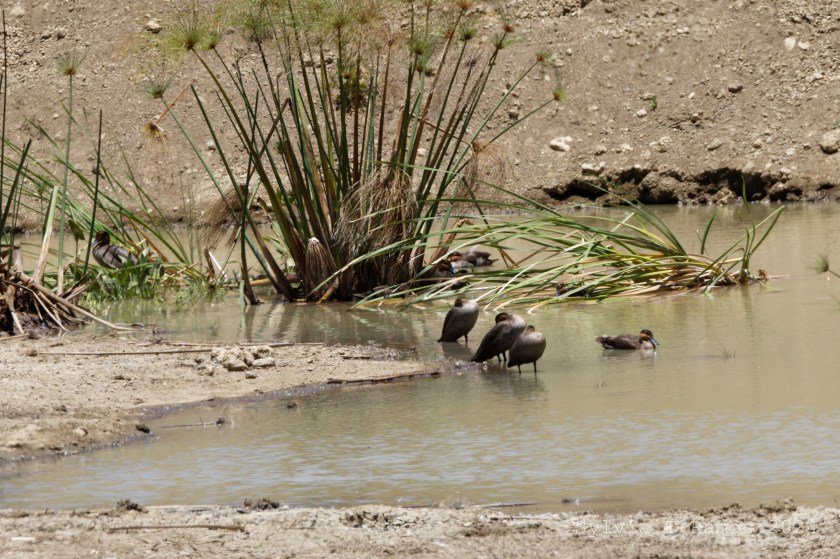
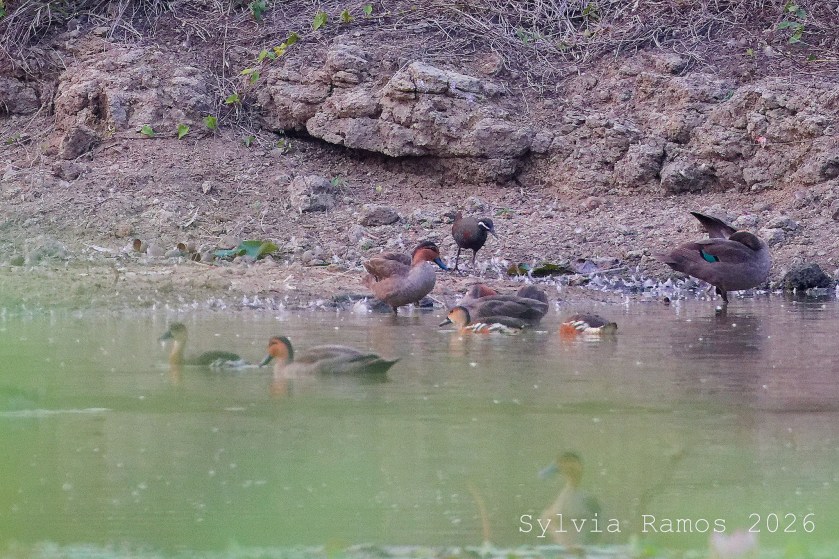
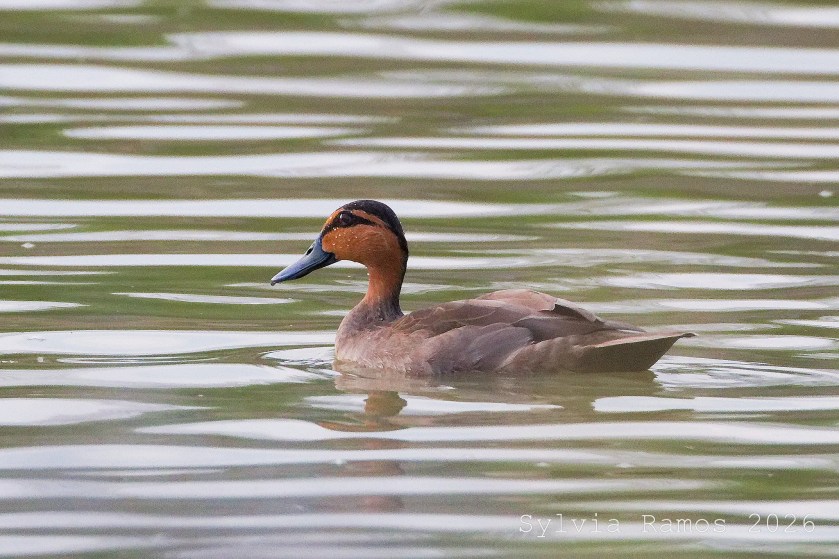
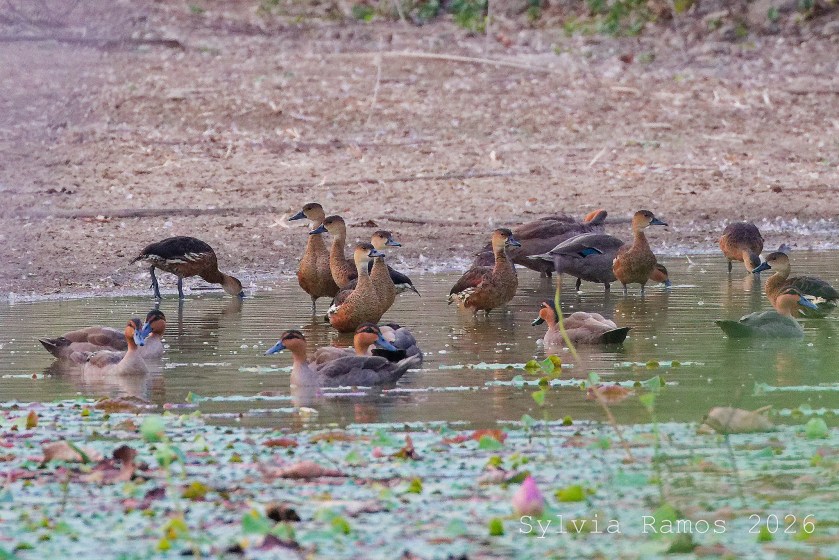
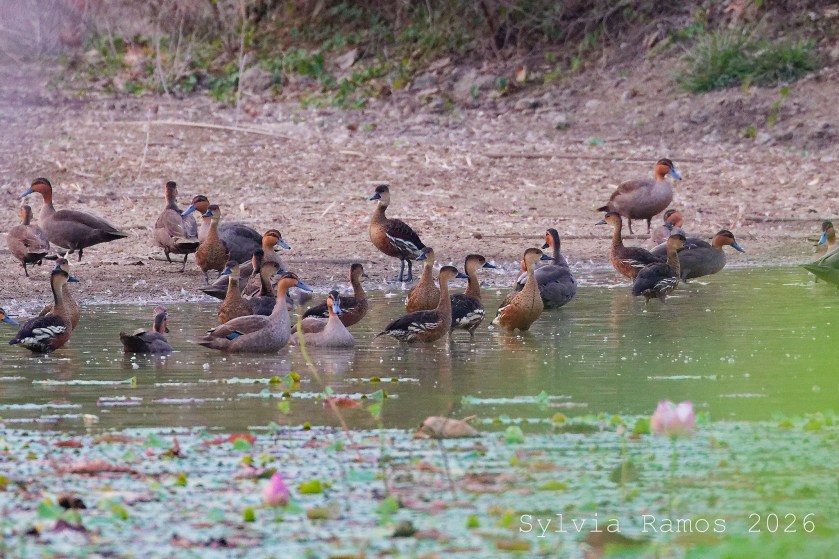
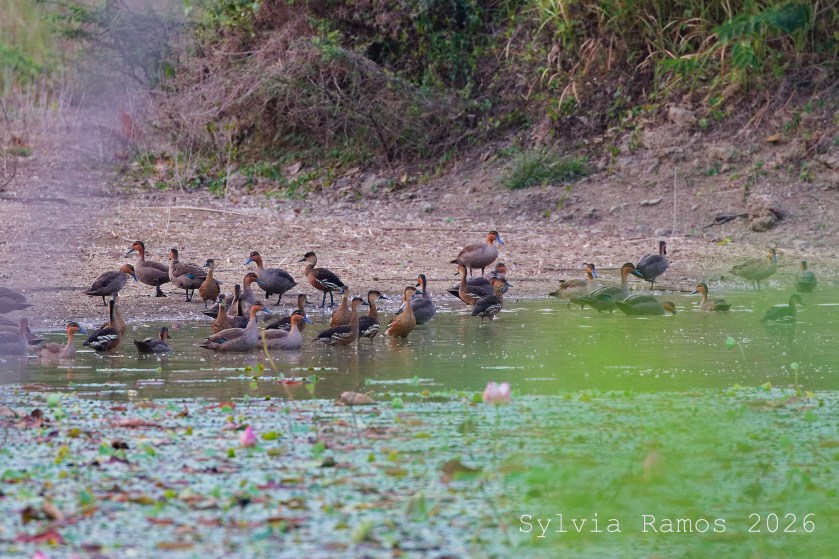
A lot of Philippine Ducks.
And Wandering Whistling Ducks! When I visited the Big Pond in the afternoon, at first all the ducks flew away. Then they came back and started grooming and settling in for the night. The Wandering Whistling Ducks and Philippine Ducks were mixed togther. It seems that they are now a mixed flock. Later in the evening, I saw the Wandering Whistling Ducks flying around in a V formation while calling out.
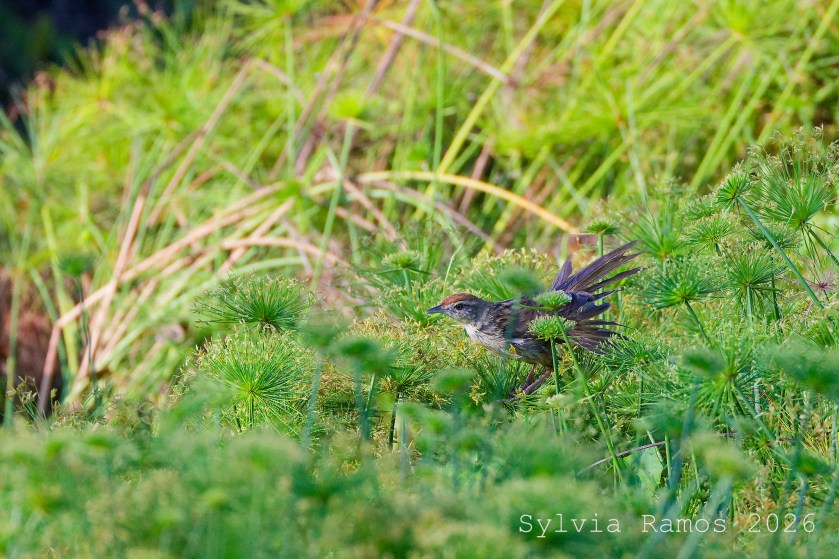
I got a nice photo of a Tawny Grassbird. I tend to have a hard time photographing them. This time I didn’t give up and after many shots of leaves and branches and bird bits, I got a good photo!
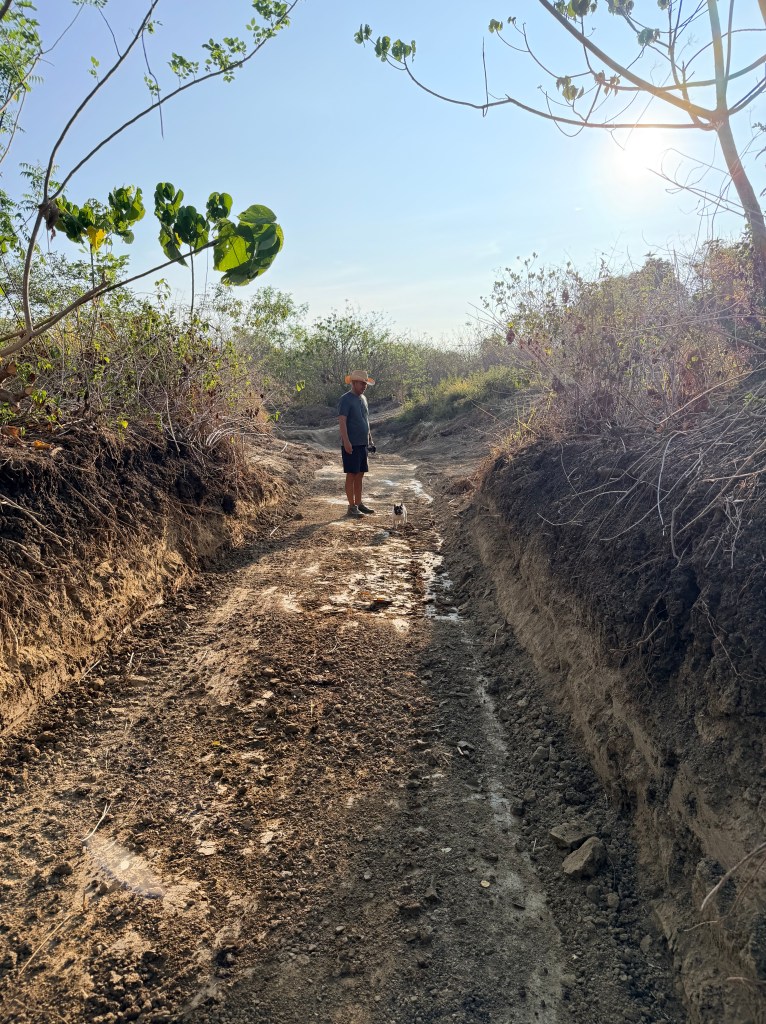
The Water Lily pond is ready for the upcoming rainy season! Tonji finished widening and deepening the pond.
He also widened the channel that connects the left and right sides of the Water Lily pond.
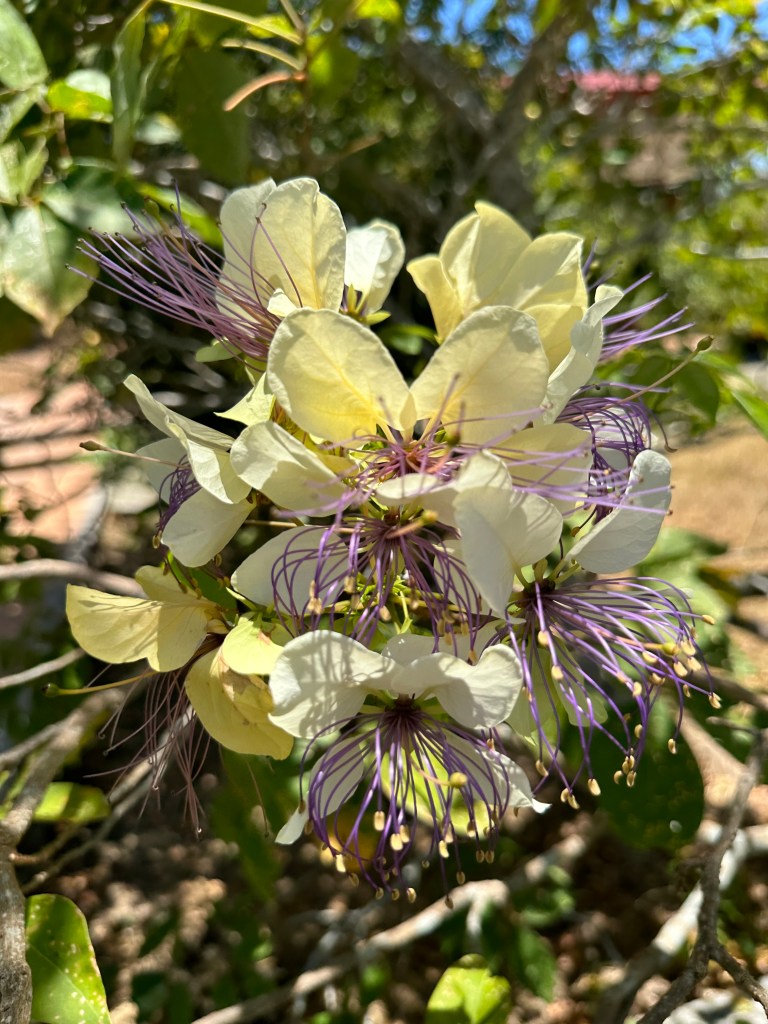
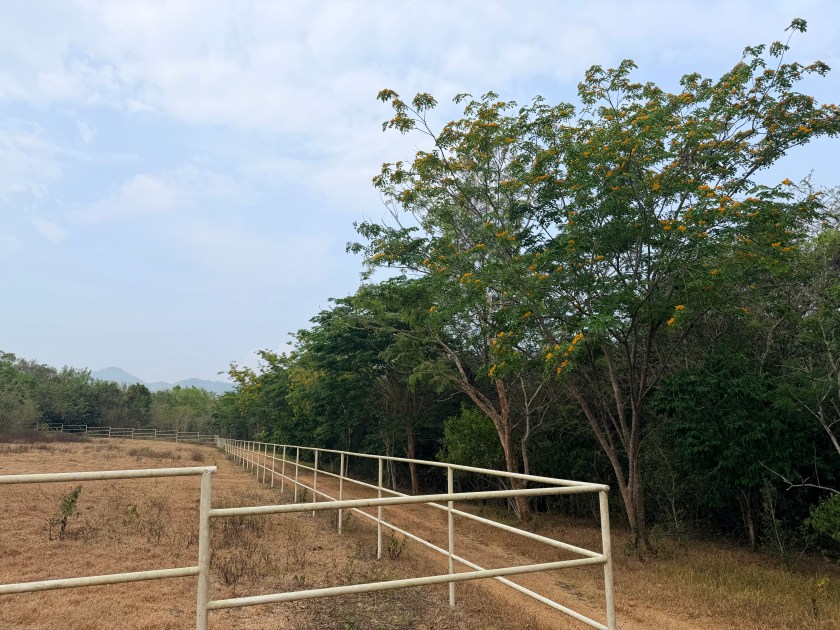
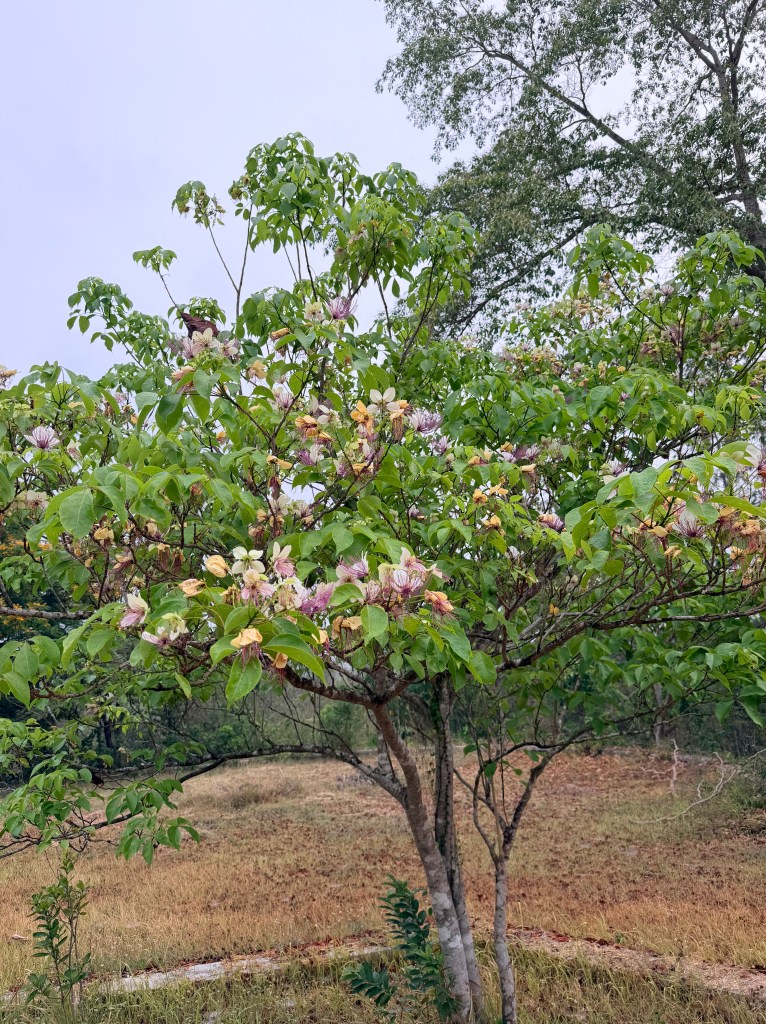
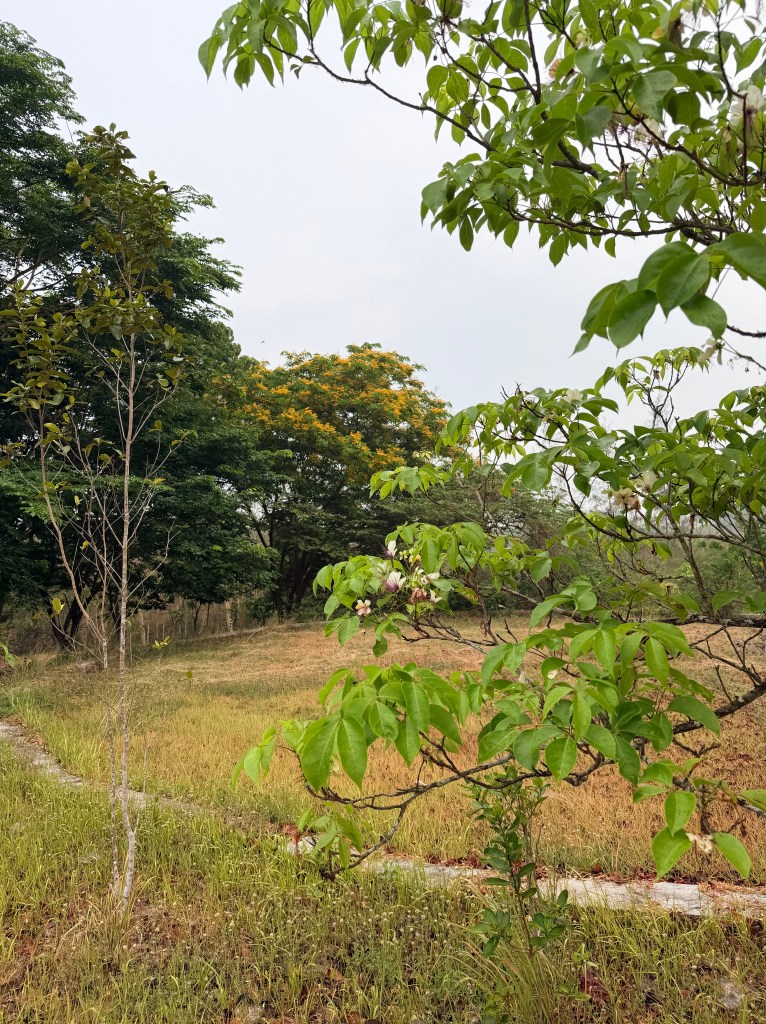
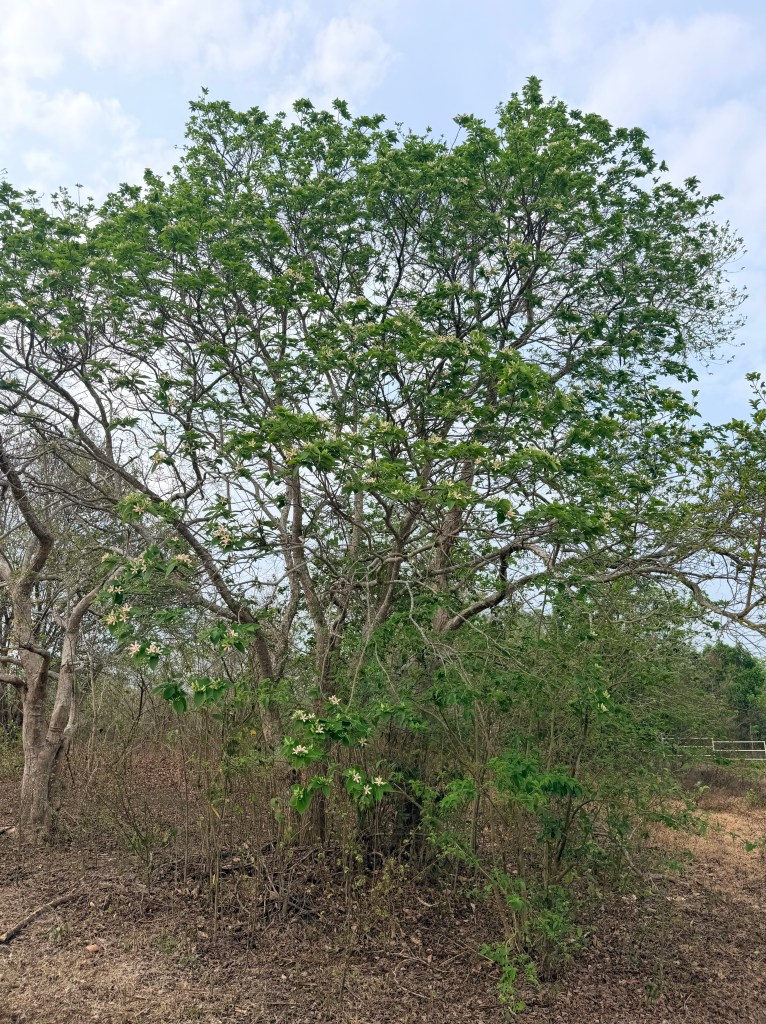
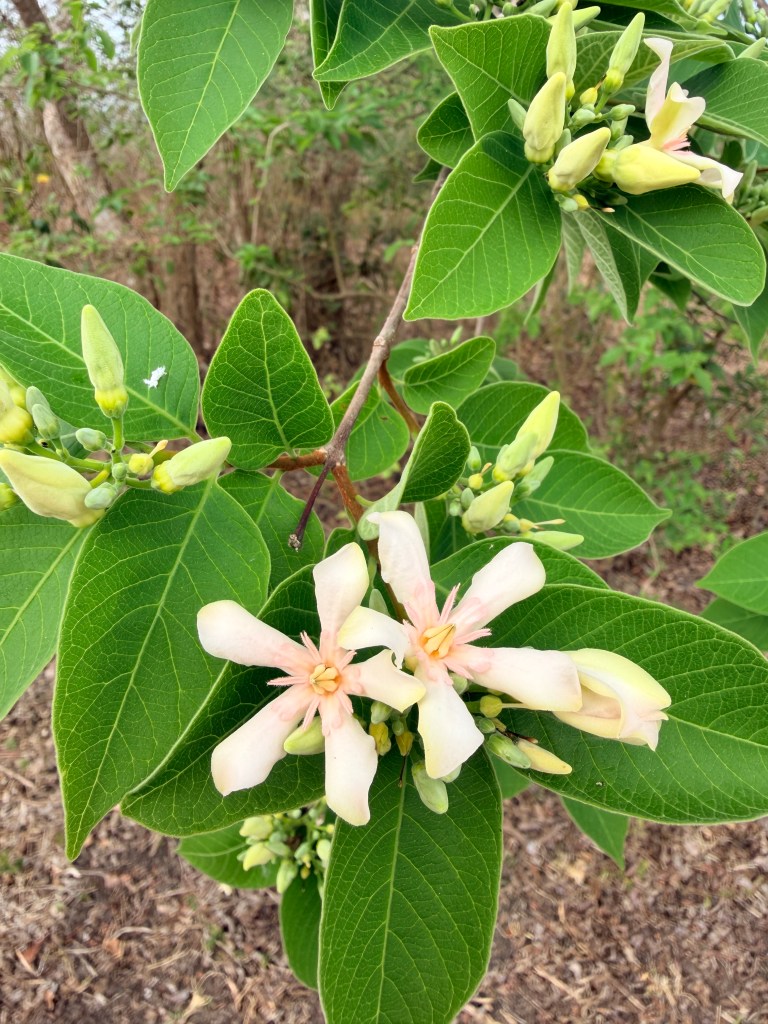
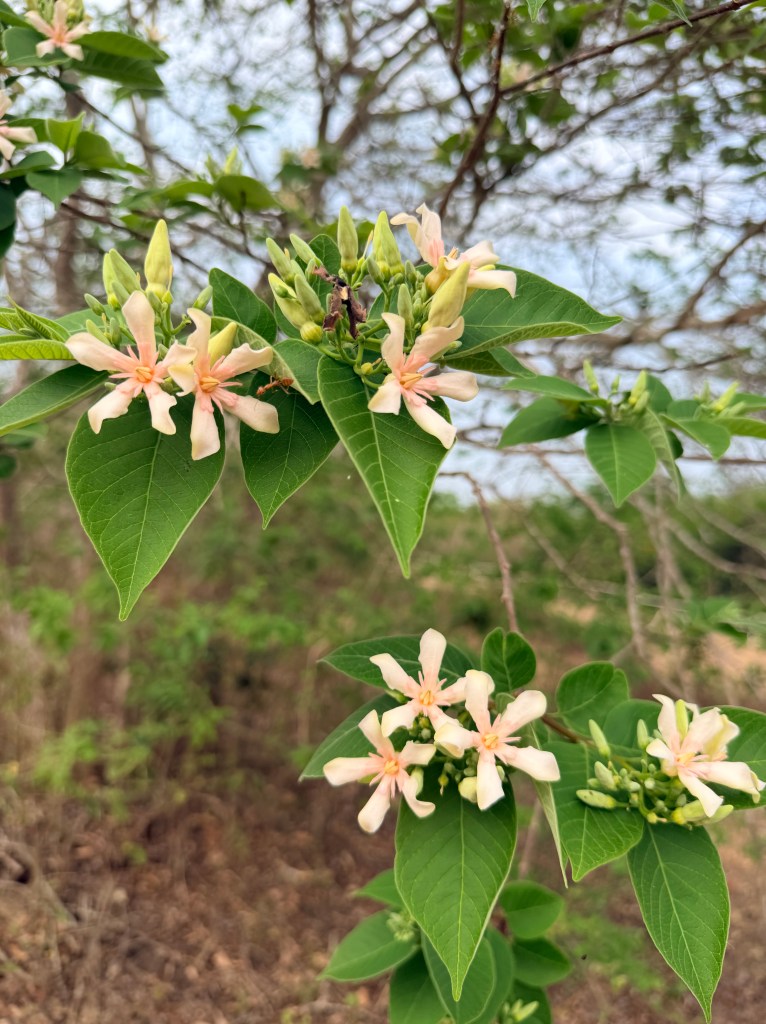
We are enjoying the fruits and flowers of summer. The grass is all dried up and and looks like straw. But when you look at the trees, they are green and bursting with flowers!
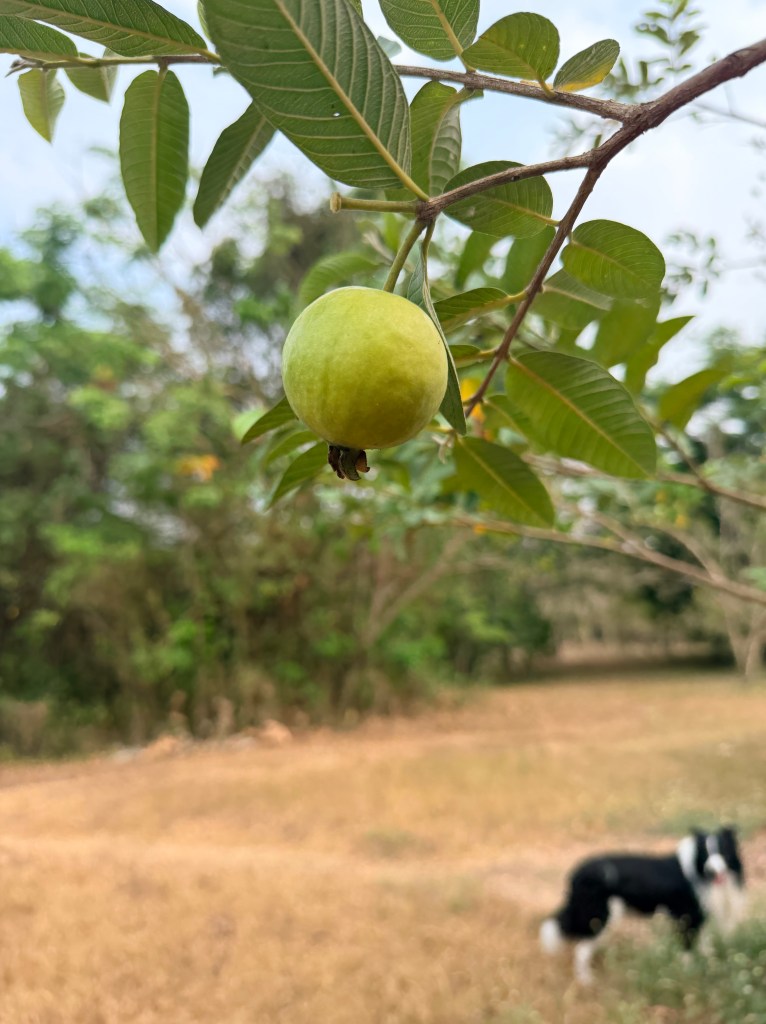
The guava trees that grow wild all over the farm have small and delicious fruit. I am always on the lookout for ripe fruit. Oftentimes the birds beat me to the fruit. This time there were a lot of hantik (big red ants) making nests in the guava trees and crawling all over the fruit. I was able to get a few though!
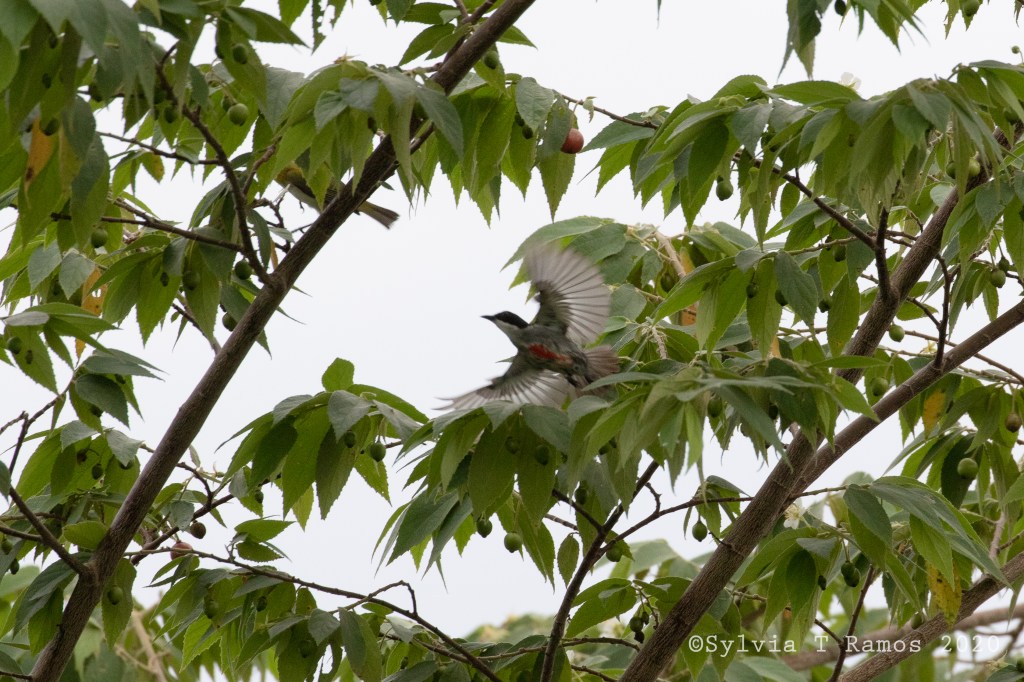
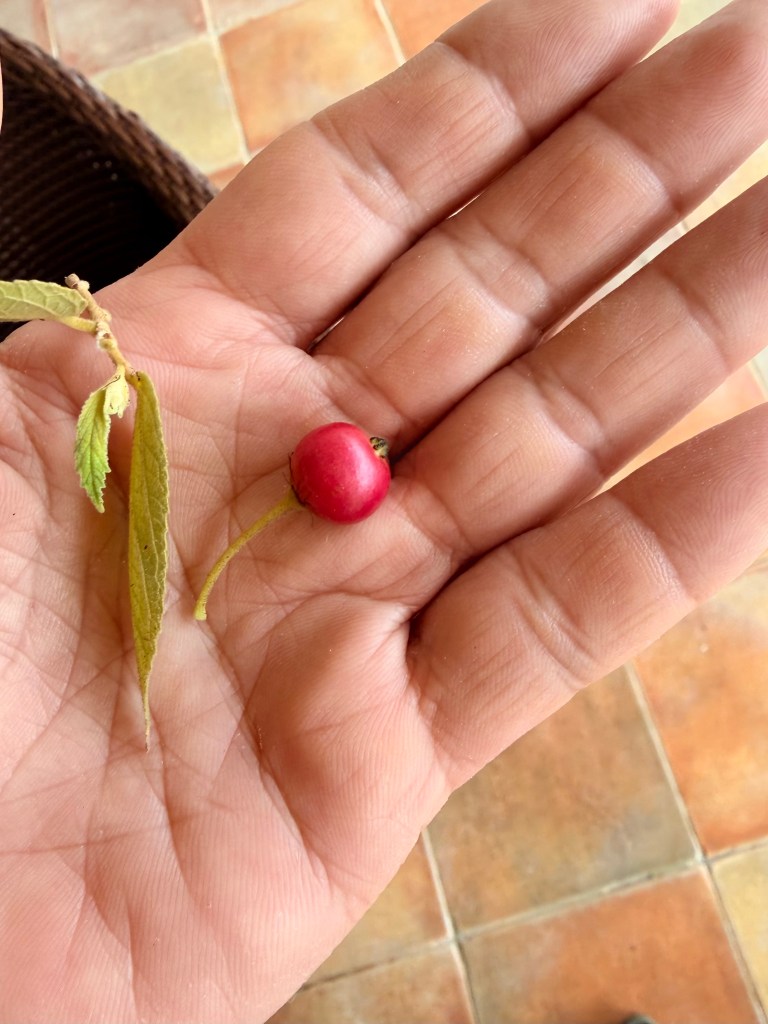
I also ate a few aratiles. So sweet!
And here’s a cute video of Tubby bounding down to the grass like a little rabbit.