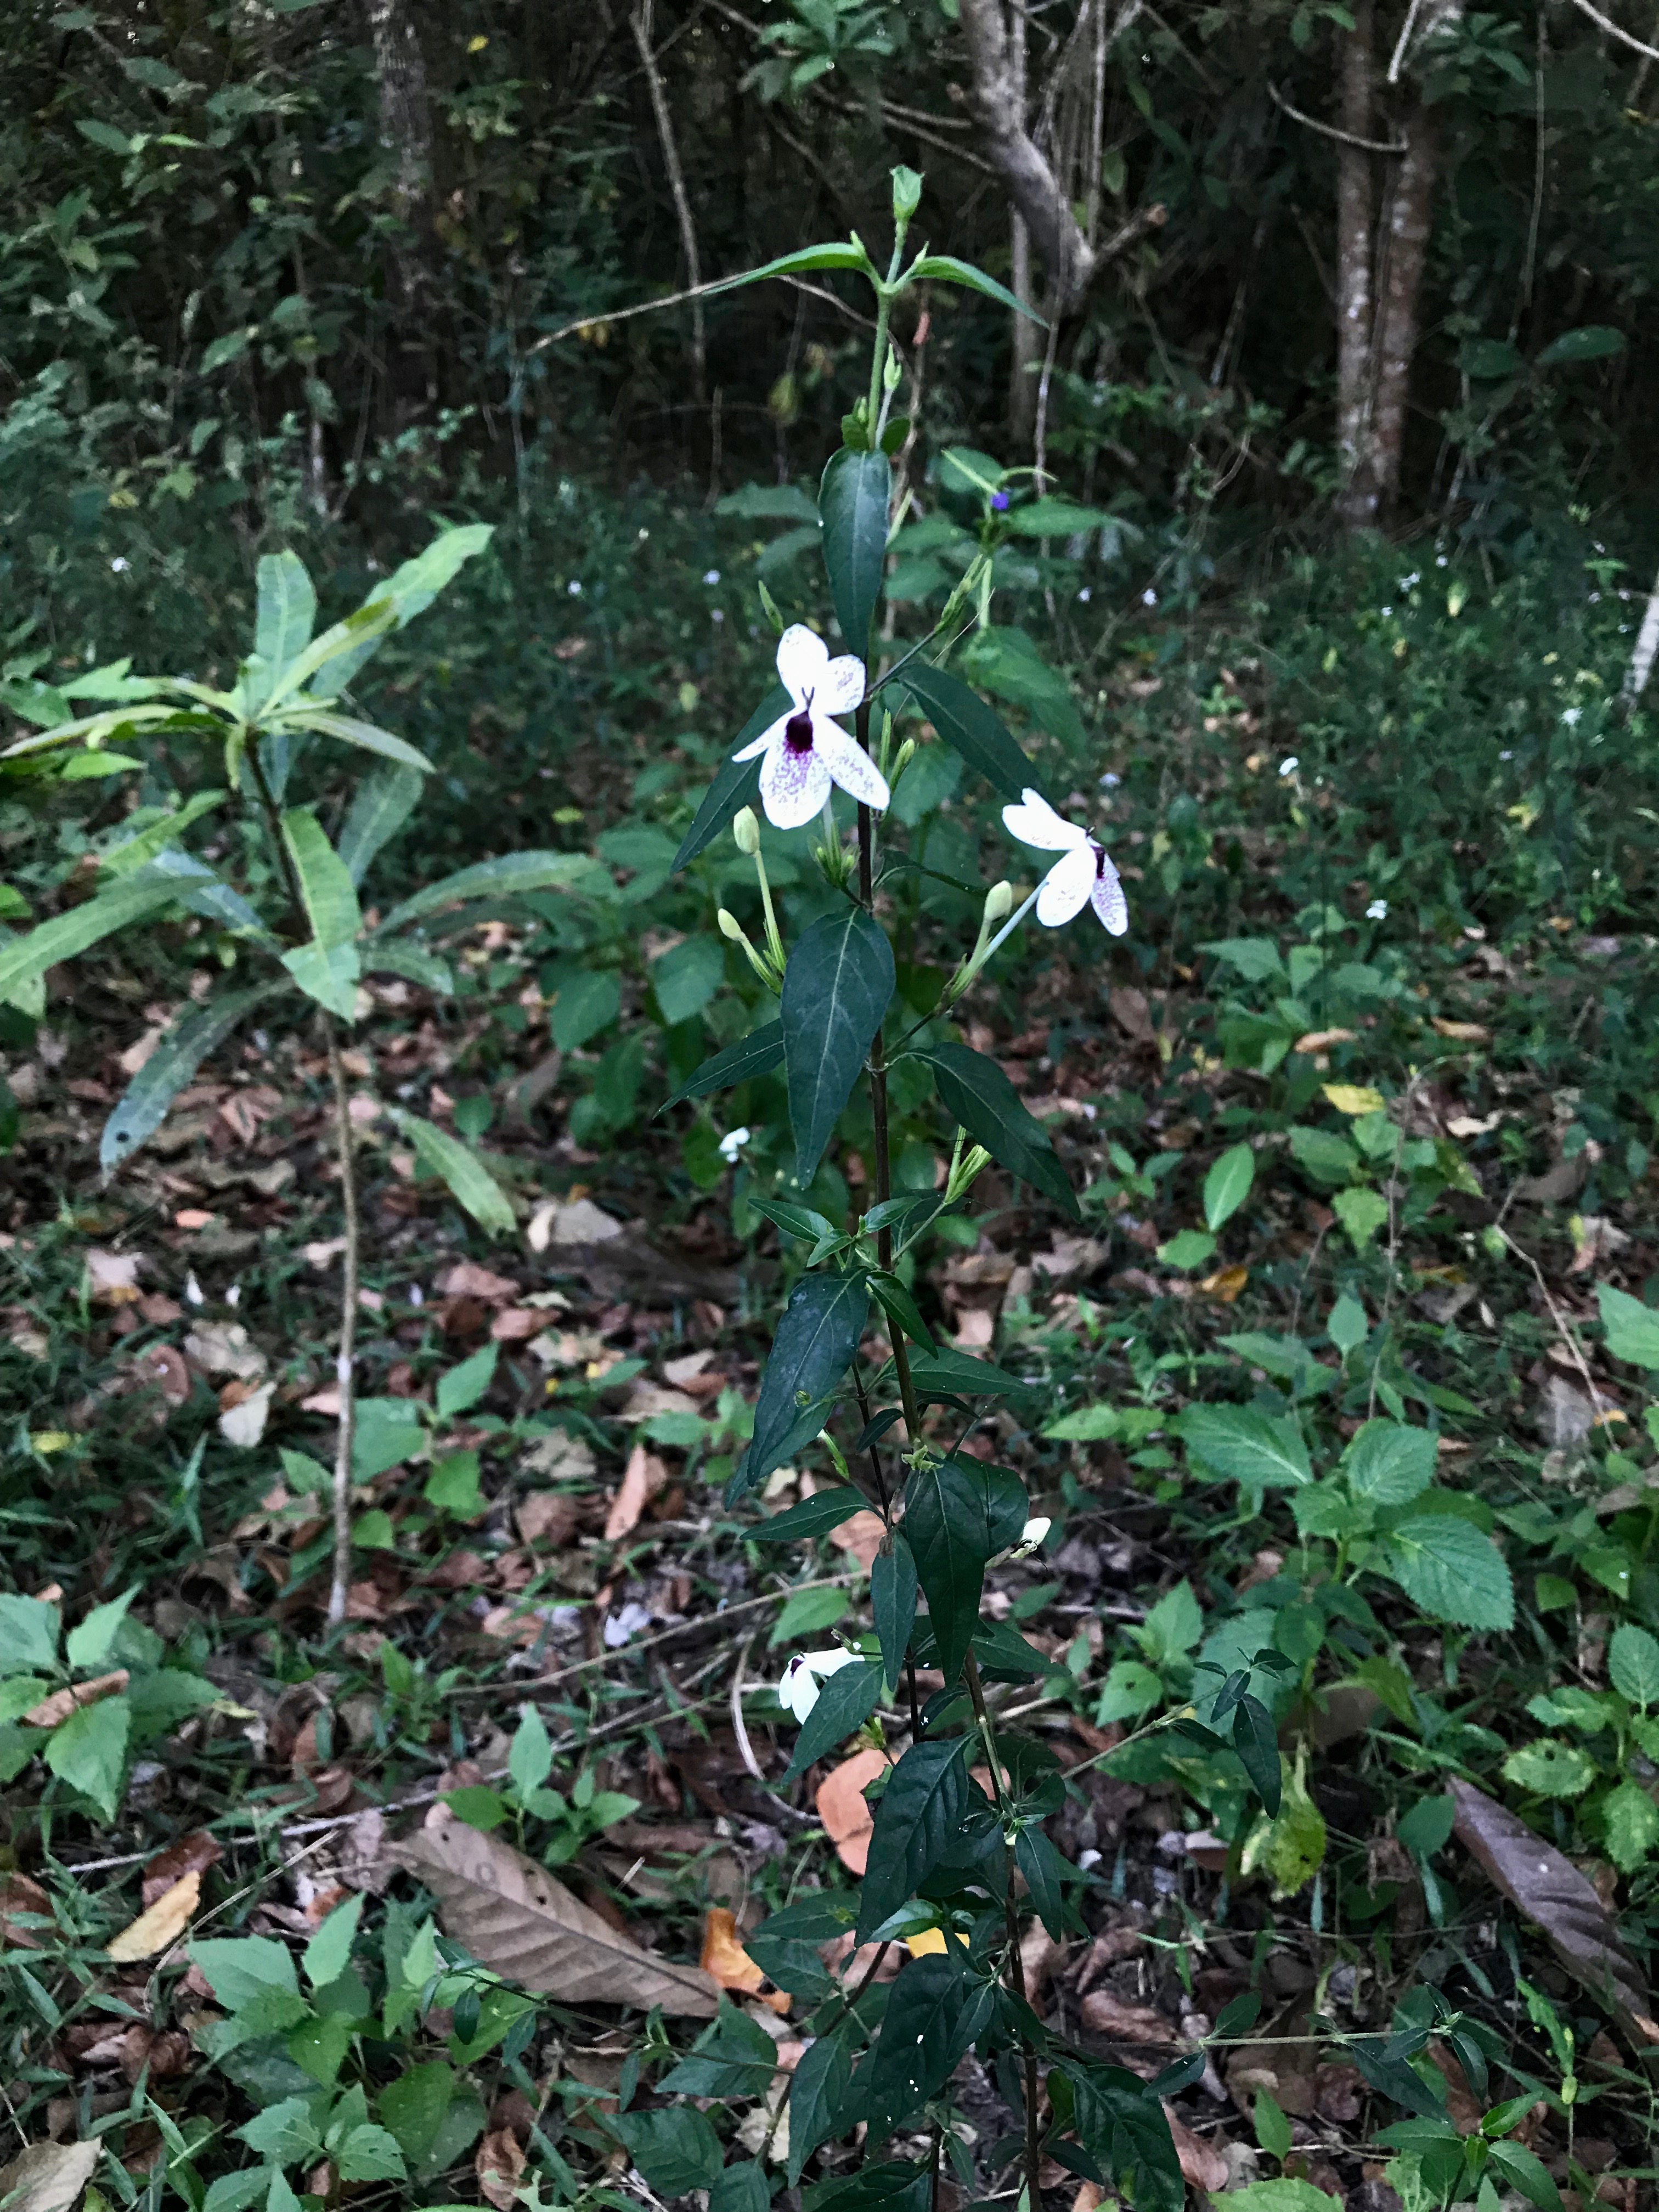
This is our big year for planting tree seeds. In a few short months, we have gone from having a few seedlings in bags to more than one thousand pots with seeds in various stages of growth!
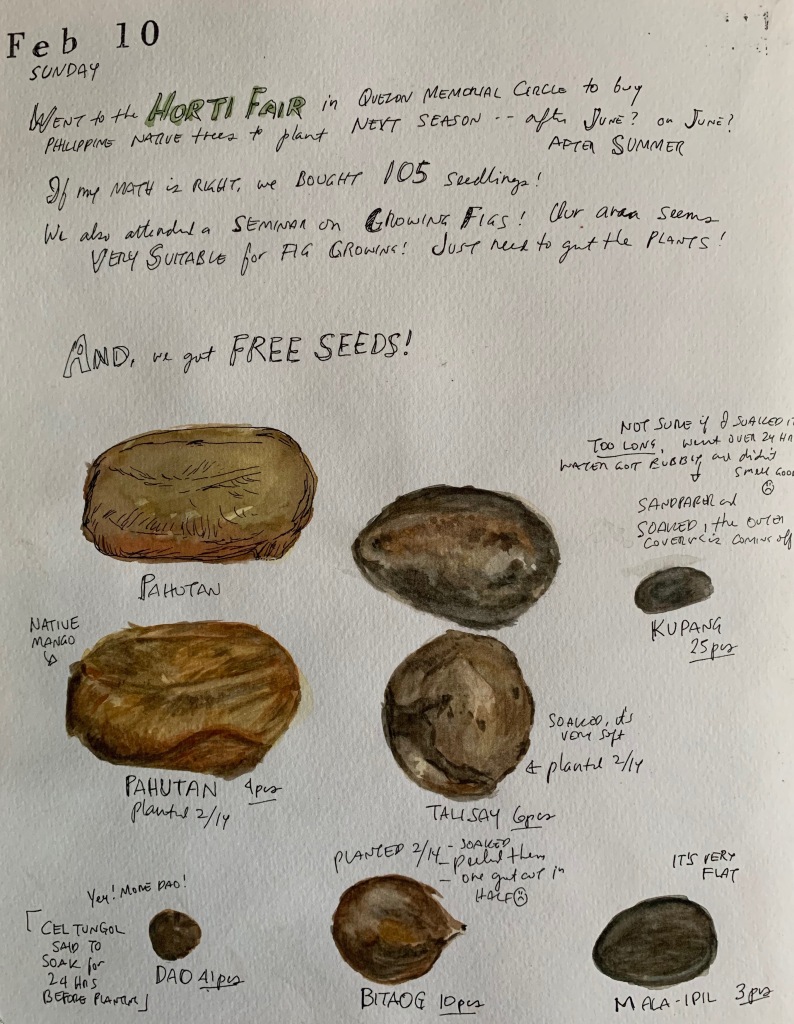
February 2019 – It all started with the free seeds we received from the Horti Fair in Quezon Memorial Circle. The seeds came from members of the Philippine Native Trees Enthusiasts (PNTE) and they had tips on how to treat each seed type of seed before planting it. It was fun to follow the different pre-germination treatment instructions for each type of seed and very rewarding to see the seeds grow!
June – We received more free seeds from Philippine Native Trees Enthusiasts at another plant show. This time we kept the seeds at home in Alabang instead of bringing them to Batangas.

None of the Buri sprouted. The Taluto and Ipil were amazing! They grew quickly and were transplanted to bigger pots after 7 weeks. After a couple more weeks, they were big enough to move to the farm nursery. The Malapapaya is slow growing. They are in individual pots and are just getting their true leaves.
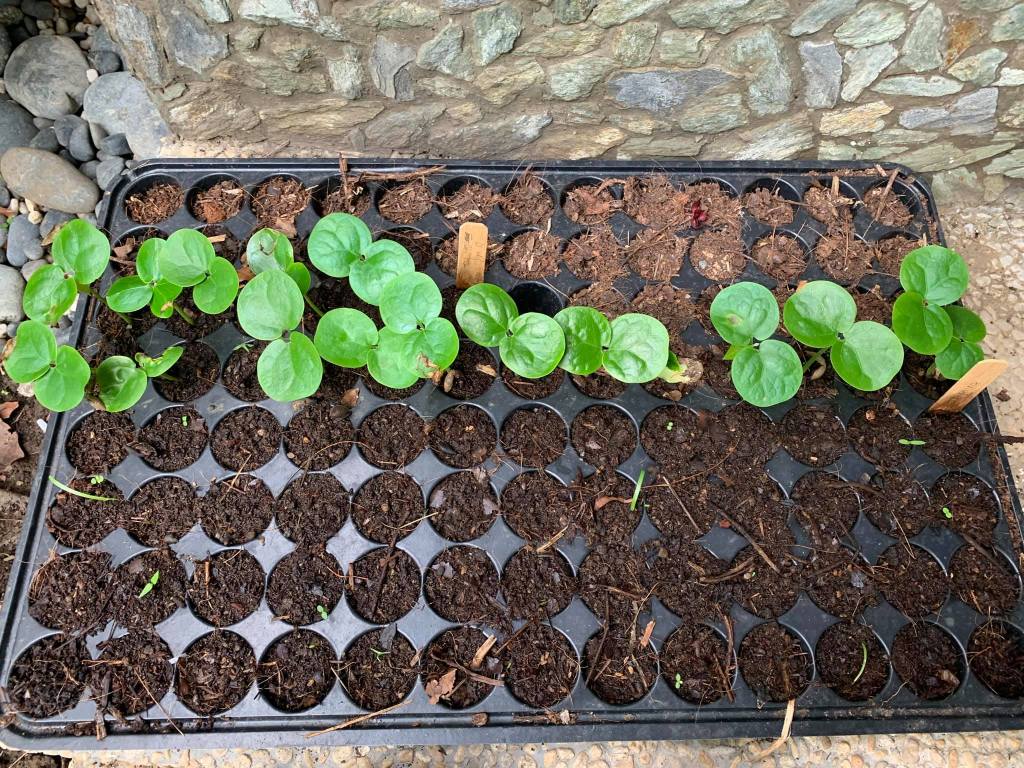
Taluto, this is before they were transferred to bigger pots. 16 out of 18 seeds grew and were brought to the nursery in Batangas. 
Ipil – 4 out of 7 seeds grew 
The Malapapaya are still tiny and just getting their true leaves. I pricked out 82 pieces, we are now down to 52. Something is beheading them!
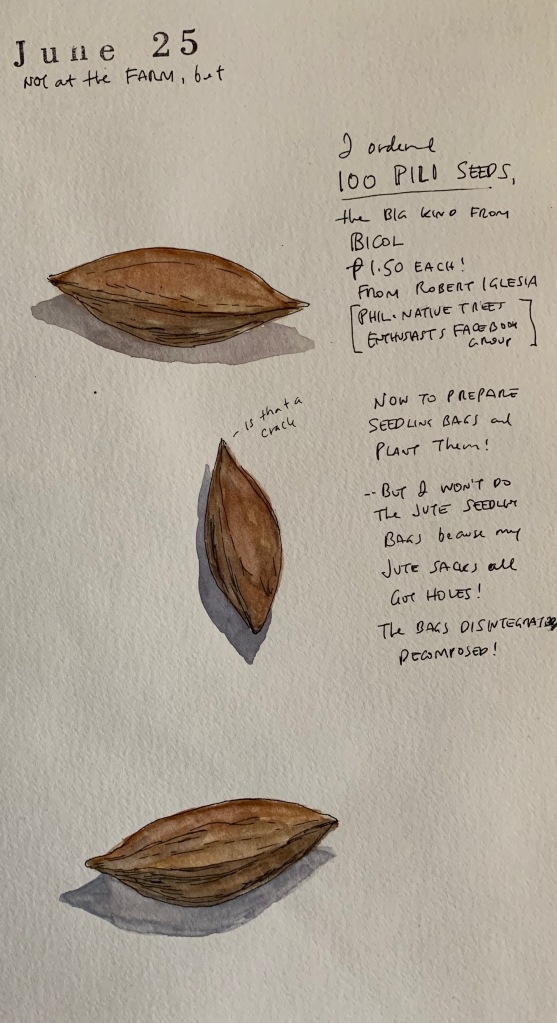
In June, we also bought 100 Pili seeds that we planted and then discarded by August. They weren’t showing any signs of life and we needed the space for other seeds!
July – We bought 200 Balai Lamok seeds from a member of the Philippine Native Trees Enthusiasts group. We were excited to try the germination technique of Ephraim Cercado from PNTE. He in very successful in growing Balai Lamok.
Success! Back in 2017 we bought 198 Balai Lamok seeds and were able to grow only 8 seedlings. Now with the new germination technique we have 135 seedlings!
about 1 week after transferring from the moist chamber 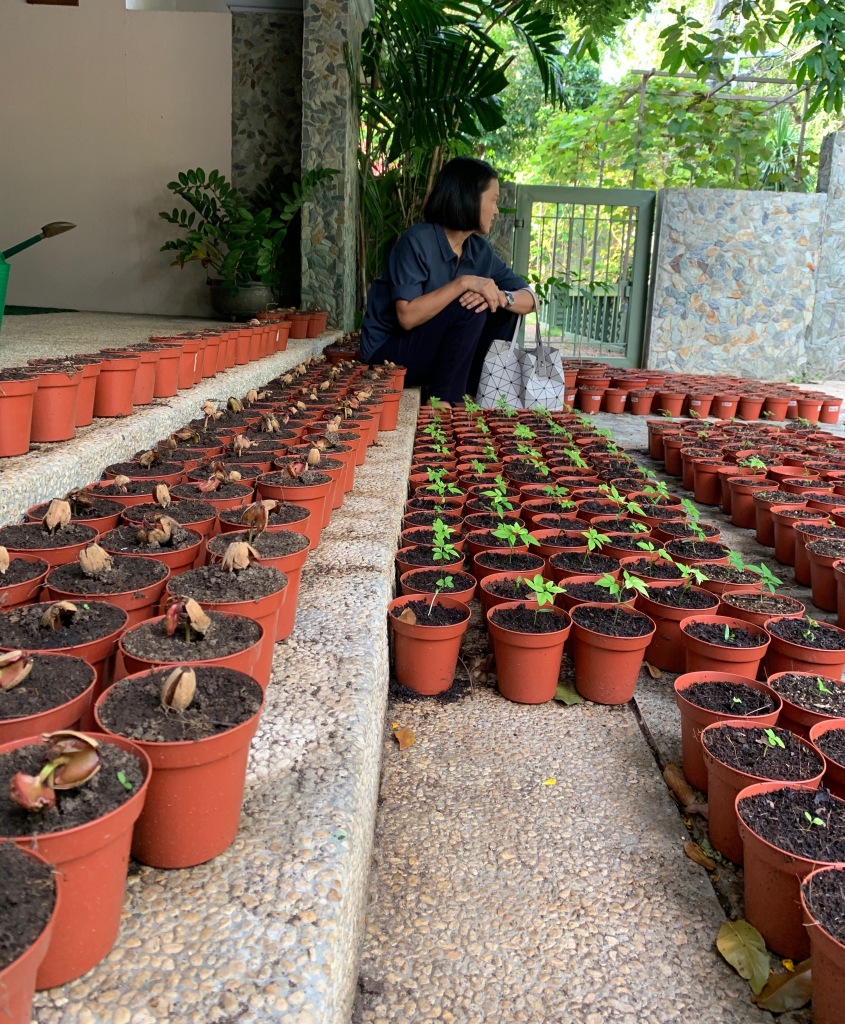
with the true leaves
I think we can improve our Balai Lamok production even more if we decide to try again next season. We waited too long before planting the seeds and some of them got moldy. I think this may have made the seeds weaker. The potting mix was also too fluffy. It should have been packed down more evenly. The seedlings kept toppling over. We also may have been over watering in the early days.
Our Philippine Teak produced seeds for the first time. We collected them and tried different planting techniques. We were told that Philippine Teak is difficult to grow from seeds. We may possibly have one seed that grew. Or it might be a weed!

August – Our biggest month for seed planting so far! We bought 4 kilos of seeds and gathered fruit and pods from 3 kinds of trees in our subdivision.
We gathered Banaba from flowering trees in our subdivision. We experimented on which pods had viable seeds. The pods that were brown and dry and still on the tree but slightly open did the best. The seedlings from pods that were not planted immediately were undersized.

Banaba germinants 
56 small seedlings, down from 75
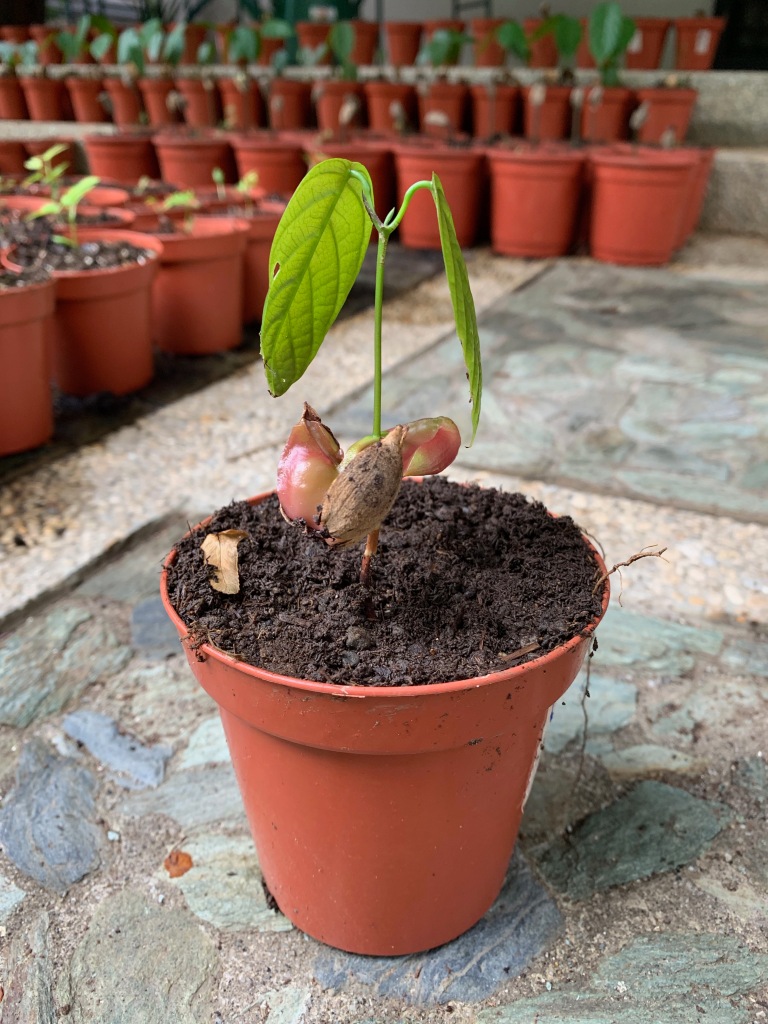
We gathered Mabolo fruit from two fruiting trees in our subdivision. Some of fruit practically fell on our head while we were standing under the tree. We were able to eat those and enjoy the creamy apple flavor. The other fruits on the ground were spoiled, but the seeds were good for planting. All 91 seeds sprouted!

Mabolo aka Kamagong 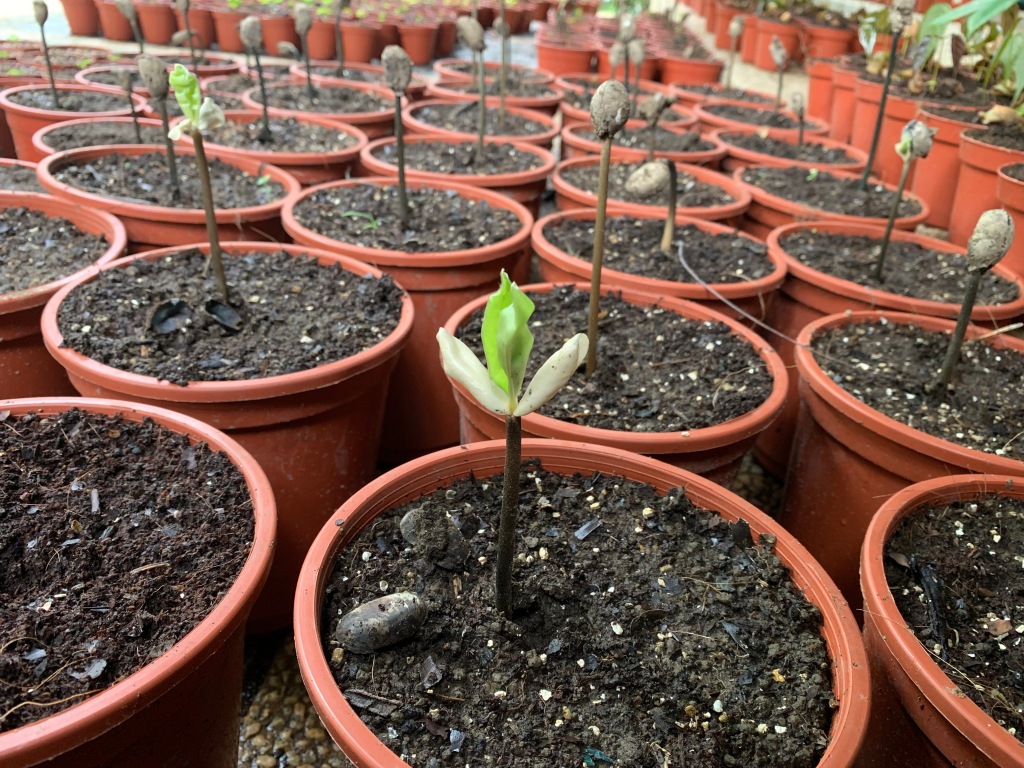
All 91 seeds sprouted!
We bought 1 kilo of White Lauan seeds and 1 kilo of Red Lauan seeds from Bukidnon. When the seeds arrived, most of the Red Lauan already germinated! Lauan are from the Dipterocarps family. Their seeds have wings and germinate readily but are only viable for one or two weeks. And many Dipterocarps only have seeds every 5 or more years.
White Lauan 
Red Lauan
We bought 1 kilo of Anang seeds and 1 kilo of Tail-leafed Panau seeds. Anang is the same family as Mabolo. It also has black wood. Tail-leafed Panau is a Dipterocarp. Most of the Tail-leafed Panau were germinated when they arrived, with very long roots. The Anang hasn’t sprouted yet.

Tonji noticed a good looking tree with pods in the village. It turned out to be Bani, a beach forest tree that grows quickly and can produce seeds in 3 years. We planted 35 seeds and are waiting for them to sprout.

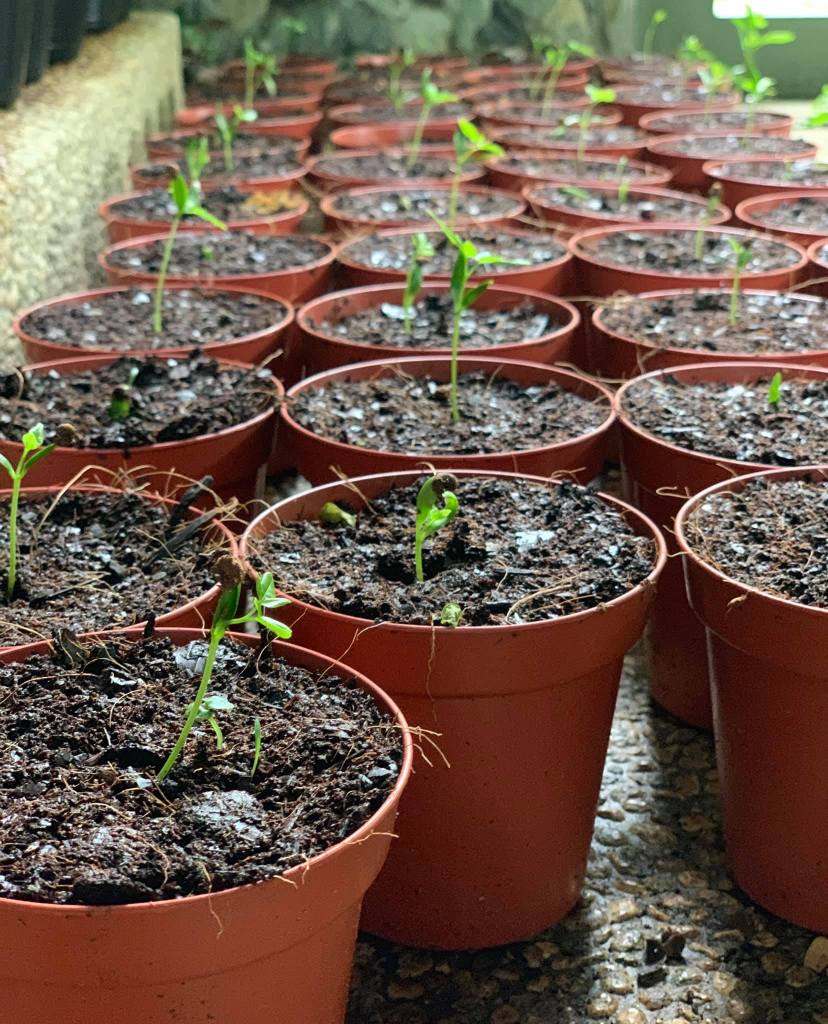
All these seedlings from seeds that we bought and gathered are like our little babies. They have taken over the front steps of our house, the side garden, and one section of our lanai. We check on them every day, sprinkle them with rainwater, and pick out the hairy caterpillars that like to eat their leaves. When they get bigger, they will move from our house to the farm nursery and then eventually get planted on the ground.
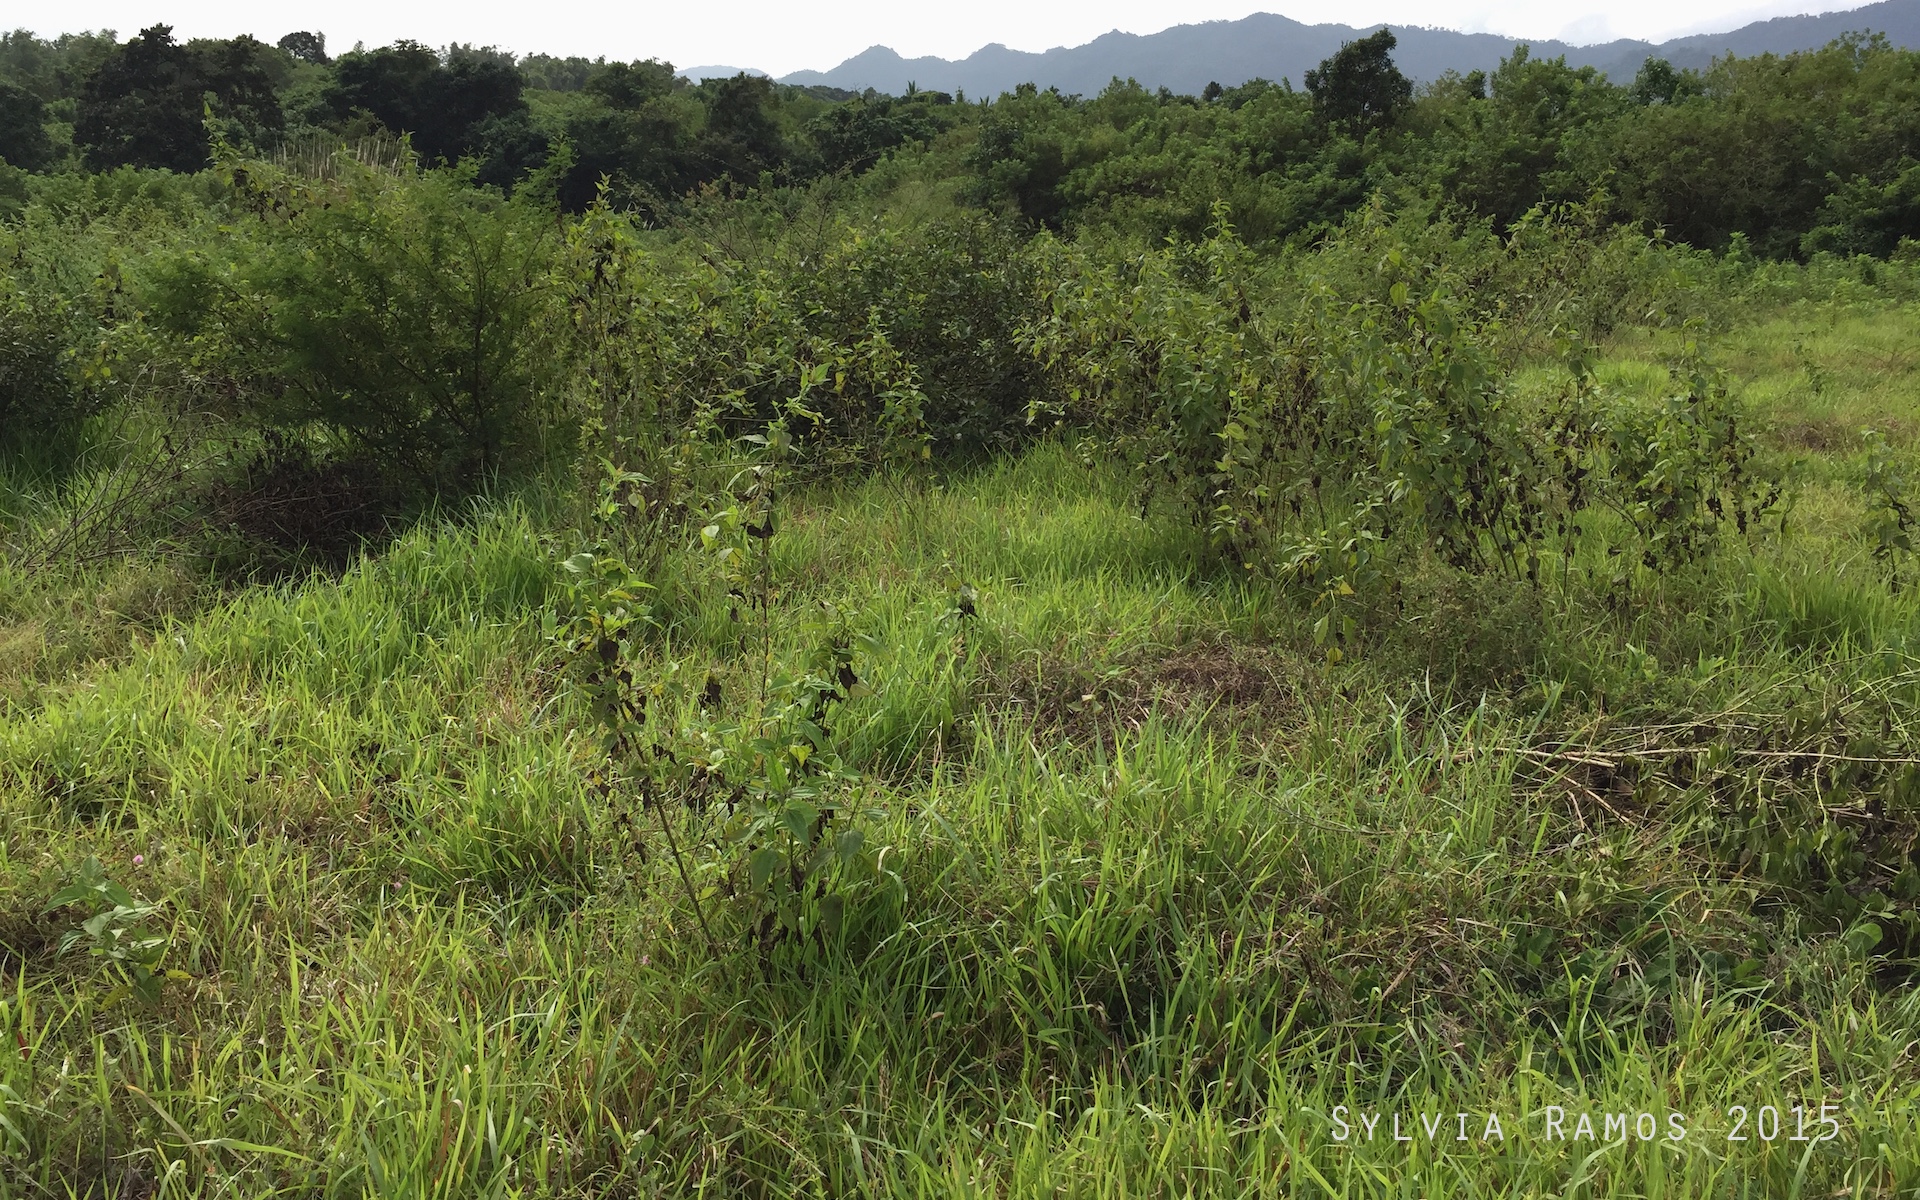
The next stage of our seed collecting and planting will be collecting seeds from the Philippine native trees in our refuge that we have a lot of and that produce a lot of seeds. Trees like Banato, Alibangbang, and Akleng Parang. Then we can distribute them among the tree-loving members of the Philippine Native Trees Enthusiasts group so that even more people can learn to enjoy planting the seeds of Philippine native trees!